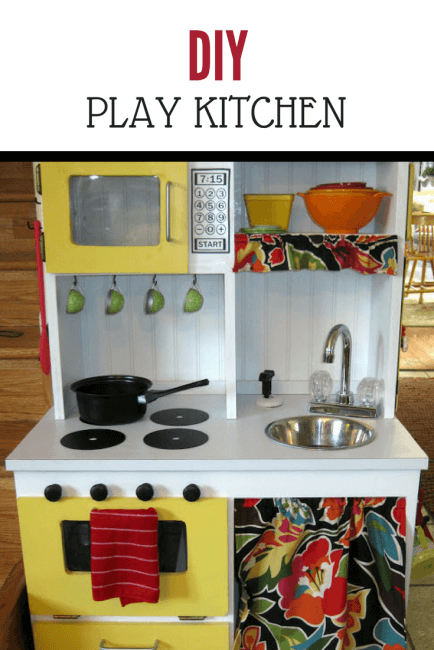
DIY Play Kitchen | How to Make a Play Kitchen
DIY Play Kitchen Tutorial! This is a Toddler Dream Kitchen!
DIY Play Kitchen | How to Make a Play Kitchen
My amazing mother-in-law built this for little Anne, so I don't have a full tutorial but I can give you the grand tour and some ideas to jump-start your own dream kitchen! If you start now maybe you can finish by Christmas:)
My husband got a little carried away and added running water! Yup- running water.
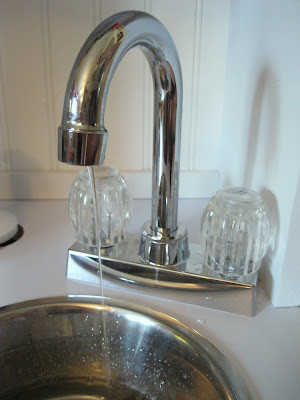
Add Running Water to the Toy Kitchen
If you have a DIY gung-ho spirit and want to give a whack at it here's how we {I mean the hubs} did it:
- Take a working faucet and block off either the hot or cold knob
- Thread 1/4" tubing through the faucet and block off any other passages so the water has to go through the tubing (this increases the water pressure)
- Mix and match brass plumbing fittings to fit your tubing to a hand water pump (we used a weed spray gun). This is the hard step- be prepared to fiddle
***Here's the big picture: under the sink is a reservoir that holds the water (what normally holds your weed killer). We drilled a hole in the counter so the pump handle sticks up. You just pump a few times and then turn on the faucet and it gives a pretty good stream for about 10 seconds. Which is enough to make a toddler very happy without flooding your kitchen:)
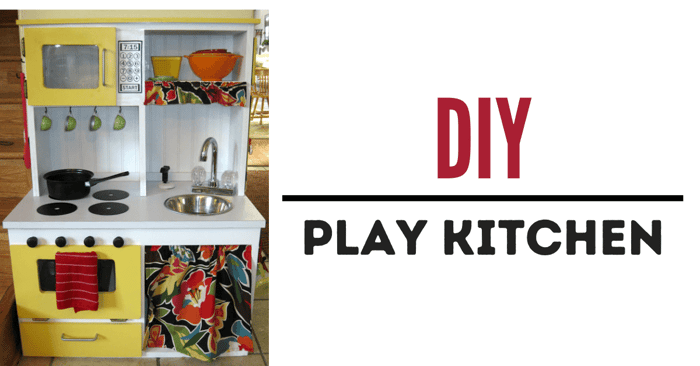
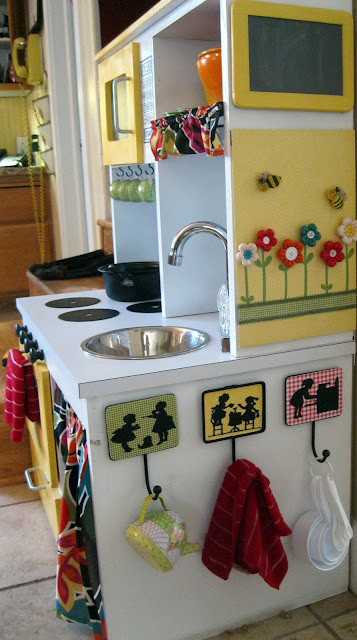
Play Kitchen Tour
Now let me take you on a full tour!
Some fun tips and ideas:
- Play Kitchen Sink: rimmed metal dog food bowl. Comes in and out easily so you can clean up when you're done playing
- Play Kitchen Stove Burners: Spray painted junk mail CD's. Make sure you spray on a finish coat afterwards so the paint doesn't chip
- Play Kitchen Microwave Buttons: vinyl to the rescue! Grab the SCAL file here
- Adding a valance over the sink and a curtain below only used 1 fat quarter and really dresses things up!
- Add a touch light (found ours at the Dollar Tree) to go above the sink. I forgot to take a photo, but it's adorable when it's on:)
- Buy some dollar store baskets to store your food in under the sink. Or...instead, you can make the area under the sink into a little fridge
- The beadboard for the splashboard makes things extra cute!
- Go to town with hooks! So fun for little hands and it keeps everything organized. We did some for her tea cups above the stove and some on the side for big utensils
- A great place to find cookware is the Dollar Tree: we got a mini pot, a loaf pan and a cookie sheet.
Now let's take a look at the side...
Can you tell we just couldn't stop embellishing???
Some more fun ideas to get you going:
- Add a few vintage silhouettes
- Magnet Board: my MIL is great with clay so she made Little Miss a magnetic flower garden- all of the flower heads and the bees are magnets. This was a HUGE hit!
- Chalkboard: Add a little space for your little ones to write up a menu
Have fun! I'd love to see any toy kitchens you come up with! This one is the Grandma set :)
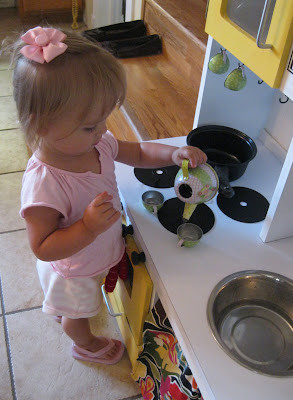
Don't forget to buy a tea set to go with it!
I hope you enjoyed this DIY play kitchen tutorial today. You might also enjoy some of our FREE Sewing Patterns or some of our other tutorials like our DIY Halloween Costumes. We also have a variety of other posts you might like: