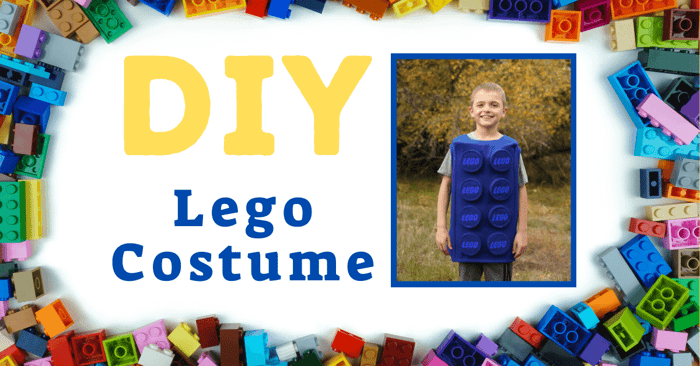
DIY Lego Costume
Get ready for Halloween with this quick and easy DIY Lego costume! My kids all love playing with Legos and my son is thrilled with how his Lego costume turned out.

When I was designing his Lego costume, I wanted to make sure it was blocky enough to look like a Lego brick, but also flexible enough for him to wear it to school all day and be able to sit down in his desk. I used felt for the body of the costume along with some interfacing and it had just the right amount of structure for this project. The basic body of this costume would also work great for any other boxy costume- cereal box, macaroni and cheese, a candy bar, etc.
To make this project in a child's medium, you'll need the following supplies:
- 1 yard of felt
- Eight 4" styrofoam craft discs (mine were 1" thick and came in a 6-pack)
- Flex Foam Interfacing or fusible heavyweight interfacing
- Heat transfer vinyl for the "Lego" letters or a puffy paint pen

We're ready to get started!
- First let's cut out our pieces for the body of the costume. For a kid's size 8/10, my finished costume is 11" wide, 24" long and has 8" side panels. I cut the following pieces:
- Front & Back Panels: Cut 2 at 12" wide and 25" long
- Side Panels: Cut 2 at 9x25"
- Top Panel: Cut 2 at 12 x 9"
- Circles for Top of Foam "Studs": Eight 4" circles
- Eight 1" strips to wrap around each stud (13" was enough to wrap around my foam circles)
*If you'd like to make this costume larger or smaller, adjust the pieces accordingly. Don't forget to include a seam allowance.
- Let's start by embellishing the felt circles with the Lego logo. If you plan to use puffy paint, I would do this after you hot glue them to the foam. If you are using HTV, this step needs to be done first. Remember to cut out your logo as a mirror image and use a press cloth when you apply the HTV, so you don't melt your felt.

- After you have the logos added to each circle, you can hot glue them to the top of each foam circle. My foam melted slightly when using a high-heat hot glue gun, so you may want to use a low-temp gun if you have one. On the plus side- they are really well attached! Next, attach the 1" strips to the sides of each foam circle. Set aside the foam studs for now.

- If you want to add interfacing to all pieces of the costume, apply the interfacing to the side panels and front and back panels now. I only added interfacing to the top and front panel on my costume since I was working with the supplies I had on hand and I didn't want the costume to be too stiff/uncomfortable to sit down in.
- Cut an armhole at the top of each side panel. I positioned my armholes 2" below the top edge of the side panel. The armholes are about 5" wide and 6" deep and he has room to wear a cut underneath. I recommend starting with an armhole around this size and then having the child try it on with whatever layers they plan to wear trick-or-treating. I know we definitely need room for a coat! After you are happy with the armhole size, you have a few options to finish the opening. You can just leave the edges raw, topstitch around the edge for some added stability or bind the edge. I chose to bind the edges of my armholes using a 1" strip of felt. I cut the felt strips to 20" long and just sandwiched it around the raw edge of the opening and topstitched it in place. Once I got back to where I started, I overlapped the pieces slightly and then trimmed the excess.
I finished my armholes after the costume was sewn together, which was a bit tricky. It's definitely much easier to do the armholes first and then sew the costume together.
- For the top panel, I used 2 layers of felt with a layer of foam interfacing in-between. A heavyweight interfacing would work well too. Cut an opening through all 3 layers (2 layers of felt and 1 of interfacing) and then try it on the child. I recommend starting on the small side and making the head hole gradually larger until it slips over the head easily. Sew the layers together along the opening. If you'd like to, you can bind the opening the same way we finished the armholes.
- Now we're ready to sew the costume together! If you haven't already done so, add interfacing to the front panel. I didn't have enough on-hand to interface the whole panel, so I just added a 1" strip of heavy-weight interfacing to the sides of the front panel and it worked great. I kept the interfacing out of my seam allowance to make sure I could get a nice, crisp edge.

- With right sides together, sew the side panels to the front and back panels. Give the edges a good press to make sure you have crisp seams. This will give the costume a "blockier" appearance. With RST sew the top panel to the body of the costume. It can be a bit tricky at the corners, but the pieces do fit together. Sew to one corner, stop with your needle down, rotate your project and then resume sewing along the next edge.

- Finish the bottom edge of the costume with a 1/2" hem.
- The last step is adding the studs to the front of the costume. Fold your costume, so it's laying as flat as possible and evenly space the studs down the front of the costume. Secure each stud with hot glue.

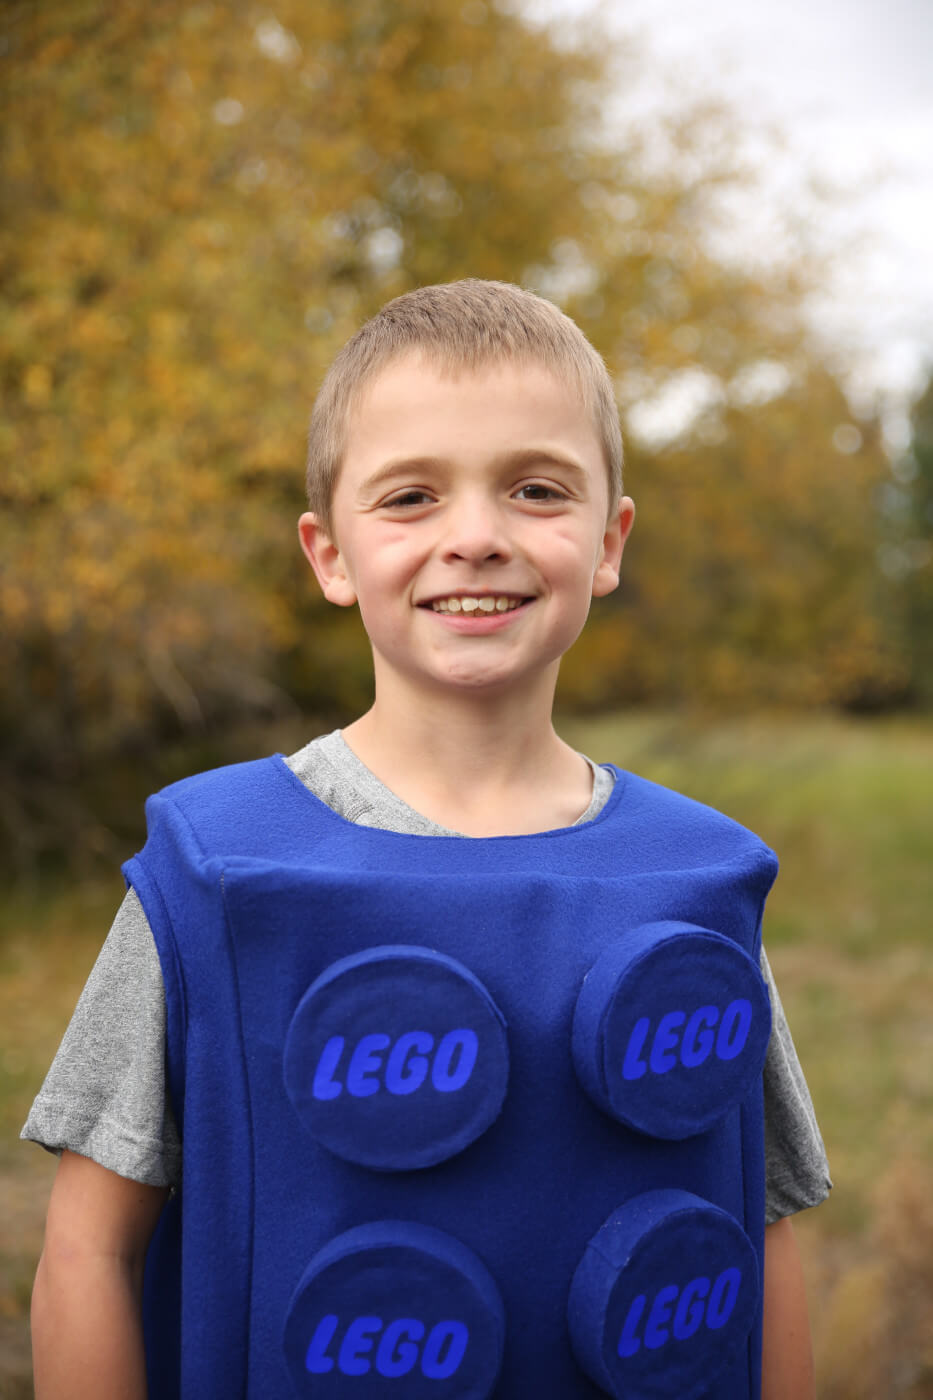
Congratulations! Your DIY Lego Costume is now complete! Throw it on a happy kid and get ready for lots of fun this Halloween!