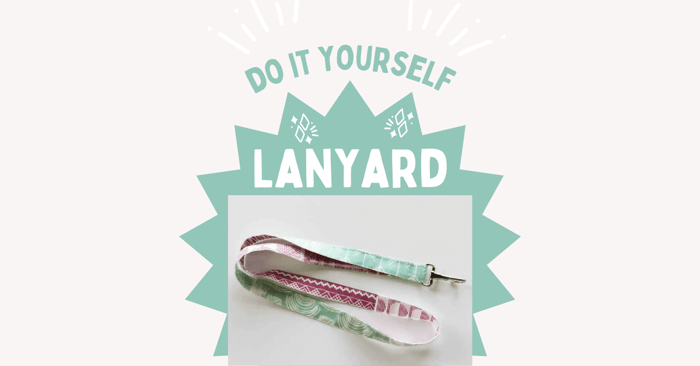
DIY Lanyard: Simple Step-by-Step Tutorial
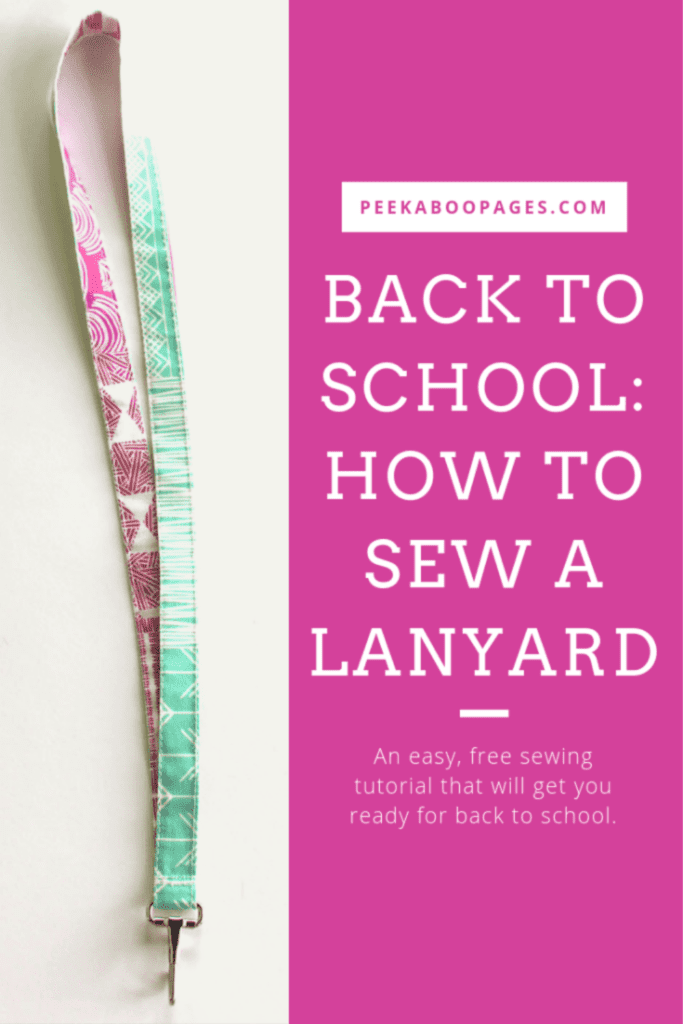
Today we’re here to show you how to make a DIY lanyard. This is a simple sewing project that’s perfect for beginners. Are you tired of losing your keys or ID cards all the time? This can be a lifesaver for those who need to keep their essentials close and secure. However, store-bought lanyards can be expensive and not always match your style. From understanding the basics of a DIY fabric lanyard to the essential items required for the project, we have got you covered. We will guide you through preparing the fabric, constructing the lanyard, attaching hardware, and more. You can even customize your DIY lanyard to make it uniquely yours! So let's get started on this fun and easy project.
With all that being said, here is an easy, fast tutorialthat will get you or your kiddos ready for the new year.
How easy or difficult is it to make a DIY lanyard?
Making a DIY lanyard is a relatively easy project that requires basic sewing skills. With the right materials, clear instructions, and a bit of patience, anyone can create their own personalized lanyard in no time. It's a fun and rewarding DIY project for beginners and experienced crafters alike.
DIY Lanyard | Free How to Make a Lanyard Tutorial
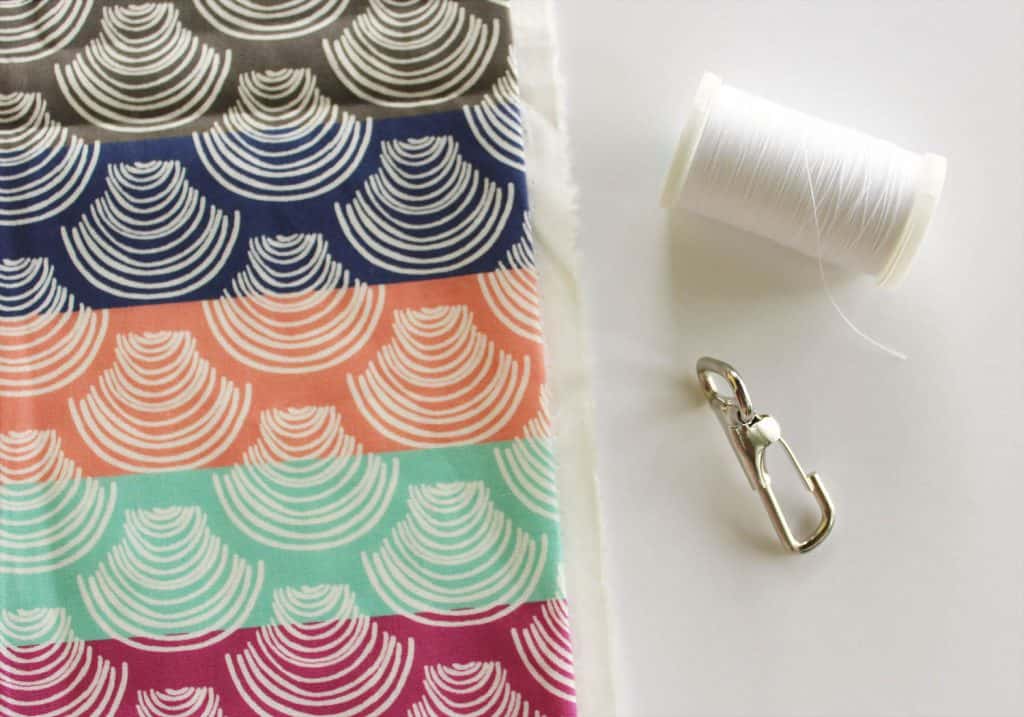
Supplies Needed for Lanyards
- 1/4 Yard of 42″ – 44″ strip of fabric or a fabric scrap that is at least 3″ x 42″ long for the lanyard.
- Swivel clasp or lobster clasp (shown here.)
- Matching thread.
- Break-Away Key Chain Hardware Clasp or Snap Hook (optional- assembly will vary slightly depending on which hardware you purchase. A good selection is available here)
- Sewing Machine
How to Sew a Lanyard
Step 1: Using 1/4 yard of fabric or fabric scrap, cut a fabric strip measuring 3″ wide x 38″ long for your lanyard. If you have a rotary cutter and ruler, use it to create an accurate cut. If not, you can use scissors, take your time and cut the piece of fabric as straight as possible.
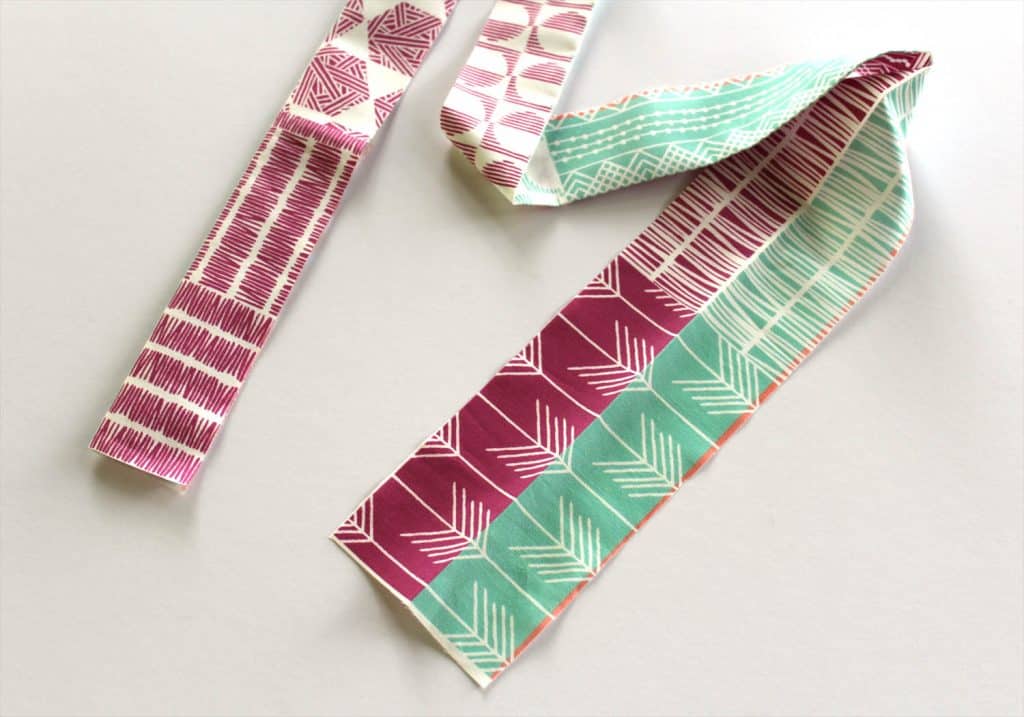
Step 2: Once your long strip is cut, fold it, iron it in half, wrong sides together.
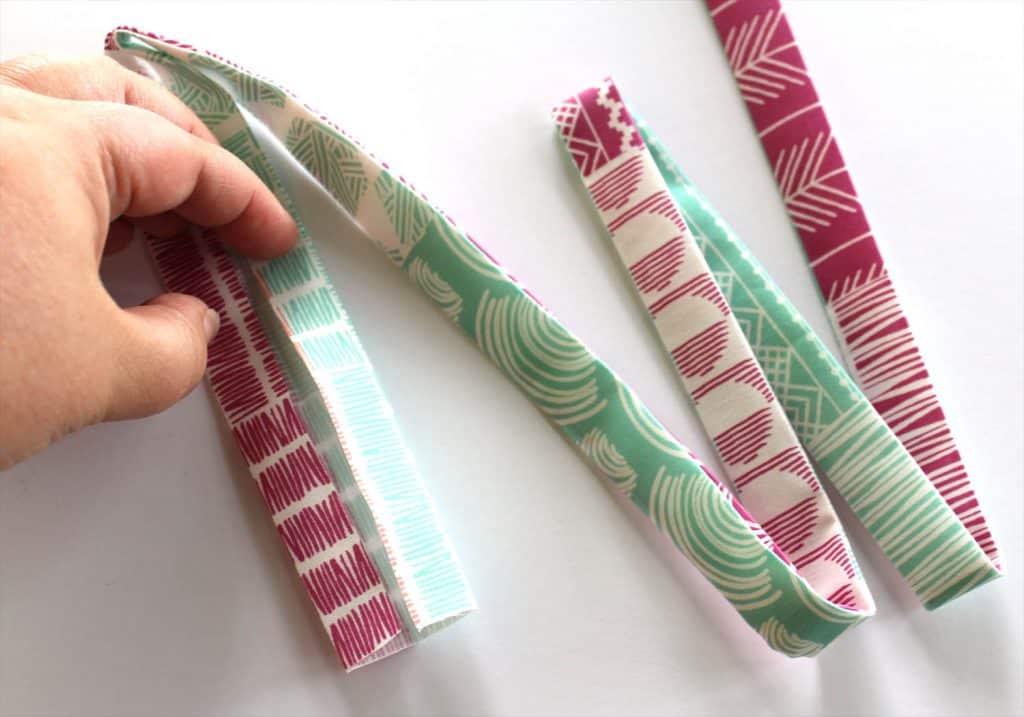
Step 3: Open up the ironed fabric and fold in the raw edges toward the fold in the middle. Iron. Fold the strip closed, press again. You should now have a long strip that measures roughly 3/4″ by 38″ long between the ends of the lanyard.
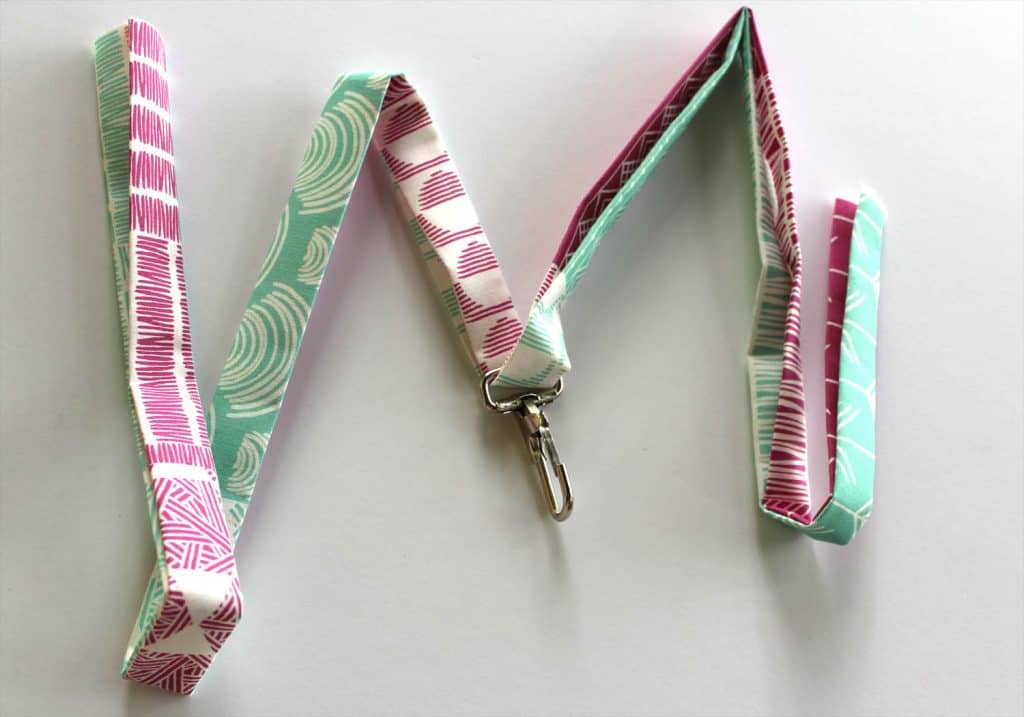
Step 4: Now is the time to thread your clasp onto the fabric. Place it somewhere in the middle of the folded fabric.
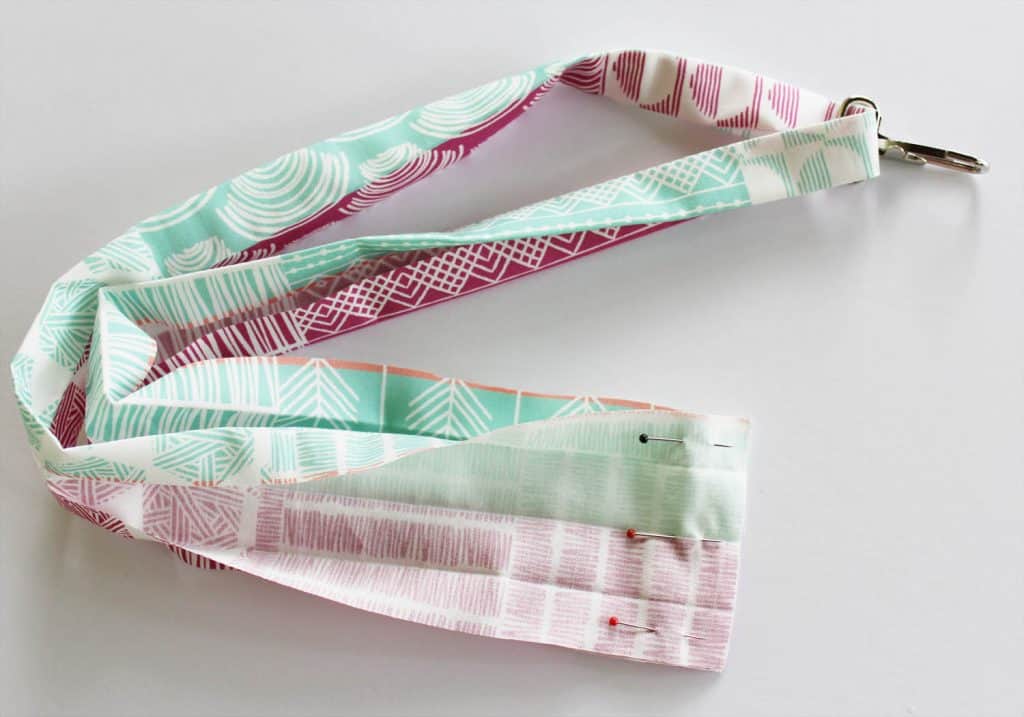
Step 5: Take the two short unfinished ends and open them up. Pin or use sewing clips to put them together, right sides together, matching fold lines and edges as shown above.
Breakaway DIY Lanyard
We should also mention at this point that you can make a “breakaway diy lanyard” with a simple modification. All you have to do is change up the hardware a bit and add a breakaway clasp. You can generally find both plastic and metal clasps just on Amazon.
The breakaway clasp definitely adds something, especially if you’re using it for keys, as you don’t have to take it off your neck every time you need to access the keys to unlock something.
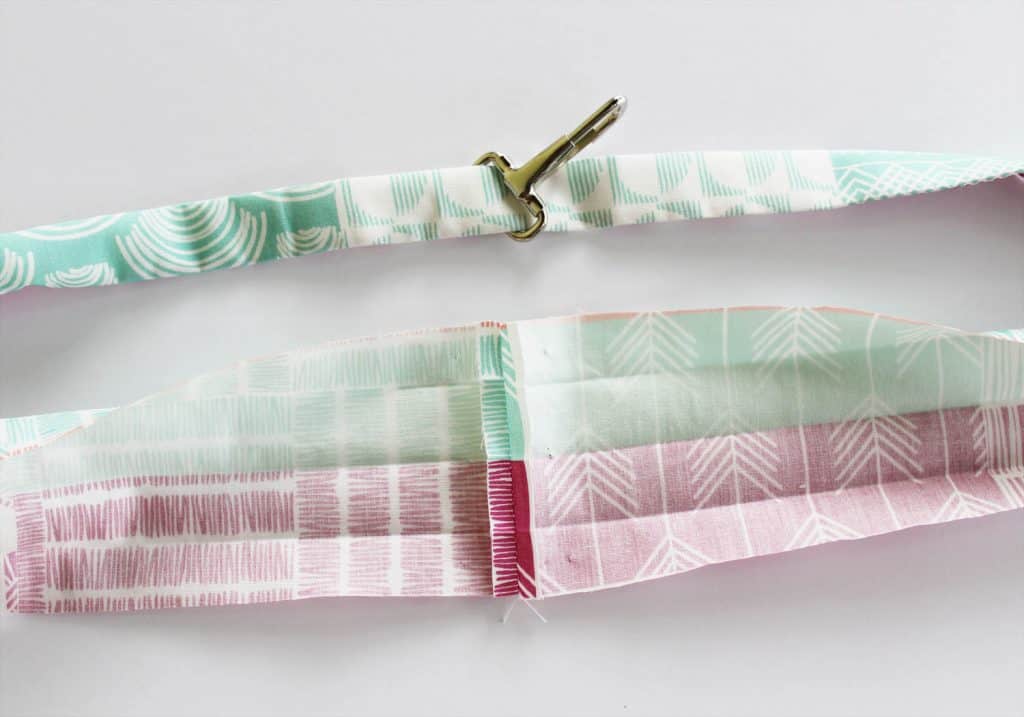
Step 6: Now that you have your clasp hardware in, use a straight stitch to sew the seam using a 1/4″ seam allowance. Press seam open.
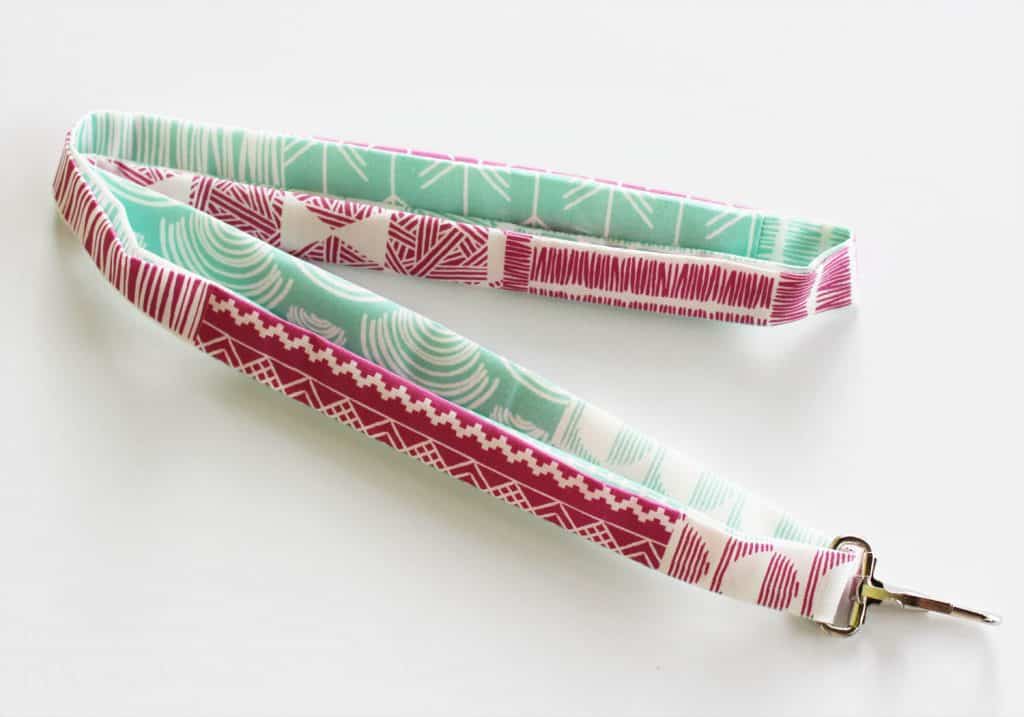
Step 7: Fold the strap back into place and press again if needed. You will now have a fabric loop with a clasp on it. Using pins or clips, clip every 6″ – 8″ around the strap, holding the open edge closed.
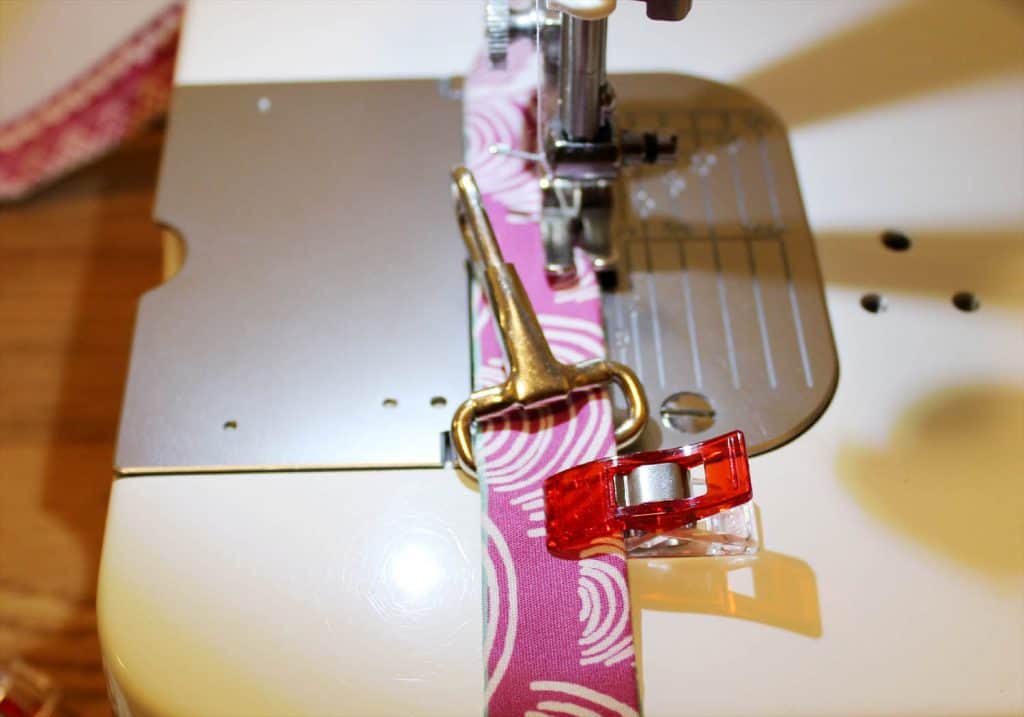
Step 8: Finally, using a 2.5 inch stitch length and matching thread sew the open edge closed. Sew as close to the edge as you can or 1/8″ away from the edge. You are sewing in a circle so when you get to the clasp, move the clip or pin and push the clasp out of the way. Sew all the way around the lanyard until you meet back up with the beginning stitches.
Now sew on the other side (the folded edge) sewing close to the edge or about 1/8″ from the edge. Sew all the way around until you meet back up with the beginning stitches. This line of stitches is done purely for decoration and can be skipped if you choose.
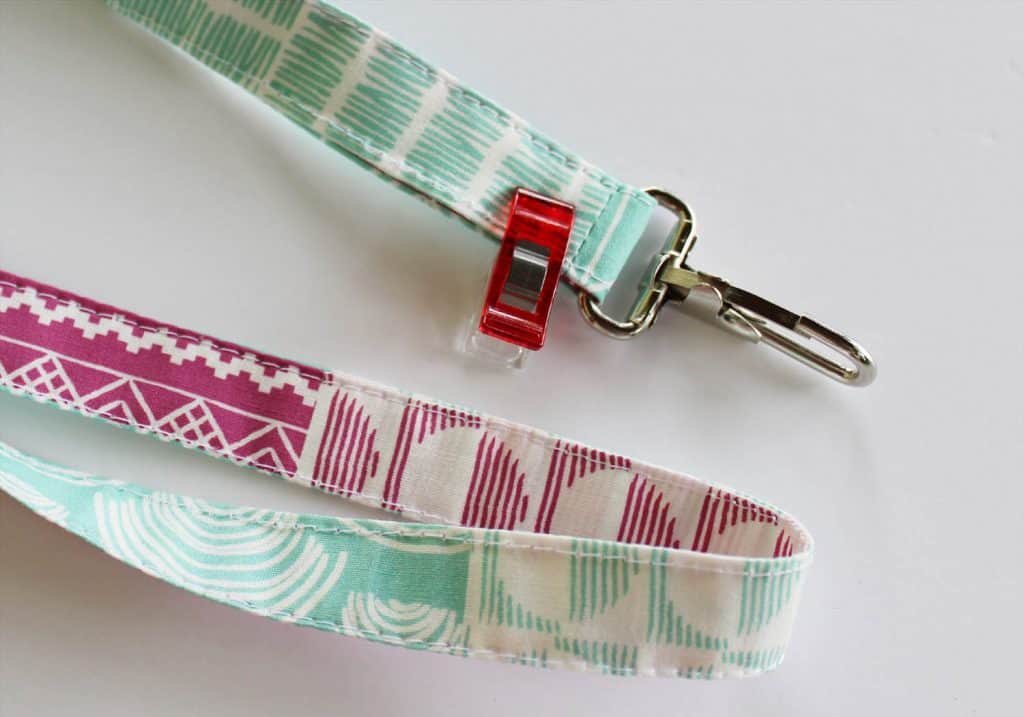
Step 9: It is now time to sew it together and keep the clasp at the end of the lanyard from moving around. I like to find the seam (where the shorts ends were joined) and move the clasp right next to that seam. You can see that seam in the photo above, to the right of the red clip. Sandwich the clasp between the strap and pin or clip the two sides of the strap together.
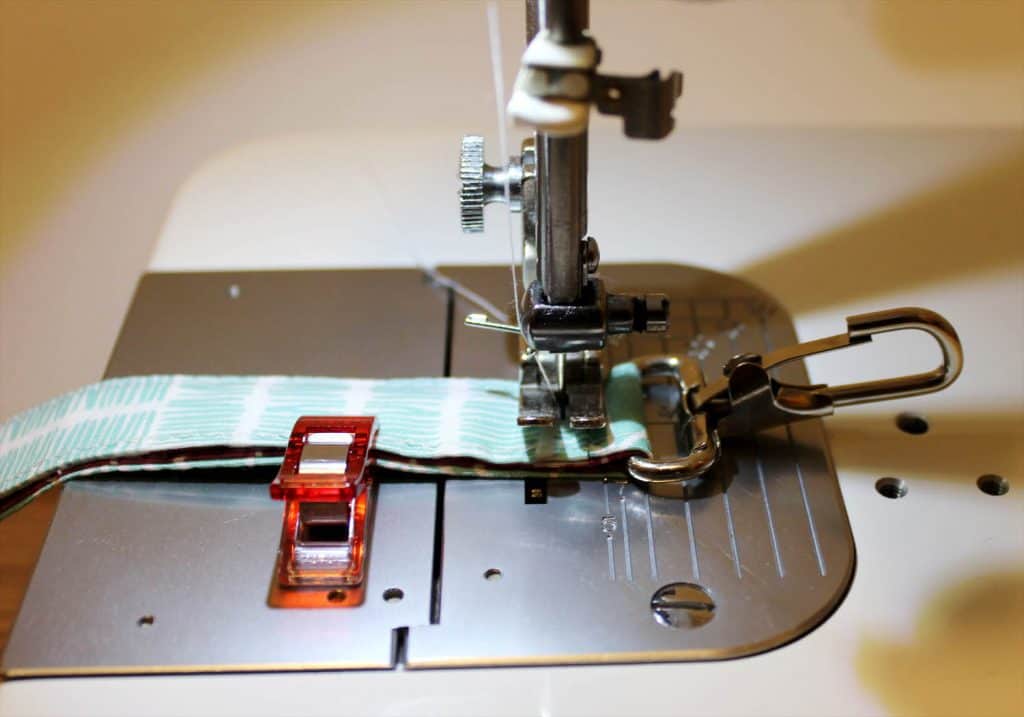
Step 10: Place the presser foot right next to the clasp bottom (not on top of the clasp.) You may have to move your pin or clip. Sew the strap together, making sure to backstitch at each end, reinforcing the seam. Trim threads. Sew another seam 1/8″ – 1/4″ away from the original seam (moving clasp further from the presser foot.) Back-stitch at each end. This second line of stitching helps to reinforce the homemade lanyards. Trim threads.
Congratulations! You finished! Clip on your credentials or keys, slide it on your neck and have a great school year! You might also like our Back to School Sewing Checklist if you liked this project.
Should I Use Interfacing?
Interfacing is a valuable tool to consider when making your own lanyard. Interfacing is a material that is used to add structure and stability to fabric. It can be especially beneficial when working with lightweight or flimsy fabrics, as it helps the lanyard maintain its shape and durability. By adding interfacing to your DIY lanyard, you can ensure that it will withstand the rigors of everyday use and maintain its professional appearance. Additionally, interfacing can also provide added comfort by preventing the lanyard from digging into your neck or rubbing against your skin. Overall, using interfacing is a smart choice for anyone looking to create a high-quality, long-lasting lanyard.
Companion Key Fob Project
Also, since we’re on a thing with lanyards, I thought I’d point out to you another great blog post we have here – the DIY Key Fob:
The key fob comes in handy for keeping track of your keys. Our blog contributor Kelly provides an excellent, step-by-step tutorial on how to make the leather key fob from just a leather scrap (1″x10″, a key ring, and a swivel clasp). On top of that, she’ll give you a few tips and tricks for sewing with leather. Like the lanyard, the key fob makes an excellent quick gift and is a good project for a beginner. Go take a look.
Thanks again for stopping by for the the lanyard. I hope you enjoyed it and can start making something special for someone. If you need help with a sewing project or want to share what you’re making be sure to join our Peek-a-Boo Pattern Shop Facebook Group.
We also keep our hundreds of sewing patterns over at Peek-a-Boo Pattern Shop. Sewists love how easy it is to make professional looking clothing with our patterns. We also carry a wide variety of apparel fabrics over at KnitFabric.com – where we strive to have high quality fabrics, at better prices, with flat rate shipping. Come and see us today.
Happy sewing!
