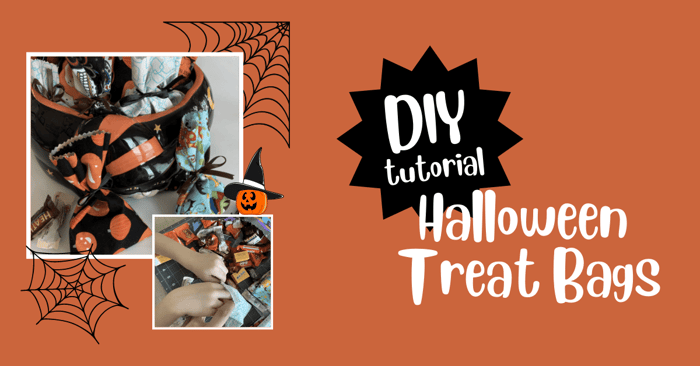
DIY Halloween Treat Bags | Free Tutorials
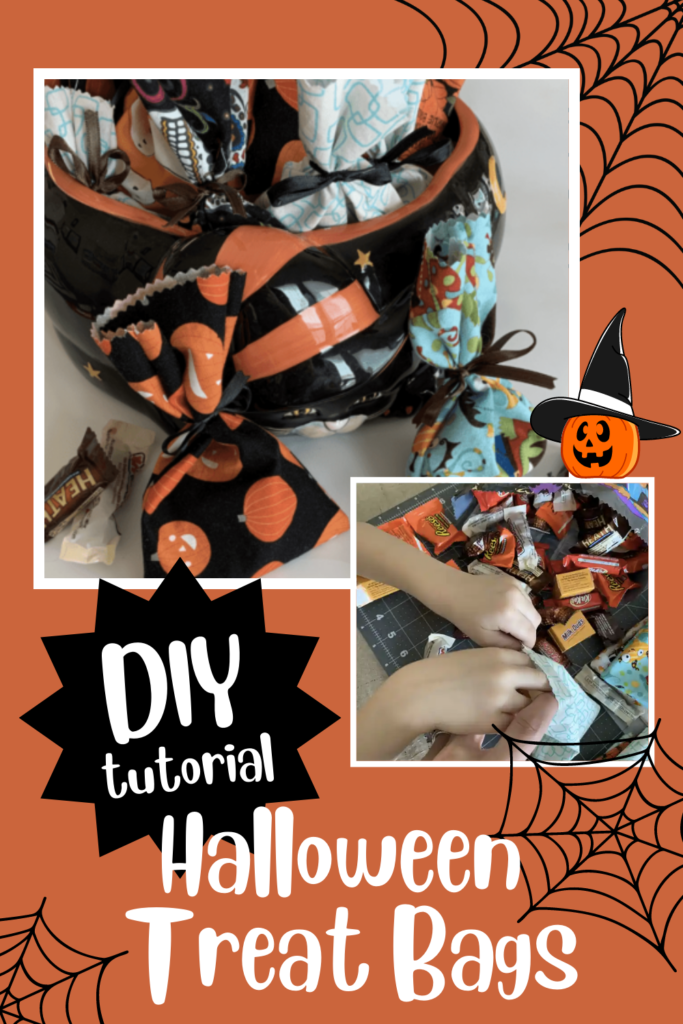
Hello, again my friends! It’s Stephanie from Stephie B’s Designs here again with another fun Halloween project as we get closer and closer to pumpkins, trick or treating, and costumes (oh my!)… DIY Halloween treat bags!
Trick or treating will look very different this year in neighborhoods across the country, but I’m sure we can agree that we all still want to make it magical and wonderful for our little ones.
I’ve seen tube chutes, wire contraptions, doggie go-betweens, and so many other fantastic ideas floating around social media to maintain social distancing while still allowing kids to take part in this fun tradition. I think these super fun, super easy, and potentially long-lasting treat bags are just the ticket. 🙂
So let’s get started!
DIY Halloween Treat Bags | Treat Bag Ideas for Halloween
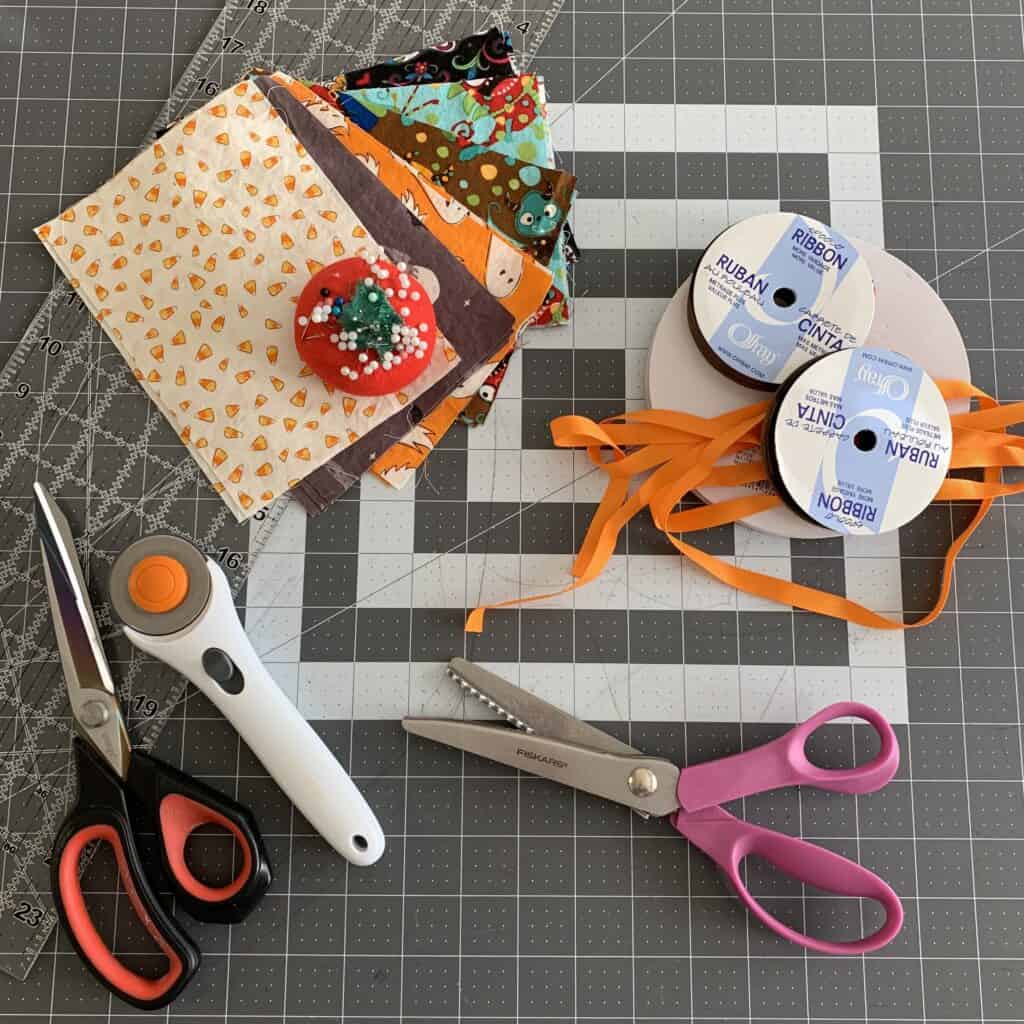
DIY Halloween Treat Bags Supplies Needed:
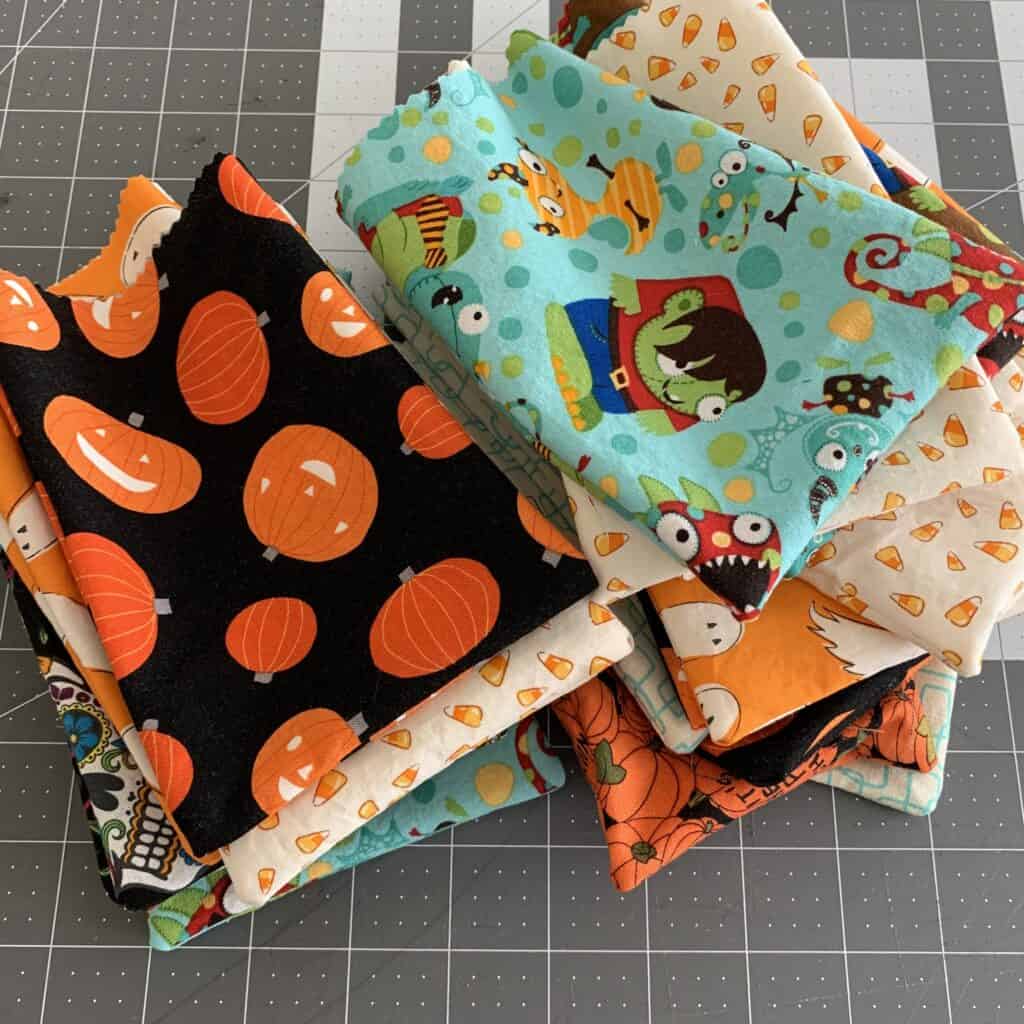
- Halloween (or any cute!) fabric.
- Ribbon. I recommend 1/4″ satin, but you can use whatever you have on hand.
- Scissors or a rotary cutter and self healing mat.
- Pinking shears. Optional – but highly recommended
- Pins or clips.
- Treats.
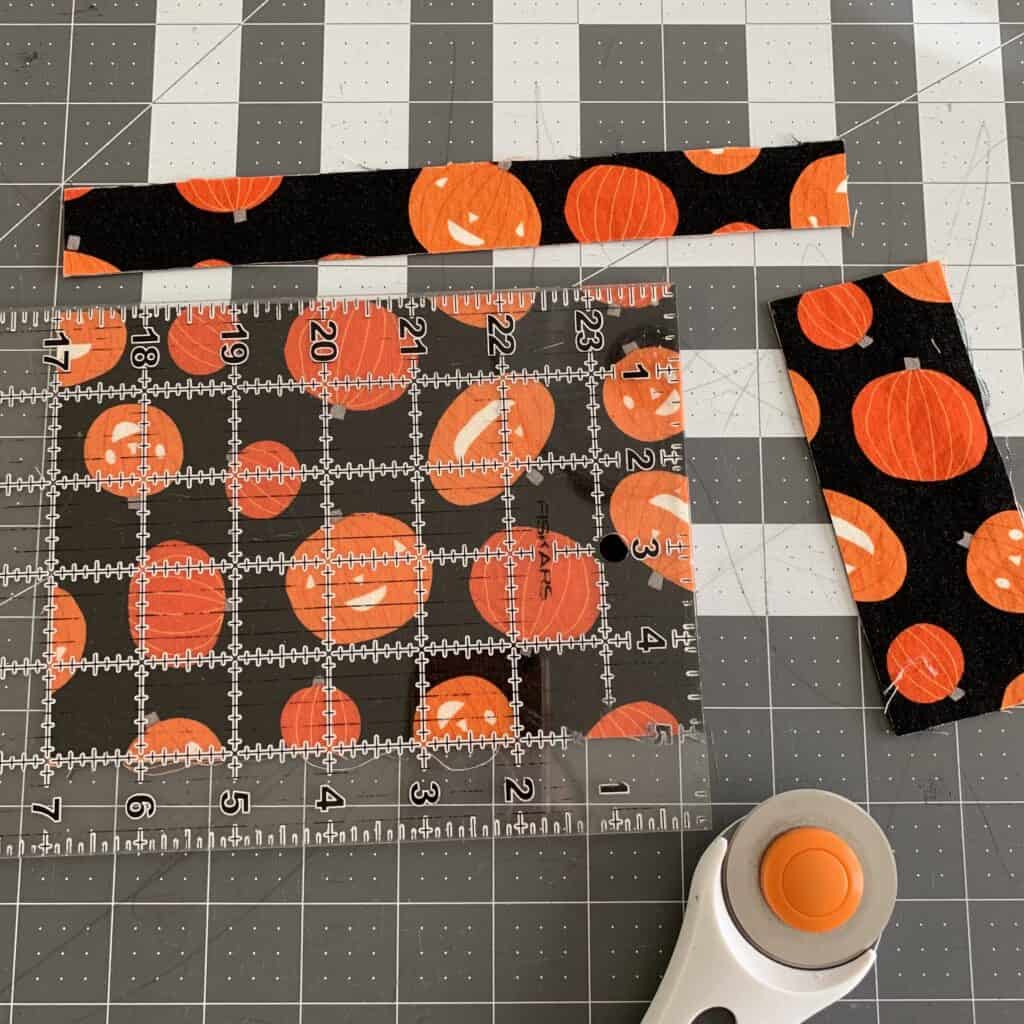
Treat Bags Step 1: Cut out fabric for your bags.
I made two different pieces of fabric for one (lazy!) reason… I already had a ton cut out for masks!
One was 5″x7″ – the size of a kid’s pleated mask – and the other was 6″x4.5″ – an adult sized pleated mask cut in half. Use what you have, right?!
You’ll need two pieces for each treat bag.
Treat Bags Step 2: Prep Your Bags for Sewing
Place your two pieces together, with right sides together.
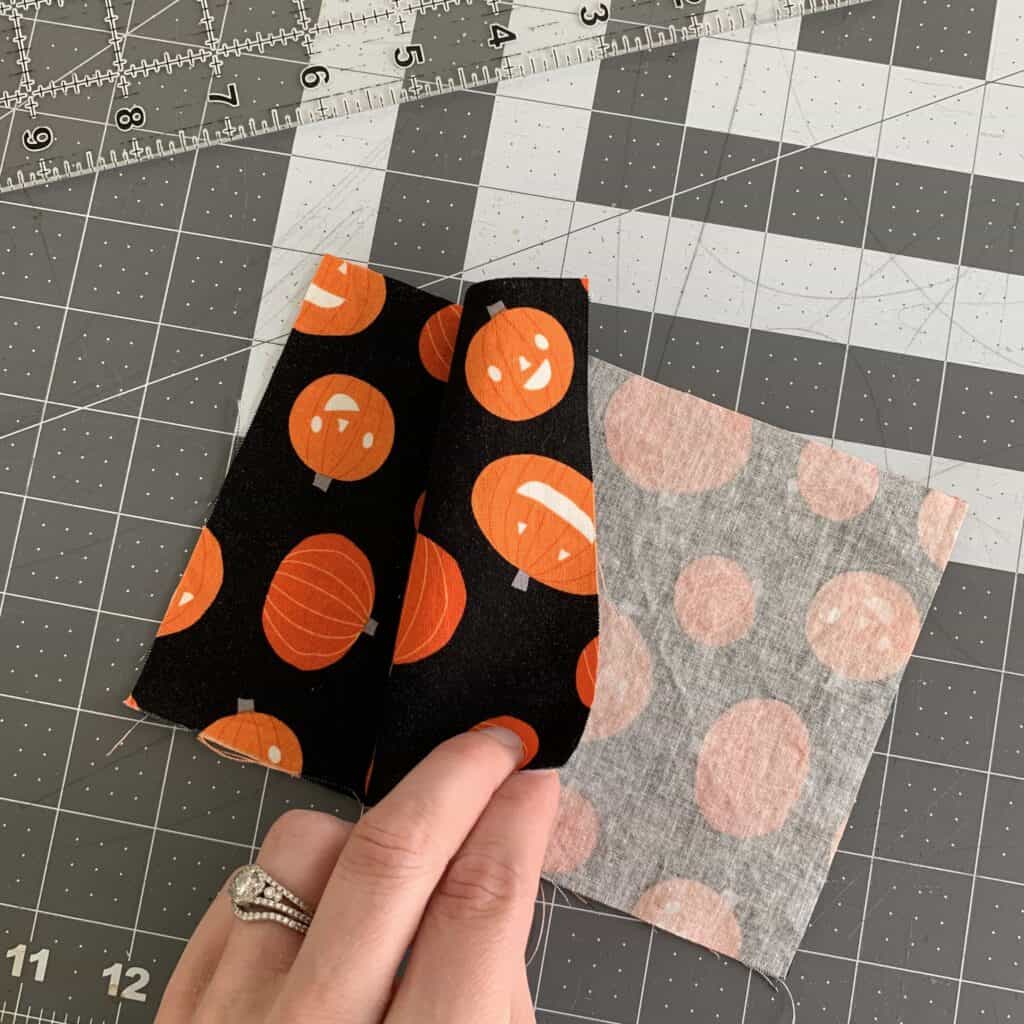
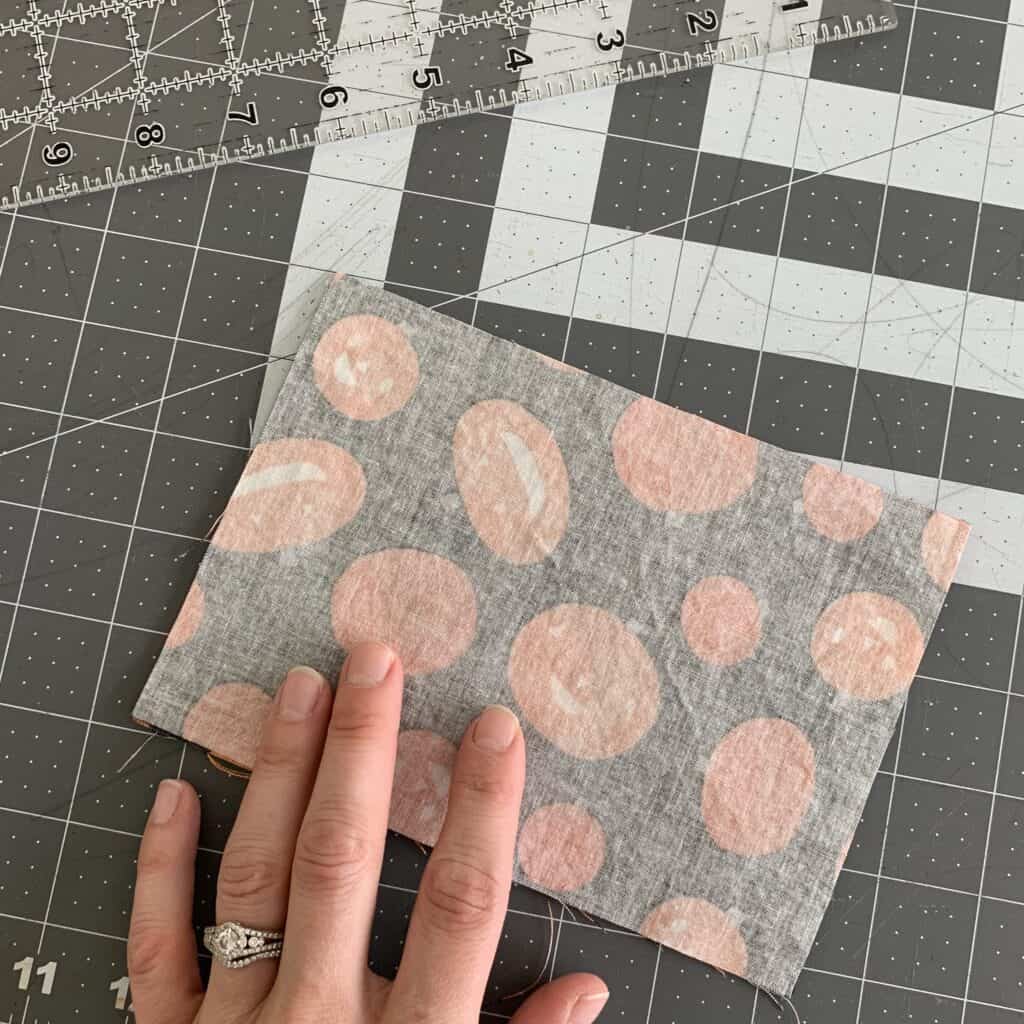
Pin or clip in place.
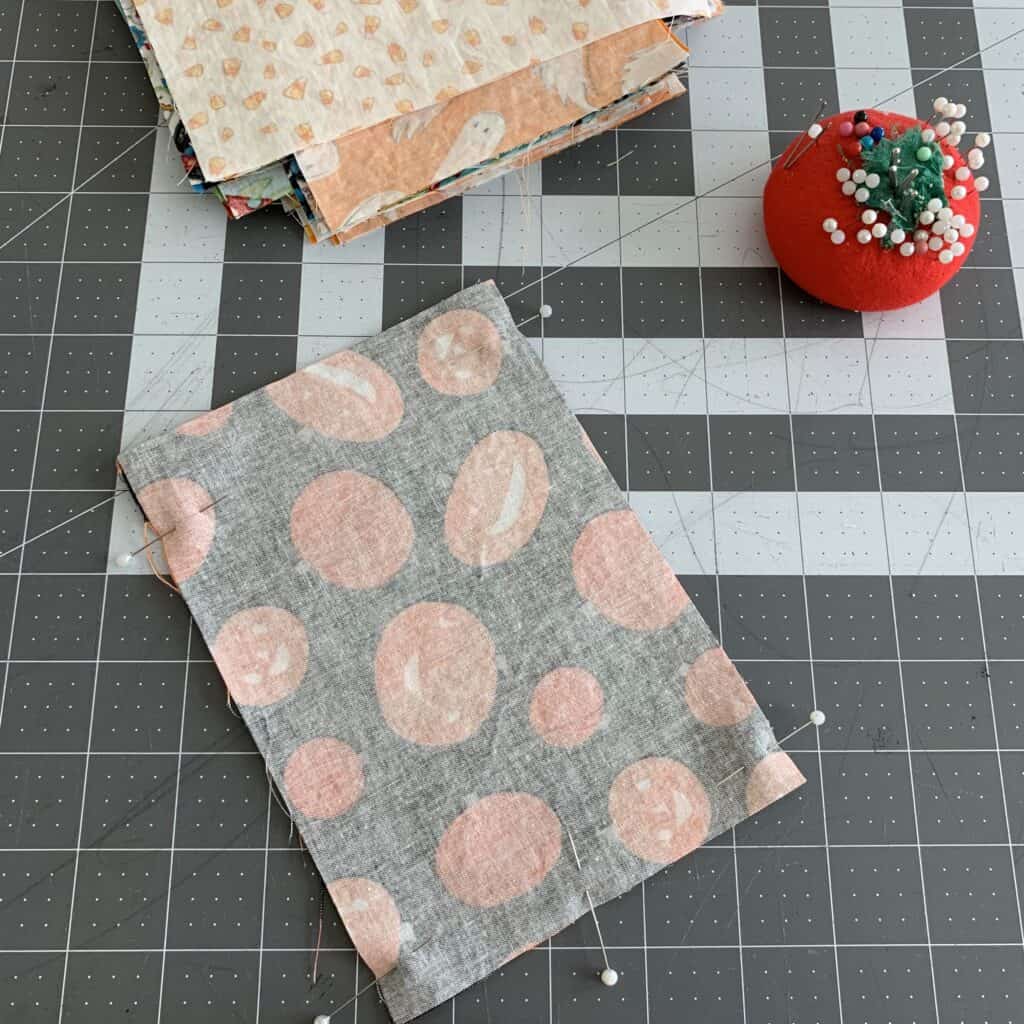
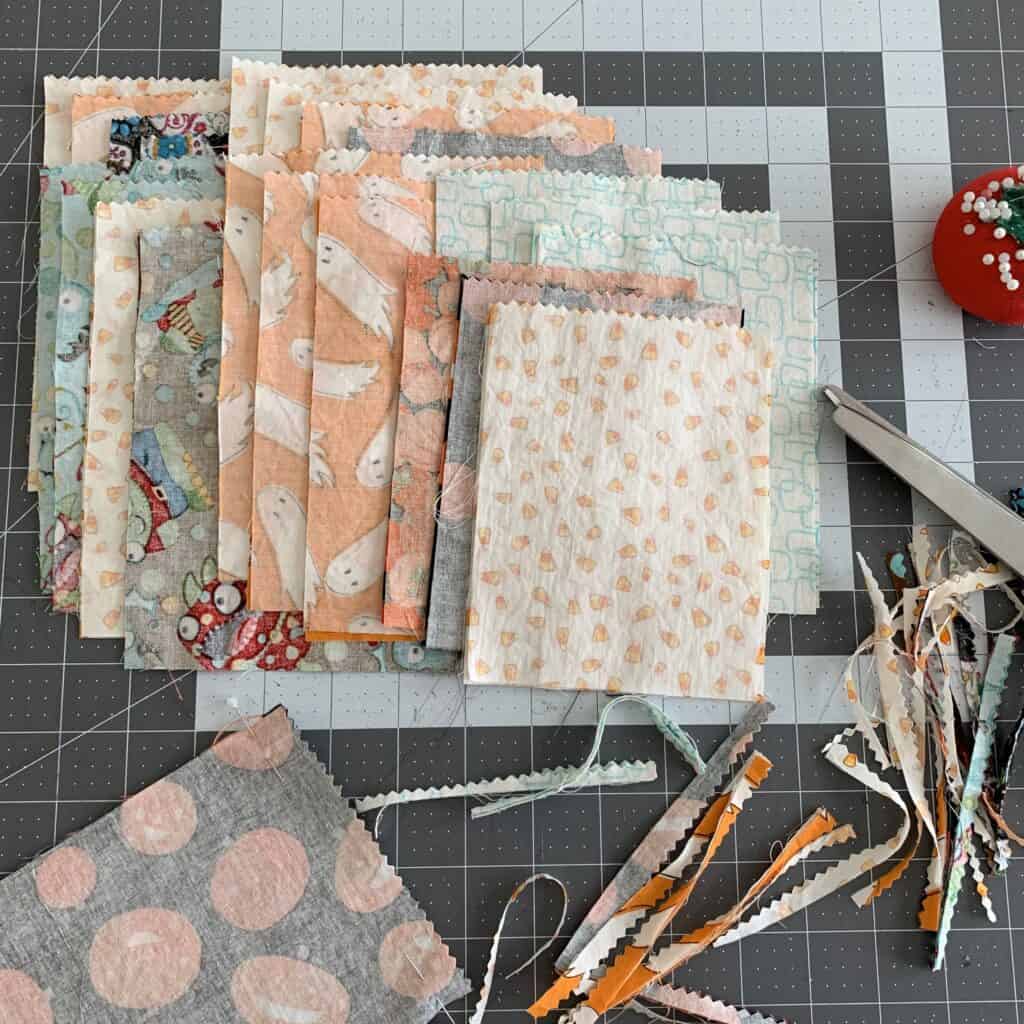
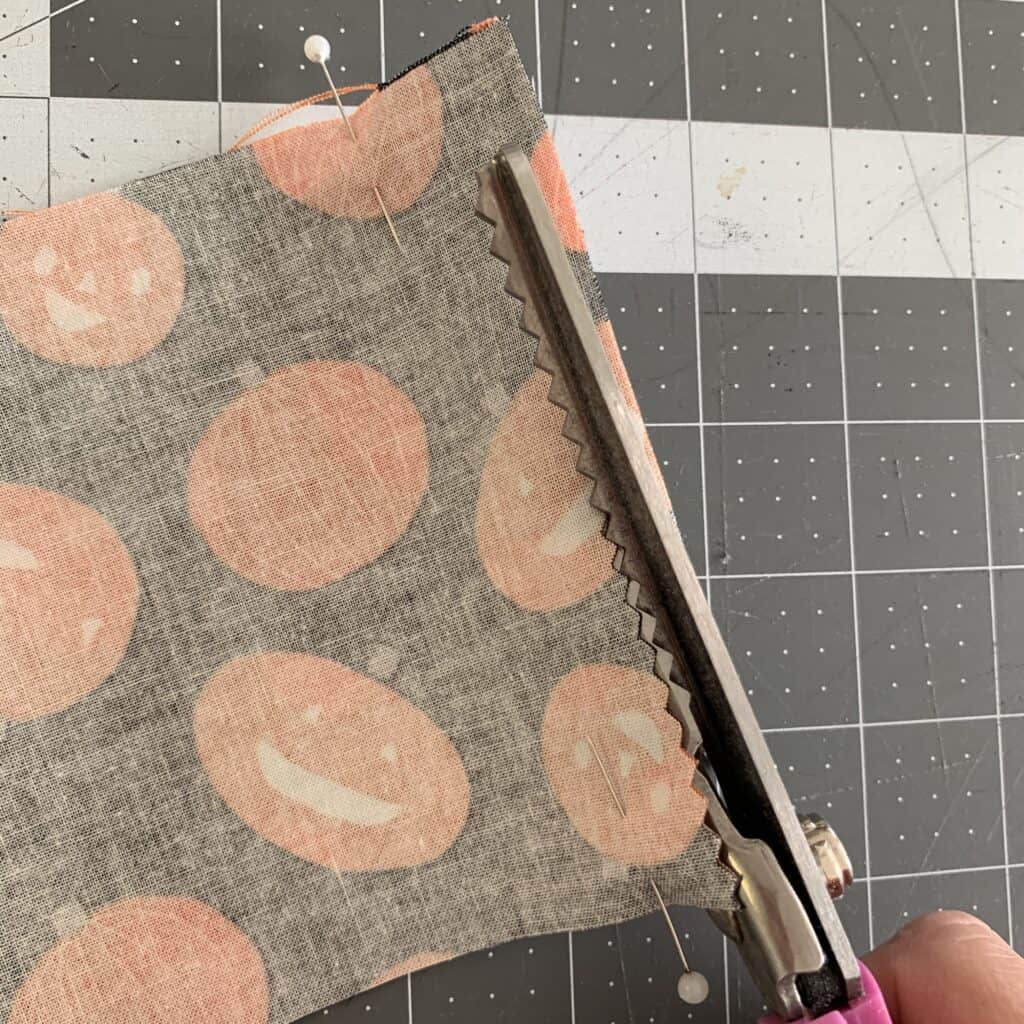
Optional… I cut the tops off each treat bag with my pinking shears to avoid fraying. If you don’t have pinking shears, no biggie! You can leave the edges raw and the bags will still look great and work perfectly.
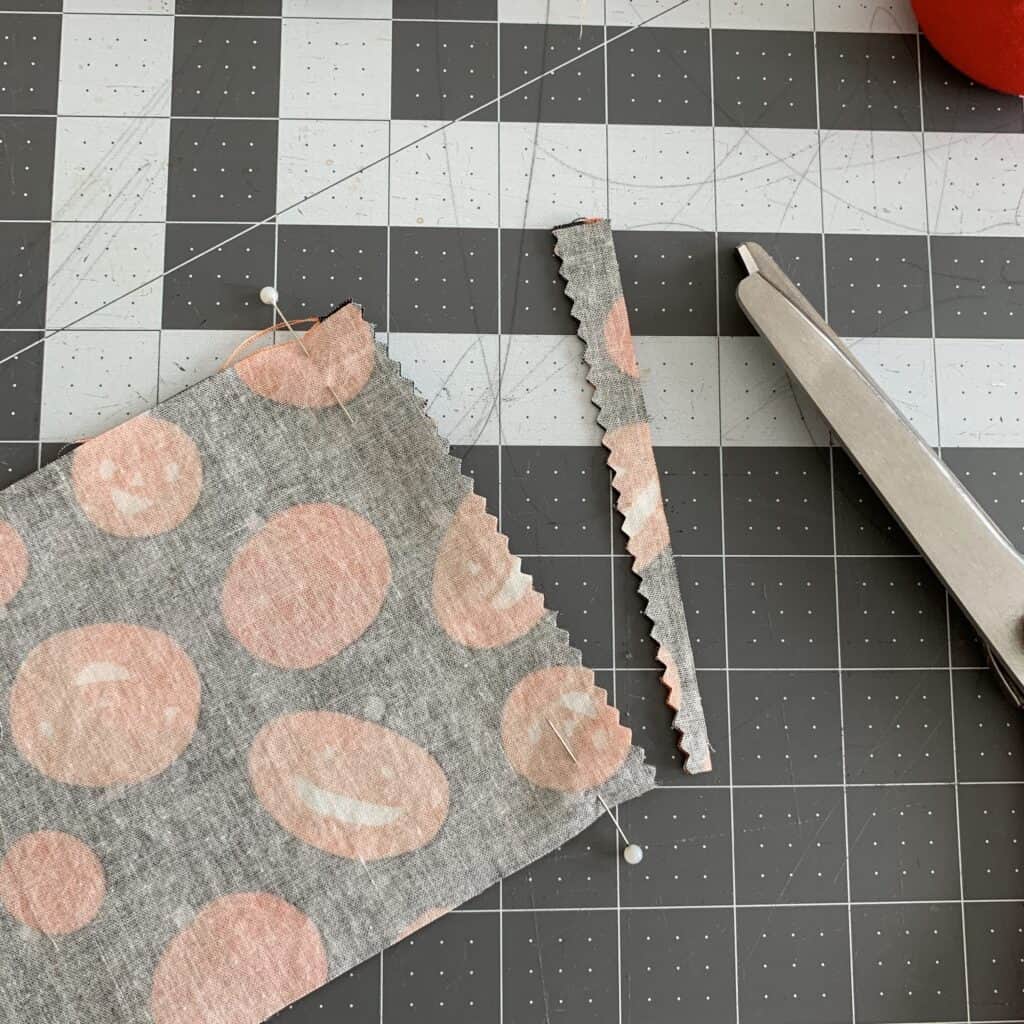
And if you cut off the top a bit crooked as I did… oh well! There will be treats inside… no one will notice! 🙂
With the pieces I already had on hand and a few others that I ended up cutting, I prepped 20 bags in about 30 minutes. Love that!
Treat Bags Step 3: Make Your Bags
I tend to use a 1/4″ seam allowance (SA) whenever possible, but feel free to use what you’re comfortable with. They’re your bags – you get to choose!
Sew down one side, across the bottom, and up the other side, making sure to backstitch as you start and finish.
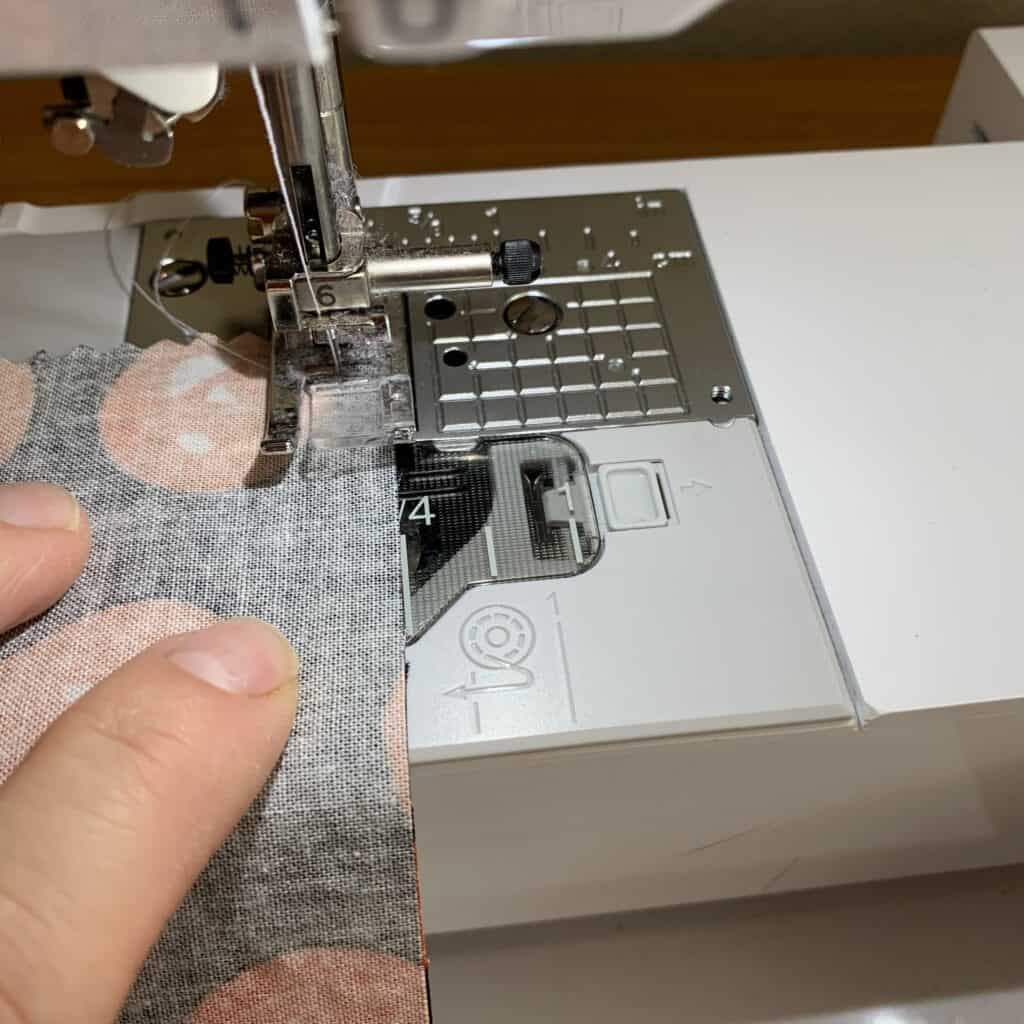
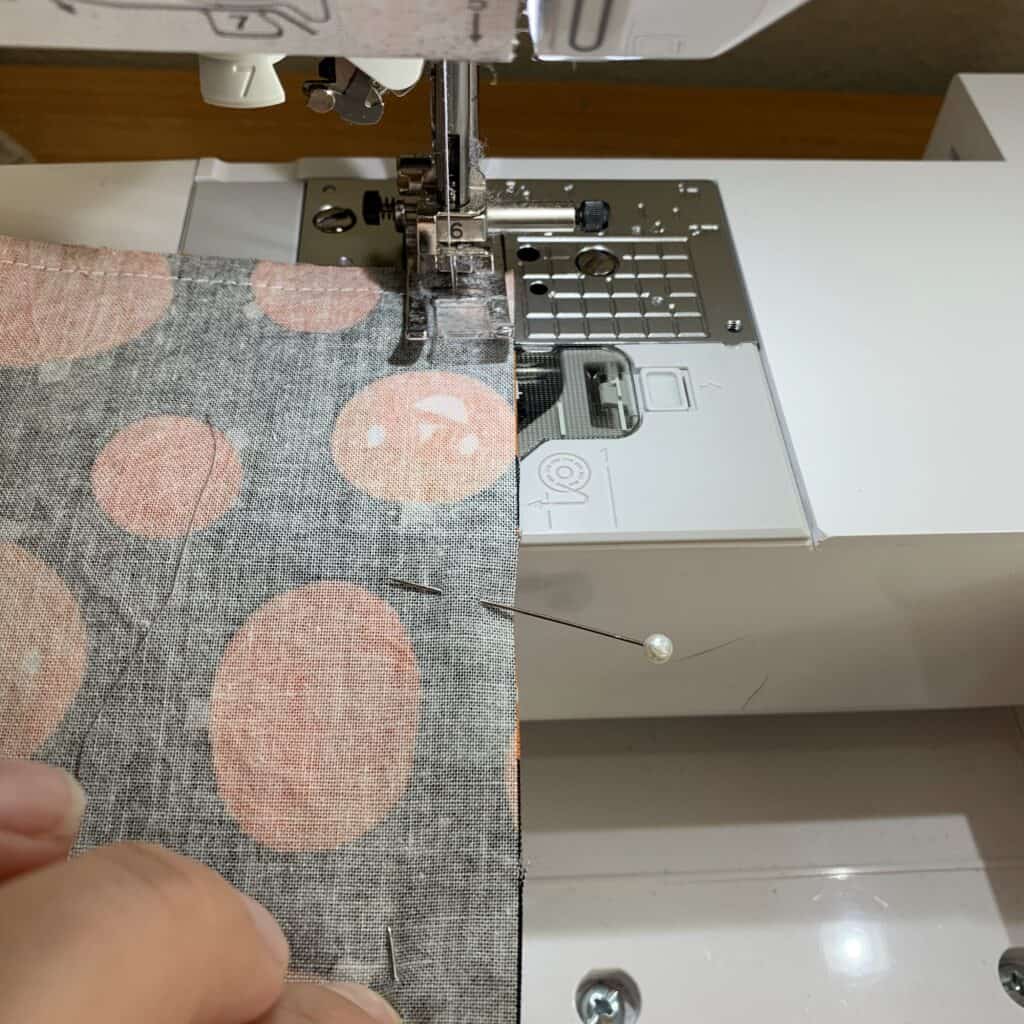
That’s all the sewing that’s involved with this project!
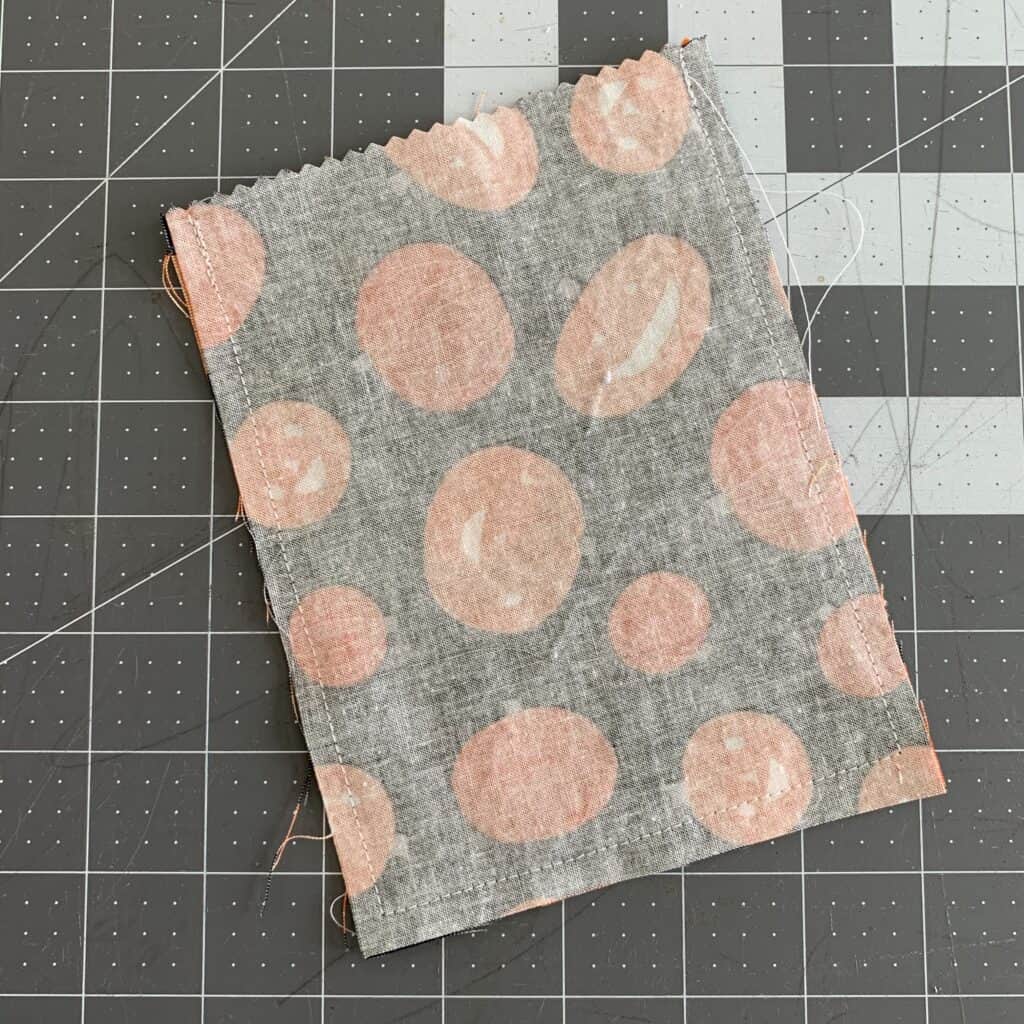
Trim the bottom corners (more about trimming here: Reducing Bulk), flip right-side-out, then clip stray threads.
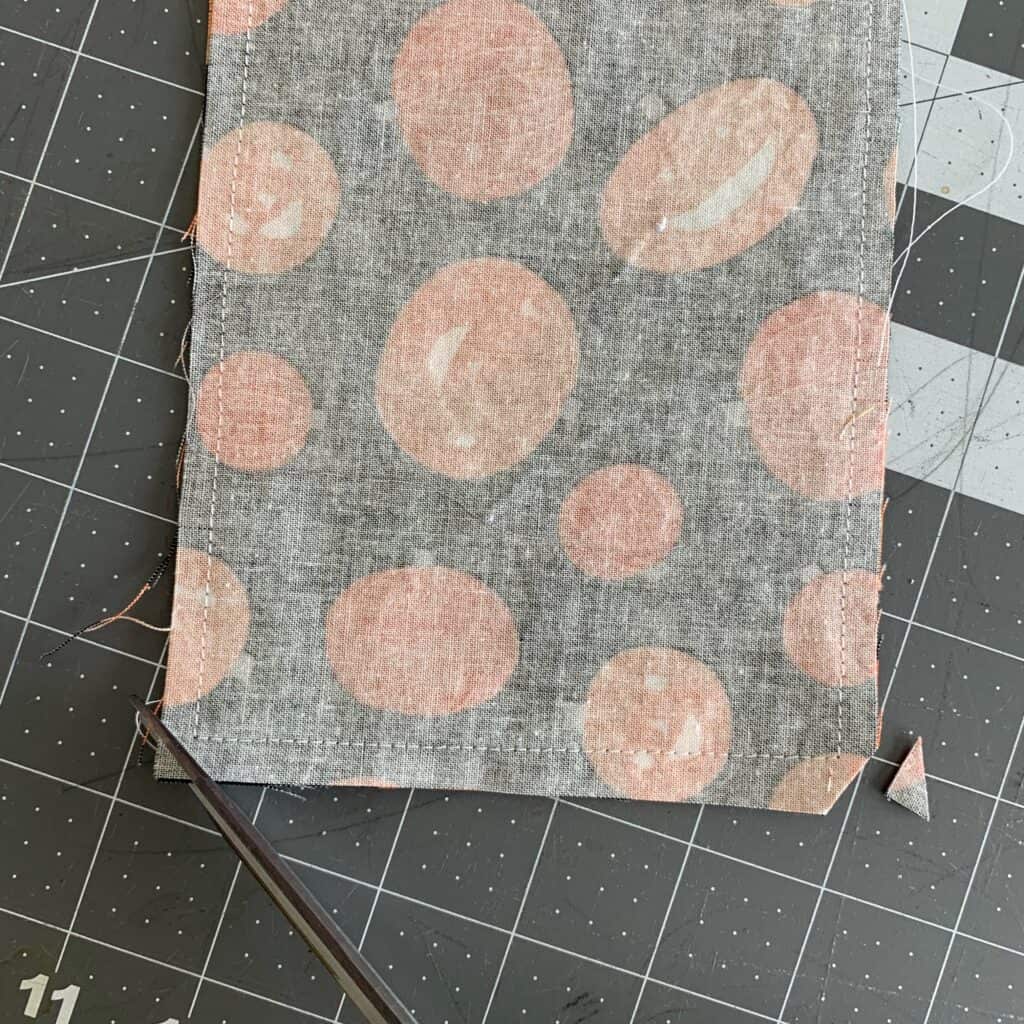
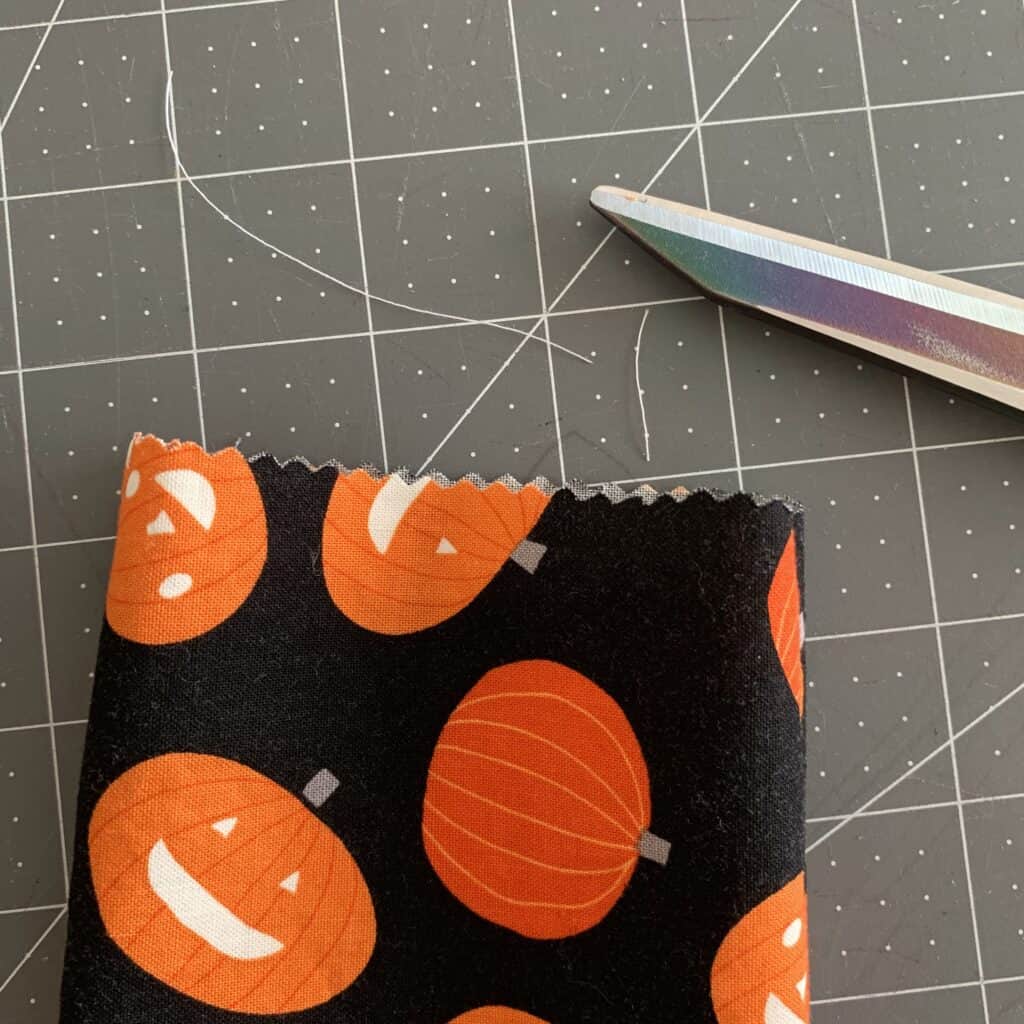
There you have it! One more step to go!
Treat Bags Step 4: Fill with Treats and Tie.
This is the fun part… add your treats!
My 4yo got involved with this step (and snuck a few pieces of candy while he was at it. Probably more than he’s had this entire year!).
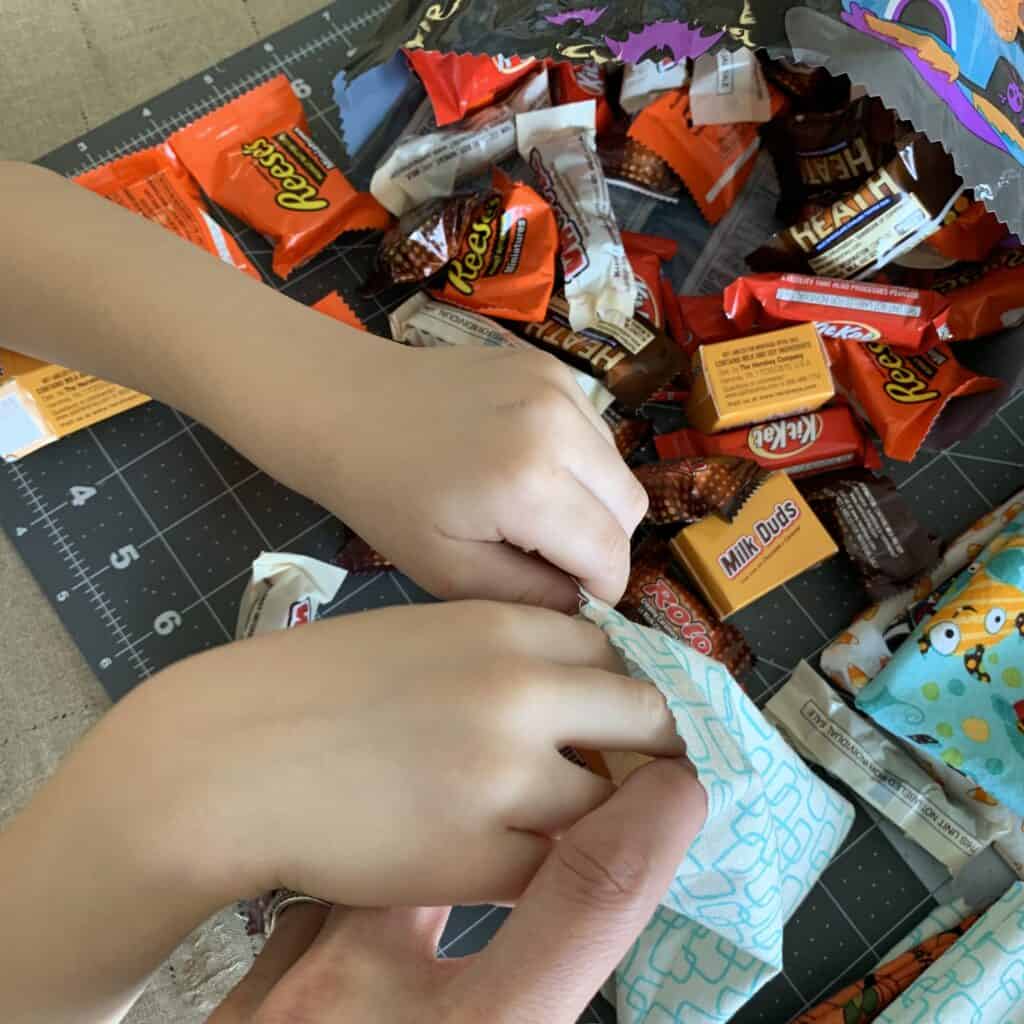
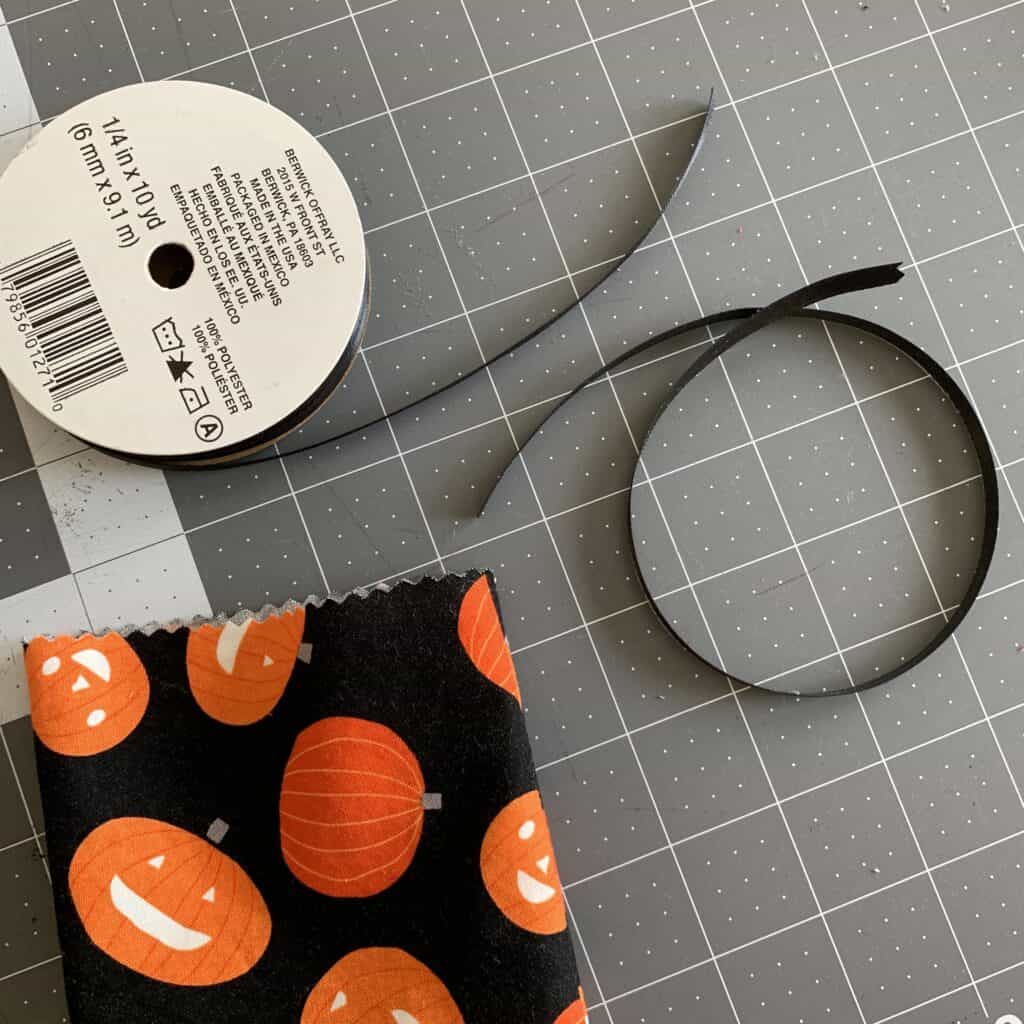
Once the treats are in, tie off the bag with strips of ribbon – anywhere between 10″-13″ should be perfect.
And that’s that!!!
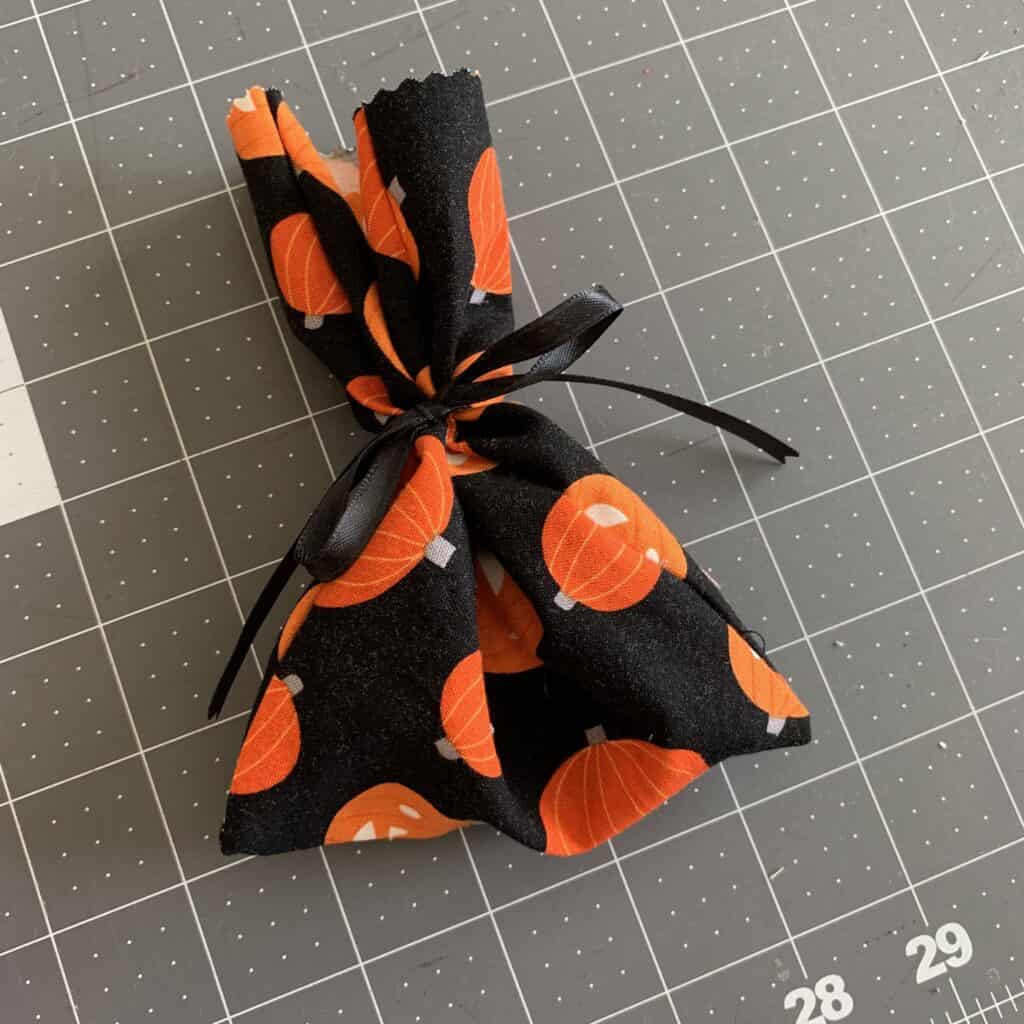
How adorable are these?! I hope each one makes someone smile. 🙂
Thank you for joining Stephanie today to learn about her Halloween treat bag ideas. She has so many great DIY projects - these little bags would make great party favors too. You could do them in so many sizes, even big enough to fit small toys, candy bars, or other trinkets. Here's a few other treat bags we found from around the web that are fun easy crafts that will beat a plastic bag any time of year!
Top 5 Other Halloween Treat Bags
We think we have the best Halloween treat bag tutorial around – especially for sewing. But it’s so fun to look at these that we decided to show you a few others we found on the internet.
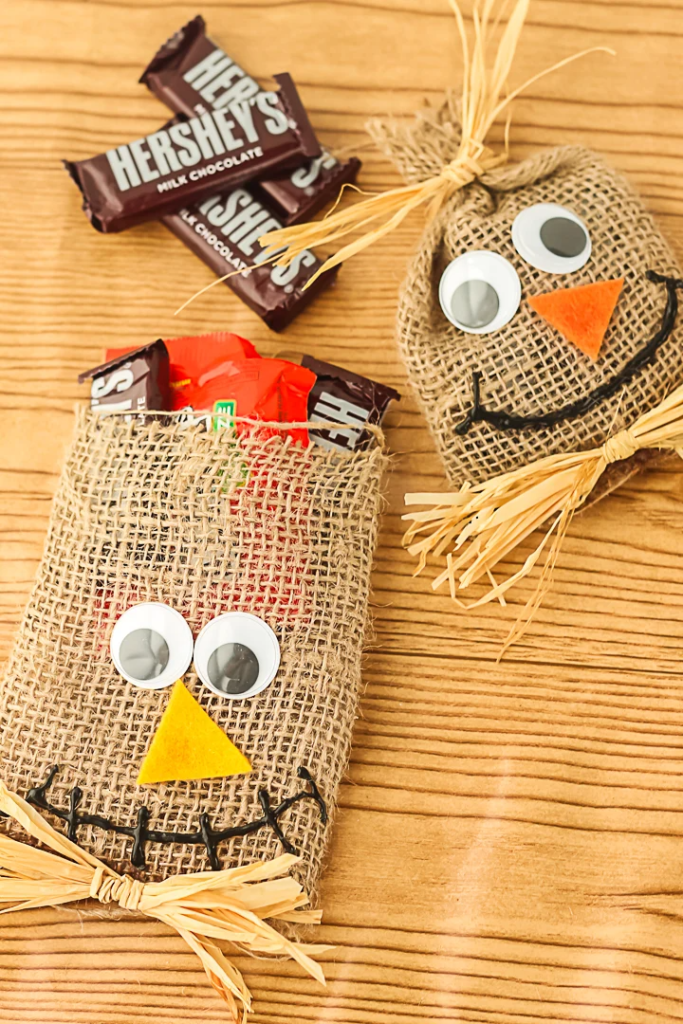
Scarecrow DIY Halloween Treat Bags
These fun treat bags are made from burlap and raffia. Add some felt, googly eyes, and fabric glue to get this fun look for Halloween.
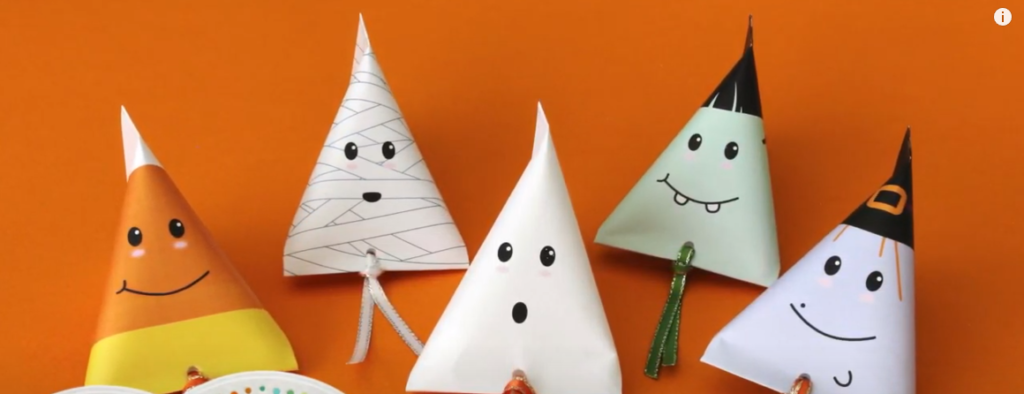
Halloween Ghost Treat Boxes
This YouTube Video goes over how to make these fun Halloween treat bags out of paper and ribbon. Choose from a mummy, ghost, candy corn, Frankenstein, and more! All you have to do is print, cut, assemble with double-sided tape, and tie with a ribbon.
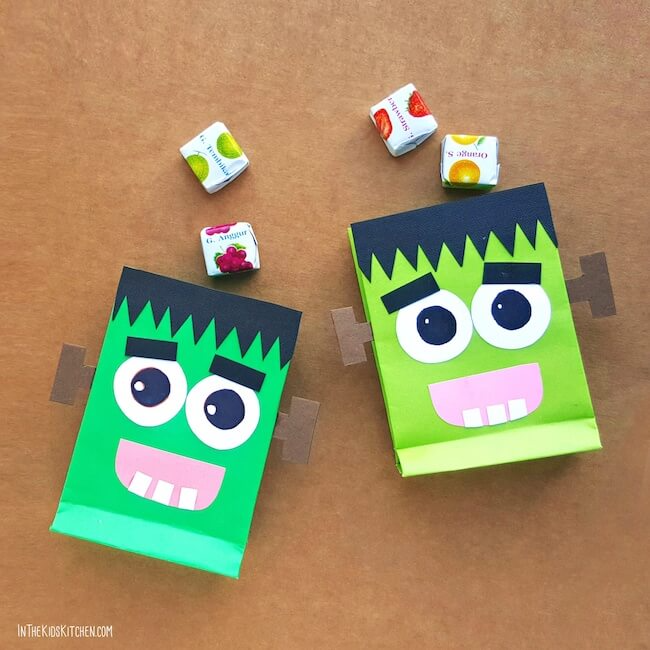
Friendly Frankenstein Treat Bag
These Frankenstein Treat Bags have a fun look and a great Halloween Craft to involve the kids with. This tutorial includes a free printable Frankenstein template and goes together easily with a little construction paper, glue, and green paper bags.
Bat Halloween Treat Bag Template
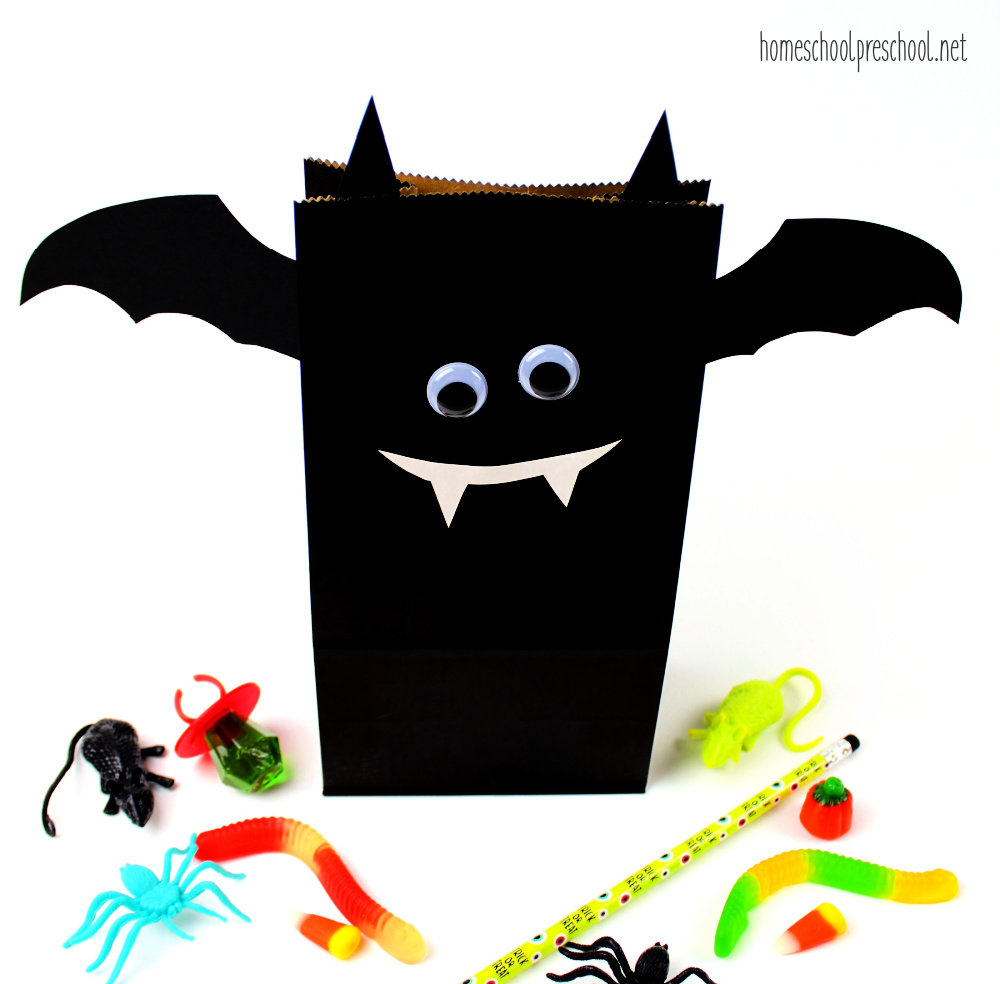
This Bat Bag template is similar to the Frankenstein one above but a bat. You can put it together with black paper bags, cardstock, and googly eyes. Perfect for having kids to help make Halloween bags this year.
Halloween Party Poppers
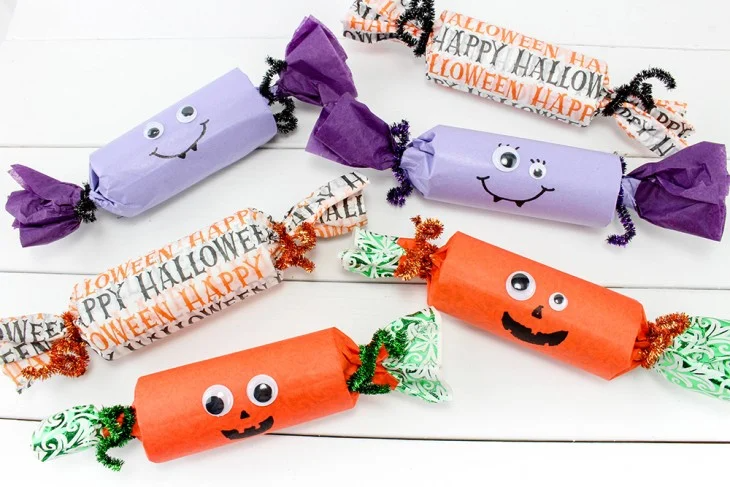
We always loved having party poppers for Christmas dinner – why not extend the party to Halloween? These DIY Halloween Party Poppers go together easily with empty toilet paper tubes, tissue paper, and pipe cleaners. You can fill these up with whatever candy or Halloween favors you have around. Customize them into pumpkins, bats, generic Halloween and more!
We hope that you can get ready to have a spook-tacular Halloween night with these DIY treat bags! Whether you're hosting a Halloween party or just want to surprise your trick-or-treaters, these personalized treat bags for Halloween candy are sure to be a hit with older kids and younger kids alike. From cute and creepy to funny and festive, there's a gift bag design for everyone. So grab your crafting supplies and treat candy, and get creative with this simple Halloween craft! These DIY Halloween treat bags are not only fun to make, but they also add a special touch to give to the neighborhood kids.
Thank you for joining us for our DIY Halloween Treat Bags! Before you leave, make sure to join our Facebook Group and follow us on Instagram. Happy Sewing!
