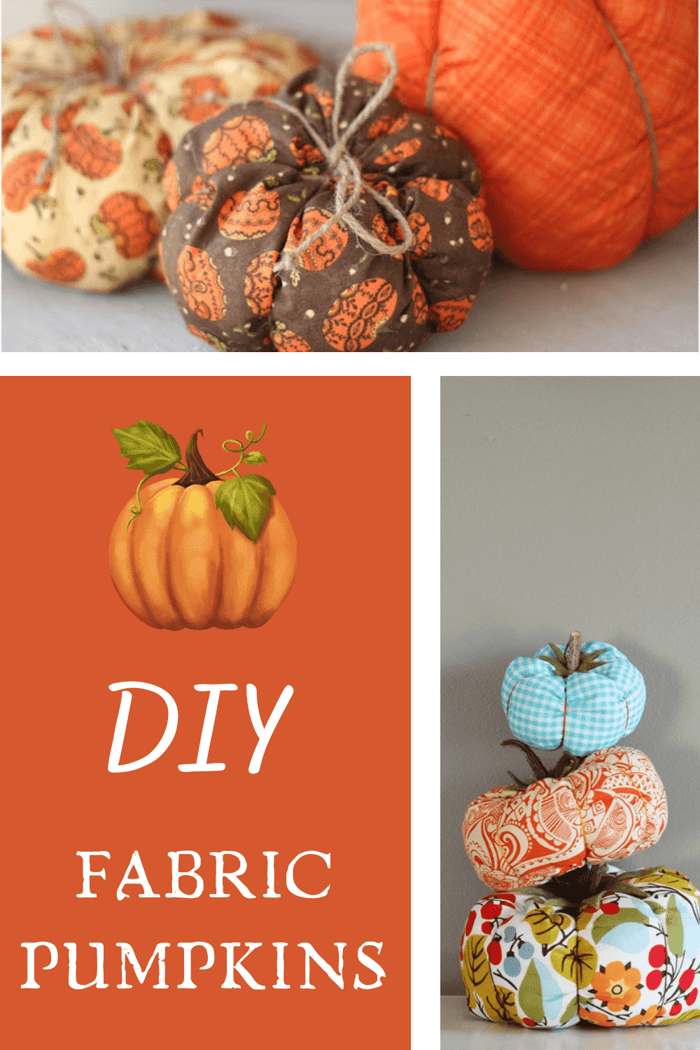
How to Make Fabric Pumpkins | DIY Fabric Pumpkins
I hope you're ready to be done with summer and start decorating for Fall. Today we have a fun tutorial for DIY Fabric Pumpkins. These fabric pumpkins are an easy to make fun DIY project that will help you decorate your home or even the Thanksgiving table.
DIY Fabric Pumpkins
DIY Fabric Pumpkin Tutorial
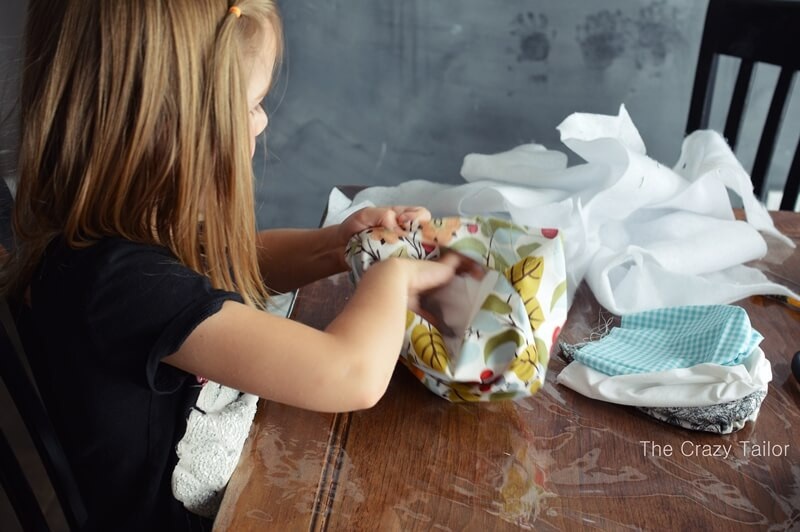
It's that time of year again! Pumpkin Spice Lattes, warm sweaters (at least up here in the north!) and time to bring out the fall decor...or make some! I have a quick and easy fabric pumpkins tutorial for you - your kids can even help with this one!
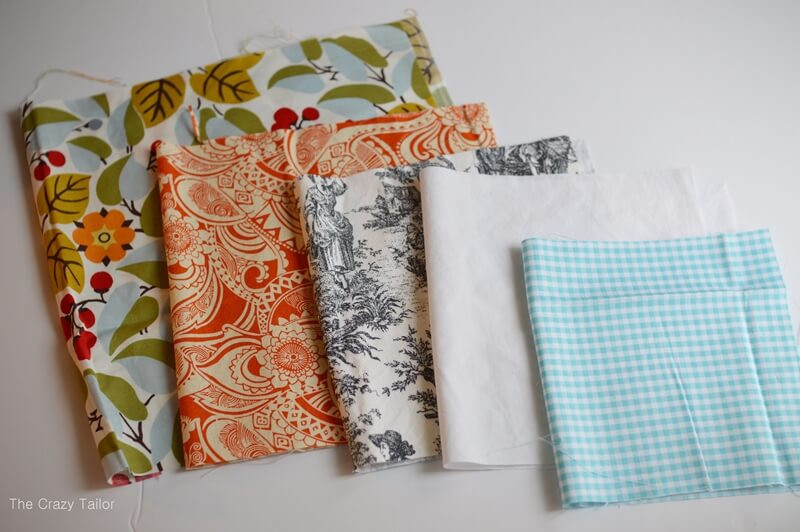
I have so many scraps of fabric that I love, but can't really see a way to use them on clothing items. You know the ones; you bought them years ago, and now they really aren't your style? Those ones! I grabbed an assortment of fall-ish colored fabrics that coordinated. You don't have to be too matchy - even a variety of whites or textures would work for these pumpkins!
Materials to Make Fabric Pumpkins:
- something to stuff the pumpkins with - I used this white felt-like stuff that I have loads of, or you can use regular polyfil.
- scissors
- long darning needle
- matching or contrasting embroidery thread
- sewing machine and thread
- green felt
- hot glue gun or craft glue
- a tree branch (mine was a dead weed from the backyard - meh, it worked!)
DIY Fabric Pumpkin Instructions:
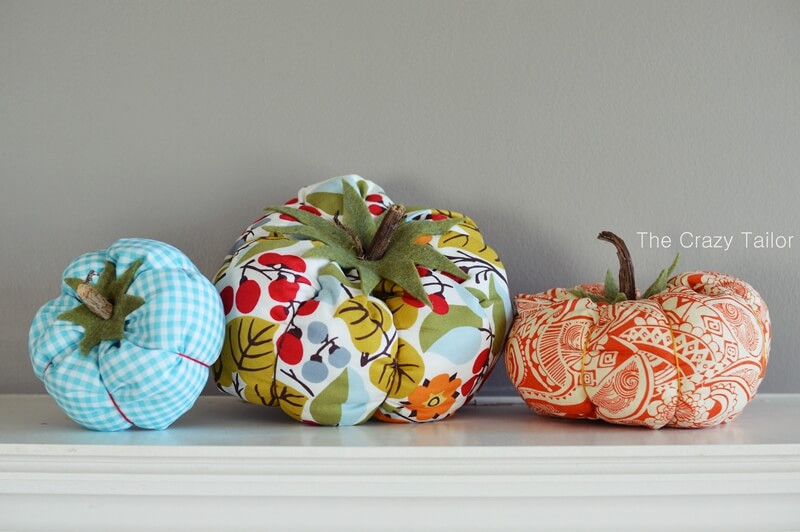
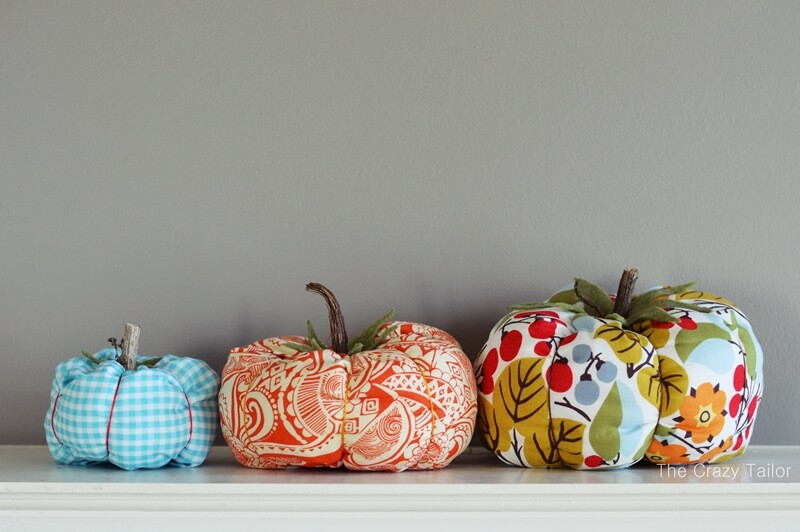
Ok, so to start with the pumpkins you need to cut out your fabric. The general rule here is to use a piece of fabric twice as wide as it is tall. So I have three sizes: 10" tall by 20" wide, 8" tall by 16" wide and 6" tall by 12" wide.
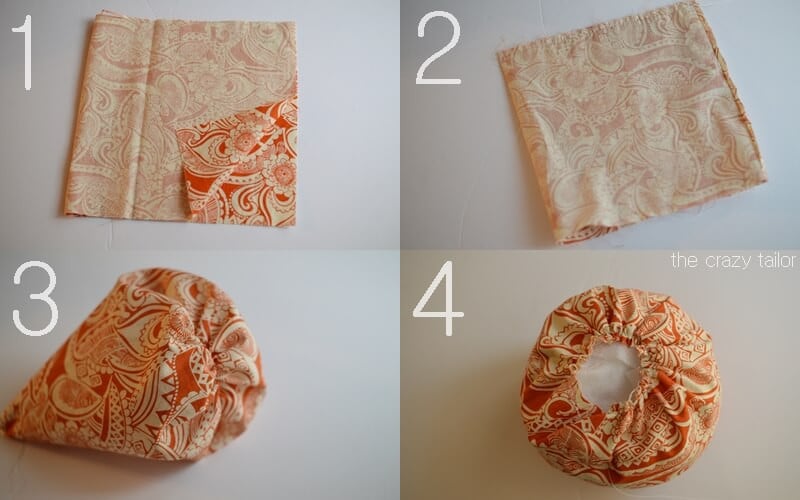
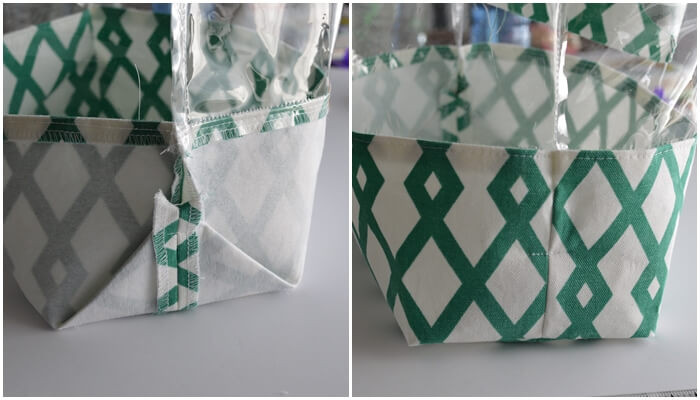
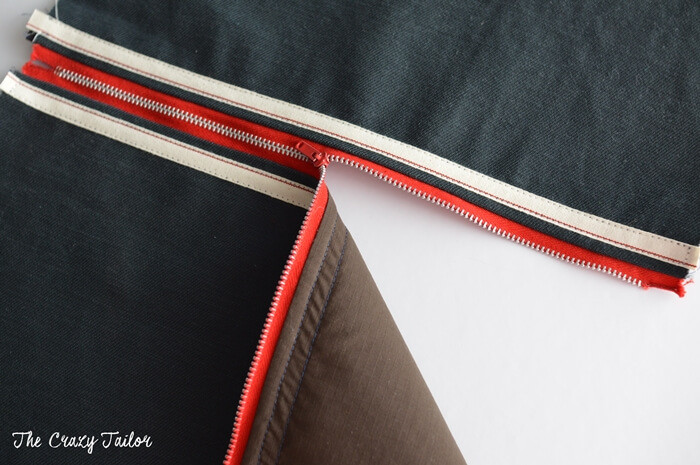
Fabric Pumpkins Step 1: Start by folding your pumpkin fabric in half with the two short edges together and right sides together, and sew down the side
Fabric Pumpkins Step 2: Using a basting stitch, baste one end (still keeping the fabric folded, baste through both layers at the same time) and the other baste in the round. You should only have one side open now, with one side sewn closed, and one basted closed.
Fabric Pumpkins Step 3: Pull up the basting stitches from the basted closed side, pulling evenly from both sides. When it's as tight as possible, tie the threads together. Flip it right side out,
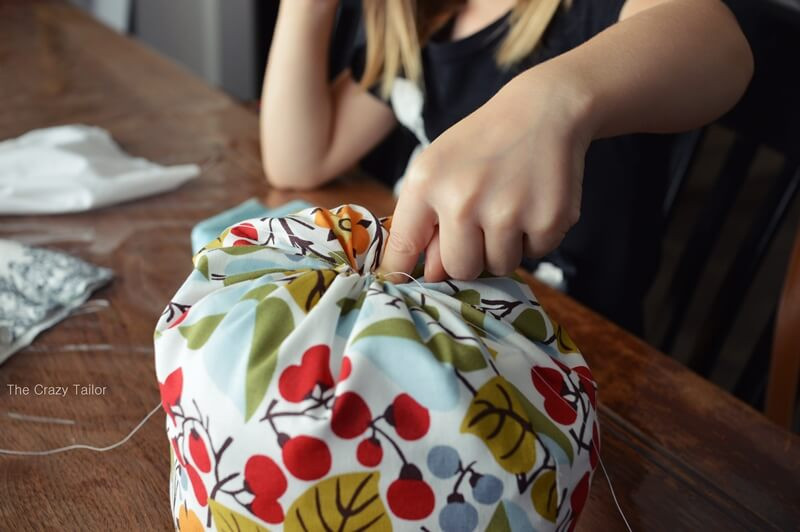
Fabric Pumpkins Step 4: Stuff the pumpkin with your choice of filler and then pull up the basting stitches to close. Tie the threads to keep it shut.
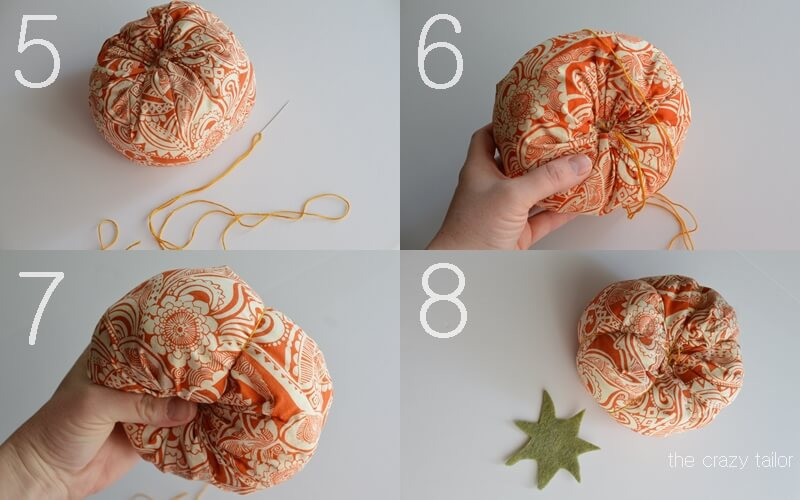
Fabric Pumpkins Step 5: Thread your darning needle (or the longest needle you can find!) with the full strand of embroidery floss. Use a good long length - you'll be going around the pumpkin a total of three times
Fabric Pumpkins Step 6: Make a large knot at the end of your embroidery floss and work the needle from the top center through to the bottom. Then pull it back around to the top and push through again.
Fabric Pumpkins Step 7: Keep the thread taut while making 6 evenly spaced rounds back and forth (from top to bottom) to give the pumpkin its characteristic appearance. When you're finished, tie it off.
Fabric Pumpkins Step 8: Cut out a leafy shape from some green felt.
Fabric Pumpkins Step 10: Cut/break a bit of a twig or stick off for your pumpkin.
Fabric Pumpkins Step 11: Cut a little x shape in the center of your felt leaves. This will allow the stick to be glued into the pumpkin.
Fabric Pumpkins Step 12: Glue your felt leaf to the pumpkin top.
Fabric Pumpkins Step 13: Add a glob of glue to the bottom of the stick and then jam it in the x on the leaf. Hold in place to be sure the glue grips it well.
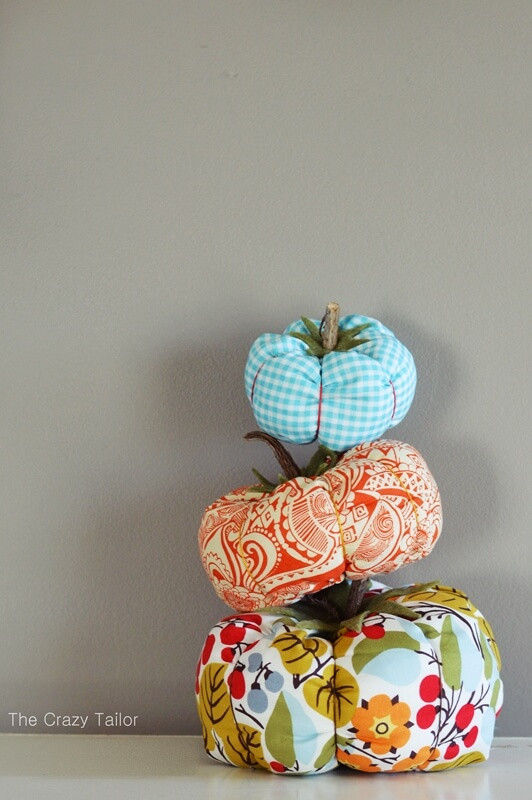
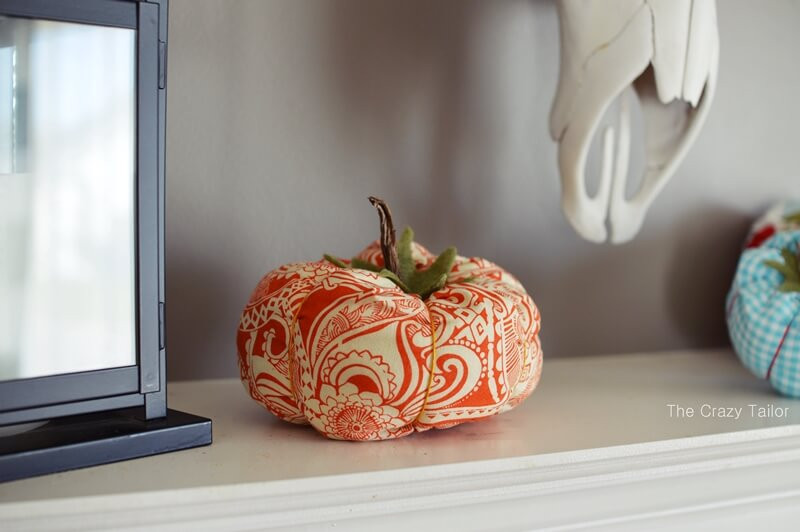
And voila! There you have the DIY Fabric Pumpkins.
The cutest little pumpkin ever! Now go make a bunch more and stack them up somewhere!
It's a fun afternoon project to keep little hands busy too :)
DIY Fabric Pumpkin #2 | Fat Quarter Pumpkin


Fat Quarter Pumpkin Materials:
- 1 FQ for each pumpkin (I used fabrics from the Posh Pumpkin line courtesy of The Ribbon Retreat)
- Twine, Ribbon, Embroidery floss, etc.
- Polyfill or fabric scraps
- Needle and thread
Instructions to Make the Fat Quarter Pumpkin


Other DIY Tutorials to Make for Fall