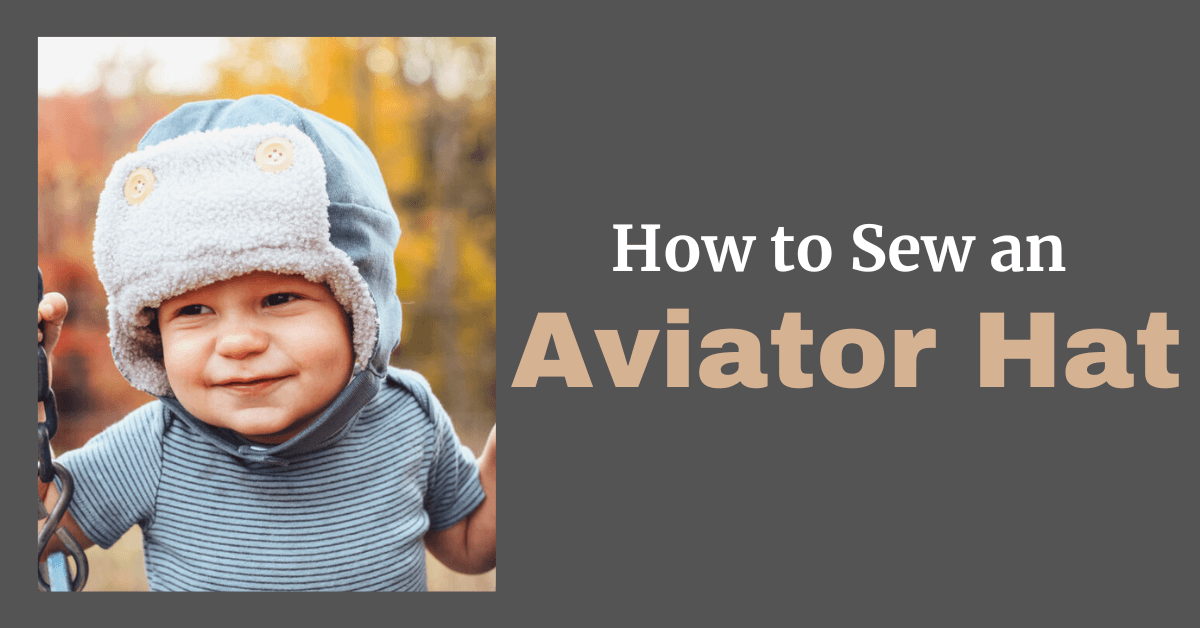
Aviator Hat Pattern | How to Sew a Hat
It's time to sew an amazing winter hat with our aviator hat pattern. It's getting to be that season again where our cold weather accessories begin to make their way out of storage. Although we can sometimes get an extra round out of the following season with a particular item, our loved one's may still need us to make them a new item or two as they grow or wear out. Today, I'm going to show you how to sew up a really nice and warm hat pattern for your child or grandchild or perhaps you would like to gift one or two! Follow along as we learn how to sew the aviator hat pattern.
Aviator Hat Pattern
Our Aviator Hat Sewing Pattern from Peek-a-Boo Pattern SHop is designed for bottom-weight fabrics with a plush lining (sherpa, fur, minky, etc.). The Aviator Hat features class styling with a front flap, ear flaps and an optional chin strap.

Sewing an Aviator Hat
Aviator Hat Pattern Supplies
- Outside fabric: flannel, corduroy, wool, fleece etc.
- Lining fabric: sherpa, fleece, minky etc.
- 2 buttons
- One or two snaps or a piece of velcro
- Fusible Interfacing- two small strips.
- Sewing machine, thread, pins or clips, iron, appropriate needle size and scissors/pinking shears.
Step-by-Step Instructions | How to Sew a Hat With the Aviator Hat Pattern
Before cutting out the correct size, measure the head circumference for the person you will be sewing the aviator hat for. If your fabric is lighter weight or has some stretch, you may consider sizing down to fit accordingly.
After you have cut out your pattern pieces, we are ready to begin. This pattern will be sewn with a 1/2" seam allowance.

Step One: Hat Body Assembly
Take two of the outside hat body pieces and pin or clip them together. Sew along the left side of the curve and stop when you get to the point of the hat. Do this step again with the third and fourth outside hat body pieces.

If you have pinking shears, trim around the sewn curve.

Repeat the above steps for the lining hat body pieces.

Now, we will take both of our outside hat pieces that we connected previously and sew them with right sides together along the curved edge as shown.

Use your pinking shears to trim the seam allowance or regular shears is fine too.

Grab the lining hat body pieces and sew together along the curve in the same manner.

Trim the seam allowance.

Step Two: Chin Strap
This step is optional if you don't need or want to add one. I will show you how to make the chin strap if you would like to add it.
With right sides together, fold the strap piece in half the long way and pin or clip. Repeat for the second strap piece.

Before we turn the strap piece right side out, cut out a small strip of interfacing for extra support.

Interfacing has been added to both of the chin strap pieces. Now we will turn them both right side out and press flat.

I chose to add the snaps onto the chin straps at the end of construction. Follow the pattern instructions if you would like to add them at this step.
Place the raw edge of each strap piece along the raw edge of the ear flap, centering them in the middle as shown. Baste the chin straps in place.

Step Three: Finishing the Hat Body
Fold the hat band onto itself with right sides together and sew the short edges.

Repeat with the lining by sewing the short edges together.

Next, we will pin or clip our hat body and hat band pieces together. Line up the band seam in the middle of one of the four hat body pieces that we sewed together. This will be the front of our hat as we finish constructing it and the seam from the band will be hidden on the finished product.
Sew the hat band to the hat body along the raw edge.

The outside hat band and hat body are sewn together. The seam was placed in the middle of one of the four pieces we put together previously as shown below.

Repeat the same steps with the hat lining by sewing the lining band and lining body together along the raw edges.

Aviator Hat Step Four: Hat Flap
Grab the two flap pieces and pin or clip with right sides together. Sew along the curved edge only.

Turn the hat flap right side out.

Take the hat flap and the hat body and pin or clip the flap to the hat band with raw edges aligned so that the flap is covering the band seam.

An example of what it looks like flipped up rather than face down like above.

Baste the hat flap to the hat body along the raw edge.

Aviator Hat Step Five: Finishing the Hat
With the hat lining inside out place it over the hat body which should be right side out, lining up the band seams and raw edges. Clip or pin in place and sew around the bottom edge leaving a three-to-four-inch gap in the back of the hat for turning.

Now we will turn the hat right side out through the gap we left.

Our hat is right side out. If you would like to topstitch all along the bottom of the hat you can or you could hand stitch the gap closed if you prefer not to topstitch the entire hat. Just make sure the raw edges are folded back inside of the gap we used to turn the hat right side out.

To secure the hat flap, you can add two buttons on either side, or you may topstitch the flap in place. I chose to add two wooden buttons to mine.

The two buttons have been hand stitched in place and our hat is now complete! I added my snap at the end so that it could be tried on and adjusted as needed.

View from the top.

View from the side.


I love this hat and my son equally does as well! He did not even try to take it off so it must be pretty nice to him.

I may add another snap to make it adjustable which is why I waited until the end to decide but all in all, this aviator hat fits him quite well. He was in between sizes so I chose the next size up. I used corduroy for the outside material and a boucle sweater knit with two-way stretch for the lining and it did not cause any issues whatsoever by having some stretch.
This hat is just the cutest cold weather accessory that I can't wait for him to wear in the coming weeks as the weather shifts. The pattern takes very little fabric, and I appreciate how clean the finish is. This would make a great Christmas or birthday gift and it comes in baby all the way up to adult sizes pending head circumference! Wear it outside to play or work in, it is sure to keep you cozy and your ears protected.
Who will you sew an aviator hat up for?
What fabrics are best to sew an aviator hat with?
The outer fabric should be made with something like flannel, wool, or corduroy. The lining fabric could be sherpa, cuddle, miny, or fleece - something cozy!
Thank you for joining us today to learn how to sew an aviator hat with our Aviator Hat Pattern. Before you leave, make sure to join our Facebook Group and follow us on Instagram. Happy Sewing!