How to Use a Rotary Cutter | Easy Cutting for Sewing
Let’s talk about how to use a rotary cutter today. I love my rotary cutters, rotary mat, and rotary ruler now. But loving them took a while-mostly because I didn’t really know how to use them. I’m sure there is much more I can learn about these lovely tools, but here are some basics on what they are and how you can use them in both quilting and sewing.
How to Use a Rotary Cutter and Rotary Cutting Mats
How to Use Rotary Mats
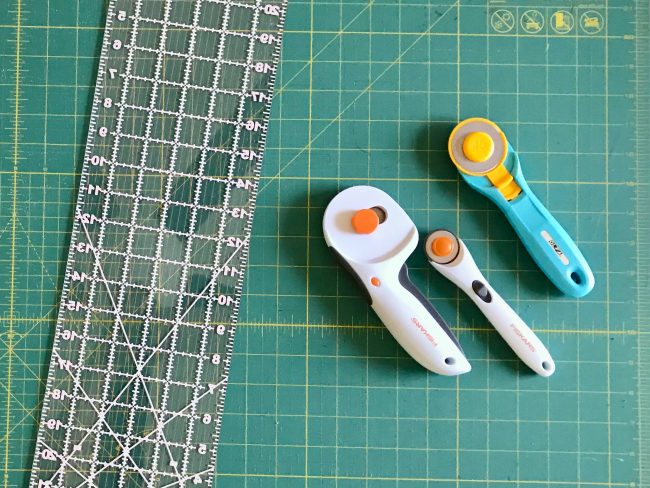
Rotary mats come in lots of different sizes and are self-healing. That means when you cut on them, the little cuts from the rotary blades kinda close up by themselves. My mat is the biggest size and covers a large portion of my cutting table. Although large-size mats can be pricey, I don’t regret buying mine at all. It stays on my cutting table and I use it all the time. For real. If not for cutting, I use it to measure elastic and zipper lengths. It has this wonderful grid as well as some angle guides and bias cutting lines.
What is a Rotary Cutter
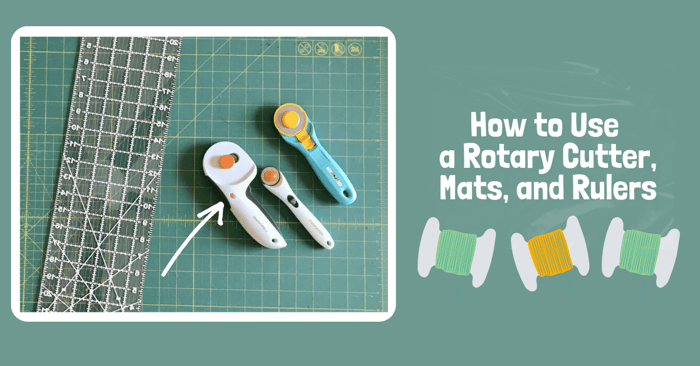
Rotary cutters are circular blades and they cut as you roll them. They come in lots of different blade sizes and handle styles. I’ve got pictured here a 60mm, a 45mm, and a 28mm. They do pretty much the same thing, but the 60mm can cut through thick layers of batting and fabric. I don’t need to do that as much as I thought I would but I use it the most. Partly out of habit (it was my first cutter) and because I like the shape of the cutter. It feels nice in my hand and has a nice safety lock.
All rotary cutters have a way to extend the blade for cutting and retract the blade when not in use. For most rotary cutters, extending the blade is as simple as sliding the blade up or the guard down. For my 60mm ergonomic cutter, I have to push a little orange button, squeeze the handle to push the blade out, and then push that little orange button back to its original position. This keeps the blade out without actively squeezing the handle. Retracting the blade is just the opposite of how you extended the blade.
*Safety Tip* Retract the blade anytime you aren’t using it so if you accidentally drop it or knock it off the table you don’t slice your foot. Because we all sew barefoot, right? Rotary cutters are super sharp even when ‘dull’ to just tuck that blade away whenever you can!
When the blade starts to get dull, small sections of fabric may not cut as you roll. You can roll along the cut again or use scissors to snip the sections that didn’t cut. Or replace your rotary blade.
*Safety Tip* If you replace the blade when it gets dull, you will be less likely to push hard with your rotary cutter and less likely to lose control and accidentally cut yourself. You also won’t have to go over the same area multiple times potentially compromising the perfectly straight cut and digging really hard into your mat! They are self-healing but not indestructible.
Using Rulers with Rotary Cutters
Rulers come in all sizes and shapes but are usually clear with grids and rulers printed on them. I bought a giant one (again, the biggest I have seen) because I figured it would be the most versatile. Sometimes the size is bulky, but for the most part, I love it.
How to Use a Rotary Cutter
So, how and when to use a rotary cutter? Honestly, I use mine anytime I have rectangular pieces like pockets, neckbands, waistbands, cuffs, or rectangular skirts. Or Quilting. They are also almost essential if you want to quilt because quilting is so precise! You can make very clean, accurate cuts with a rotary cutter, mat, and the million special rulers you can buy. But I’ll just run through some basics with my basic tools and you can use the info as a springboard to explore all the other rulers and such.
How to Cut Straight Lines With the Rotary Cutter
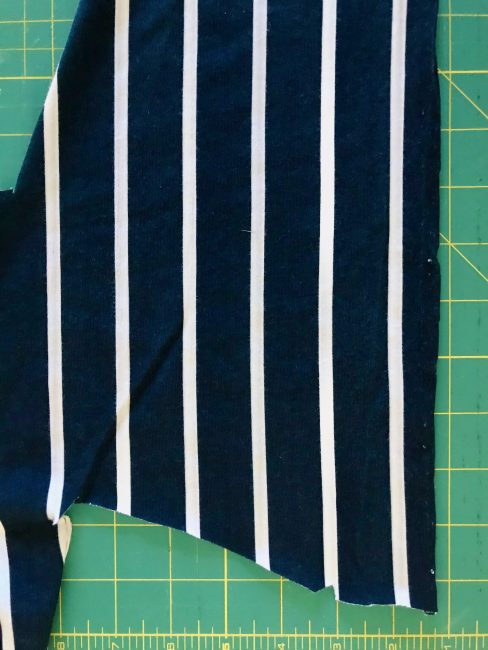
To cut straight lines, place your cutting mat on a hard flat surface. A table, wood or tile floor, concrete, but not carpet. Then lay your fabric on the mat so the entire length you are cutting is on the mat. Try to line up the grain of the fabric parallel to one of the gridlines on the mat. Don’t let extra yardage hang off your table or cutting area because especially with knits, it can stretch the fabric and compromise your perfect cuts.
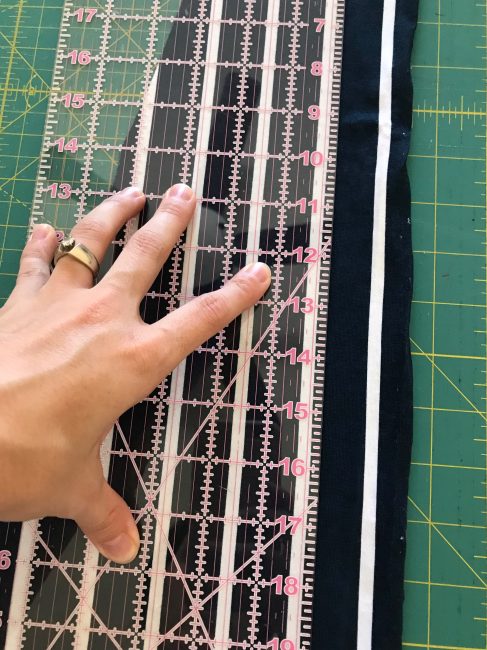
Lay the clear ruler on top of your fabric and line up the edge of the ruler with a gridline on the mat close to the edge of your fabric. Firmly hold your ruler so it won’t slide around. Since I’m right-handed, I try to arrange my ruler so I’m cutting on the right side of the ruler and holding the ruler with my left hand.
I either press down on the ruler using my entire hand with the fingers spread out, my fingertips with them all spread apart, or occasionally for really long cuts I will place my entire left forearm on the ruler. Make sure your fingers are entirely on the ruler and not hanging off the ruler where you plan to cut. Rotary cutters are extremely sharp and will cut you!
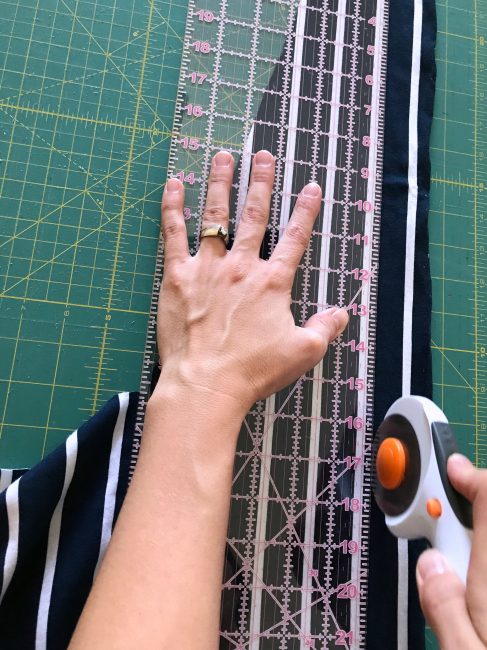
Extend the blade on your rotary cutter and place it right next to the ruler. Starting on the side of the fabric closest to your body, roll the cutter along the ruler away from your body with firm pressure. The rotary cutter will cut the fabric as it rolls.
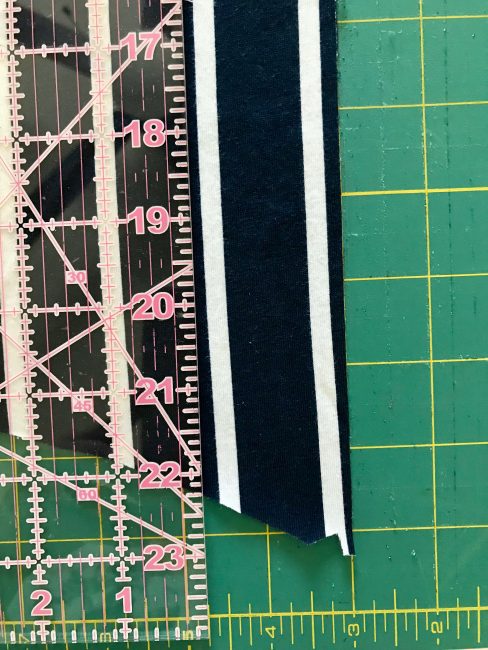
Measure out from the edge you just cut the width of the piece you need, lay out your ruler, and line the ruler up with the correct grid line on both sides of the fabric. In the pictures above, I am cutting out a neckband so I measure my fabric 1.75 inches wide.
I not only line up the cutting edge of the ruler 1.75 inches from the edge of my fabric, but I check the grid on my ruler and made sure the 1/4 inch line is running along the gridline on my mat that is two inches from the edge of the fabric. Both the grid on the cutting mat and the ruler can be helpful in measuring and checking your measurements. You know the saying…measure twice, cut once! Again, hold the ruler firmly in place, and cut along the ruler.
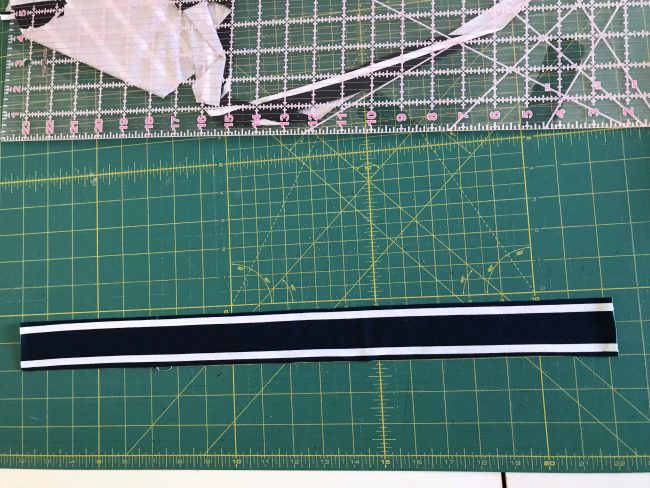
Remove the uncut fabric from your cutting area and cut the fabric to the length you want. I try not to move the piece I am cutting until it is the correct size if at all possible. Especially when I’m cutting knits because the edges of knits tend to curl. I like to just get it all measured and cut in one shot.
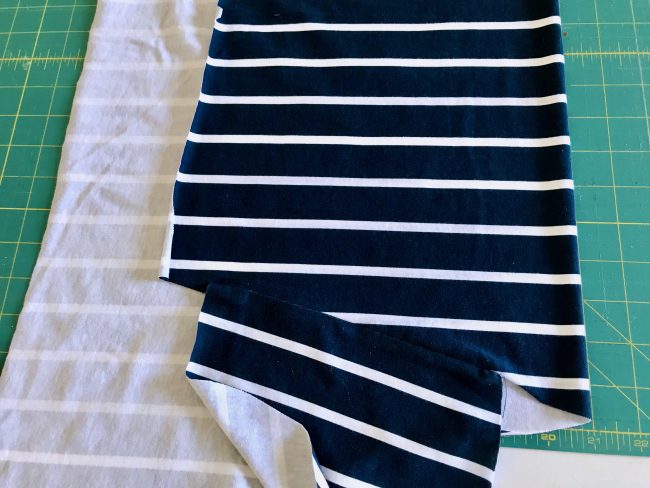
Sometimes I want to cut a length of fabric longer than my ruler or even my mat with the cutter. When this happens, I fold my fabric in half perpendicular to the grain and line the folded edge up with one of the grid lines on my cutting board. Then I cut the width with my ruler laying perpendicular across the folded edge, unfold the fabric, and cut to the length I want.
You can also cut layers of fabric with this cutting tool.
Cutting Curved Lines
Cutting straight horizontal lines with my rotary cutter is really nice and I love sewing with perfectly straight edges. But I love to use my rotary cutter to cut out patterns with curves too! The keys to success for me are 1) a small rotary cutter like my 28mm and 2) tracing my pattern (just the size I’m sewing) onto tracing paper.
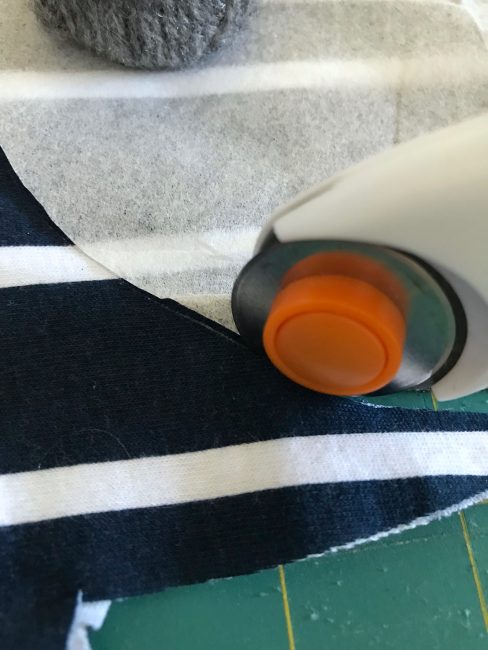
First I lay out my fabric on my cutting mat and then arrange my pattern piece on top of the fabric-even before I have cut the pattern piece out. Once my pattern is in place, I use my little rotary cutter and cut right along the edge of the pattern. I can cut out the pattern and the fabric at the same time! The small rotary cutter can get around curves and into tight places pretty well. I end up with a fabric piece exactly the same as my pattern.
How do you choose the right blade for your rotary cutter?
Choose the right blade for your rotary cutter based on the fabric type. Use a 45mm blade for general fabric cutting, a 60mm blade for thicker fabrics, and a 28mm blade for more intricate cuts.
And there you go! Now you’ve got the basics of how to use a rotary cutter, mats, and rulers to make your sewing just a little easier and more accurate! Also, be sure to join our sewing community at the Peek-a-Boo Pattern Shop Facebook Group or follow us on Instagram.

