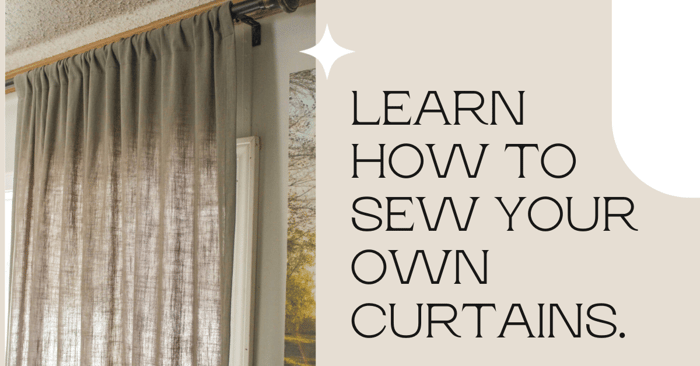
How to Sew Curtains for Beginners
Today I will show you an easy way how to sew curtains for your living room. If you're looking to enhance your home's decor and add a personal touch to your living space, sewing curtains can be a rewarding and cost-effective way for crafters to achieve that. Whether you're a beginner or have basic sewing skills, creating curtains at home is a great DIY project that can transform your windows and elevate your home decor with fun colors and prints.
Depending on the width and height of the window you will be sewing for, you may need anywhere from 2 to 4 yards or more per panel. I got a great deal on my fabric and felt like it was worth giving it a go. I found some beautiful rayon linen fabric in a pretty, neutral sage color that I loved on sale. I purchased 8 yards of fabric to have enough fabric to work with. After factoring in the shrinkage from washing and drying, I was left with approximately 1.5 yards or so of fabric for a future project.
Curtain Supplies
- Fabric of your choice. (Measure beforehand and buy extra) bonus if you already have extra fabric lying around to use!
- Sewing machine, needle, coordinating thread, wonder clips or pins, an iron, measuring tape and ruler, fabric pen or pencil, scissors and weights.
- Ironing Board
Choosing the Right Fabric for Your Curtains
Choosing the home decor right fabric for your curtains is crucial in creating the perfect ambiance. Factors to consider include privacy, light control, style, durability, and maintenance. Heavy fabrics like velvet or brocade add elegance, while linen or sheer curtains create a casual feel. Consider color and pattern to coordinate with your décor and add visual interest. Find the balance between functionality, style, and personal preference to choose the perfect fabric.
How Do You Sew Curtains Step One: Measuring and Cutting
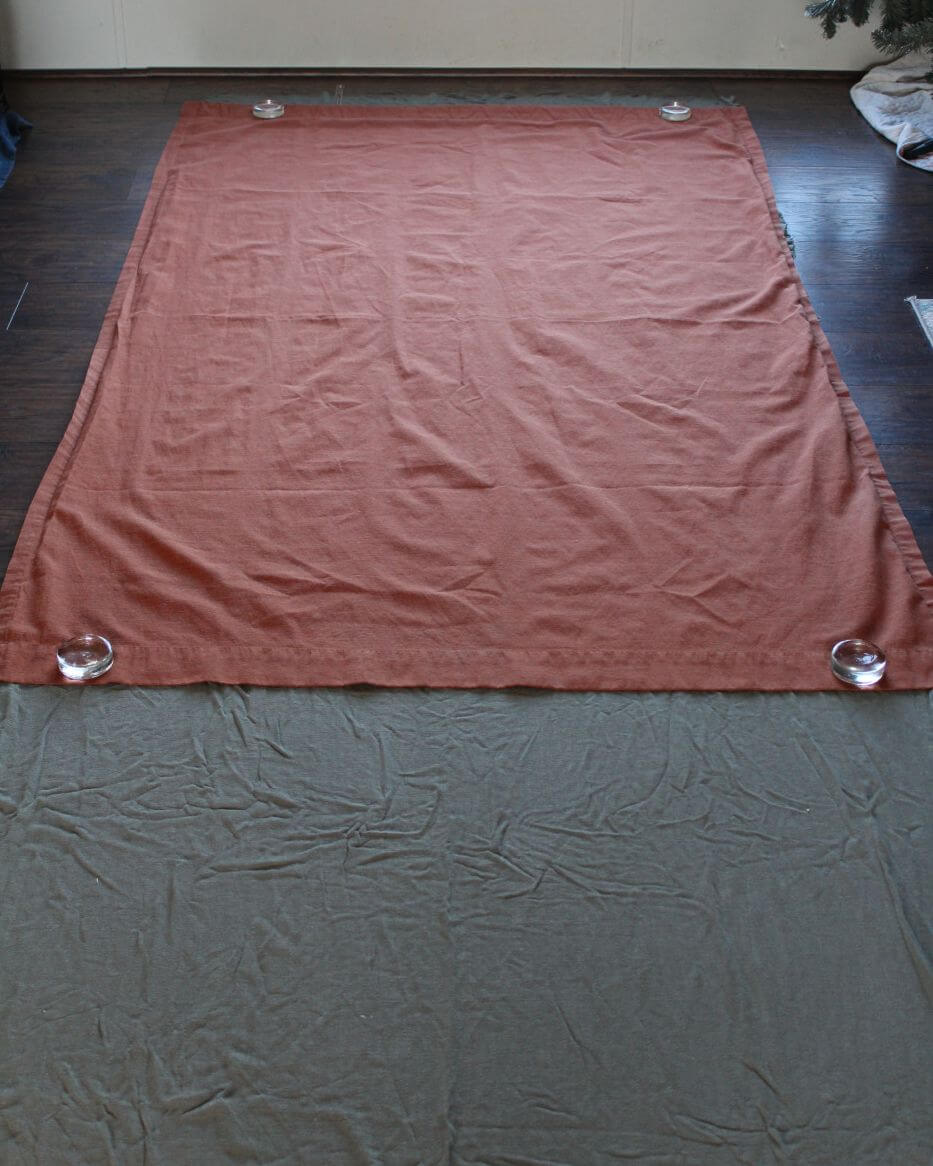
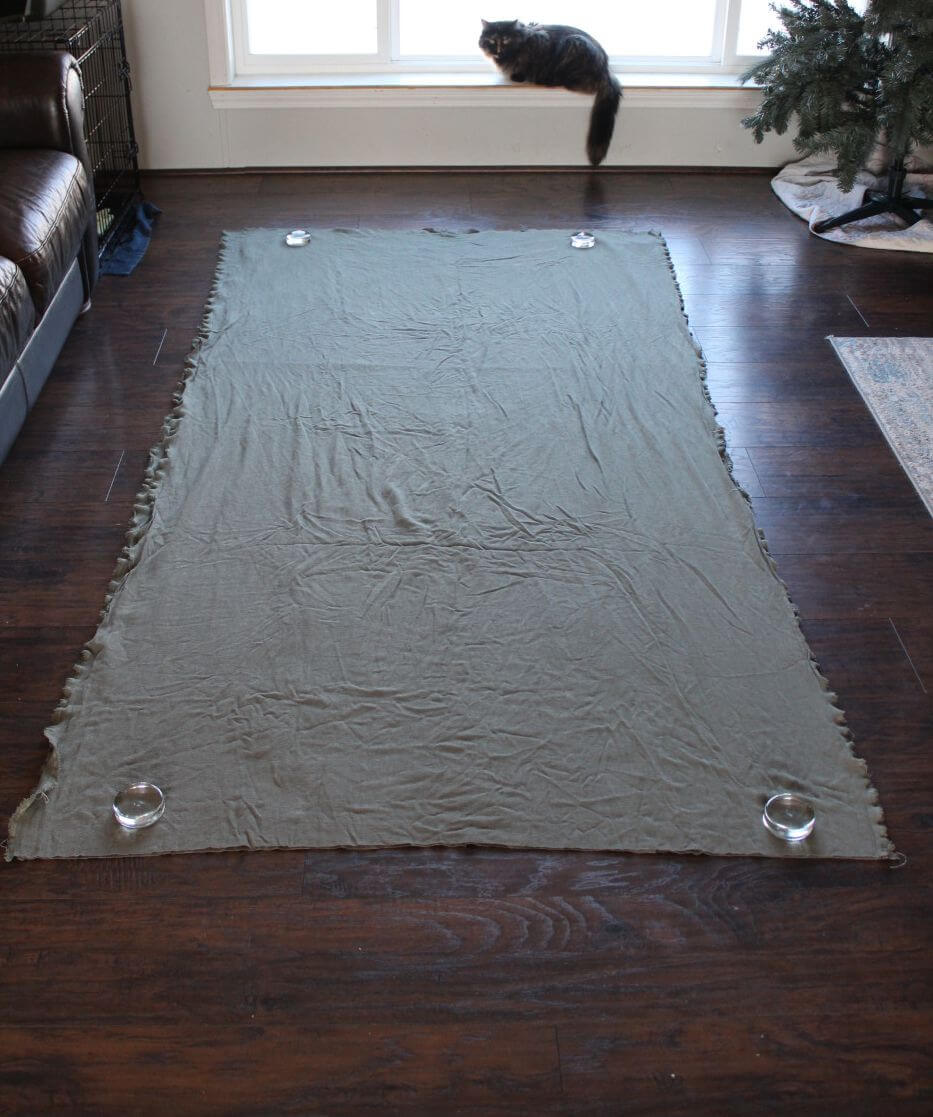
First, we will need to get a few measurements before we begin cutting into our fabric. You will want a nice, flat open space to do your cutting in. I used an existing curtain panel as my template for cutting out my new curtain fabric. If you do not have any panels that you like or are available to use like I did, that is ok. Measuring and cutting the fabric is an important first step when making a DIY curtain. You will want to measure from the top of your curtain rod down to where you would like your curtains to fall and rest when all is said and done.
After you find that measurement, you will want to add length to the top and bottom to account for your hem allowance. Since I liked the look of my existing curtain panels, I roughly copied those measurements. I added 3" to the top length and 3" to the bottom length. The most important part is making sure your curtain rod will fit through the top. The bottom hem will just be preference and aesthetic which can be shortened if needed.

I began by placing the old curtain panel on the new curtain fabric. I left 3" at the top like previously stated for the hem allowance. I used my pattern weights to keep the fabrics from moving around while cutting. (Any sort of weight will do; it's just to hold the fabric down when we go to cut). We will not be cutting anything off from the top other than the loose threads; I trimmed those off.
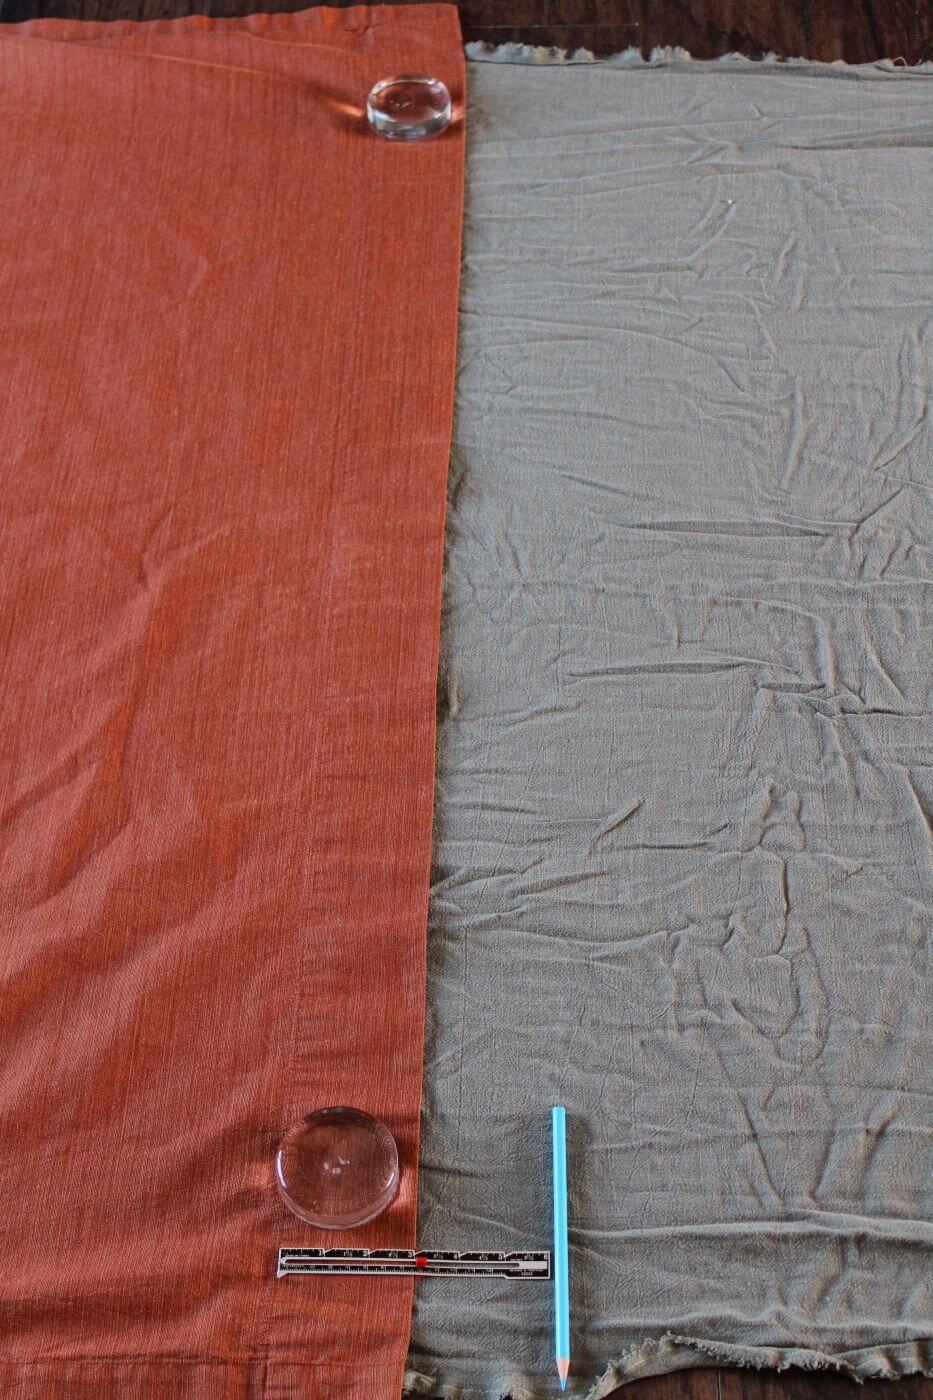
Also the width of my fabric was perfect. We will only be cutting length-wise. If your fabric is narrower, you may consider making additional panels to fit your window.
Here is another look of the full layout.
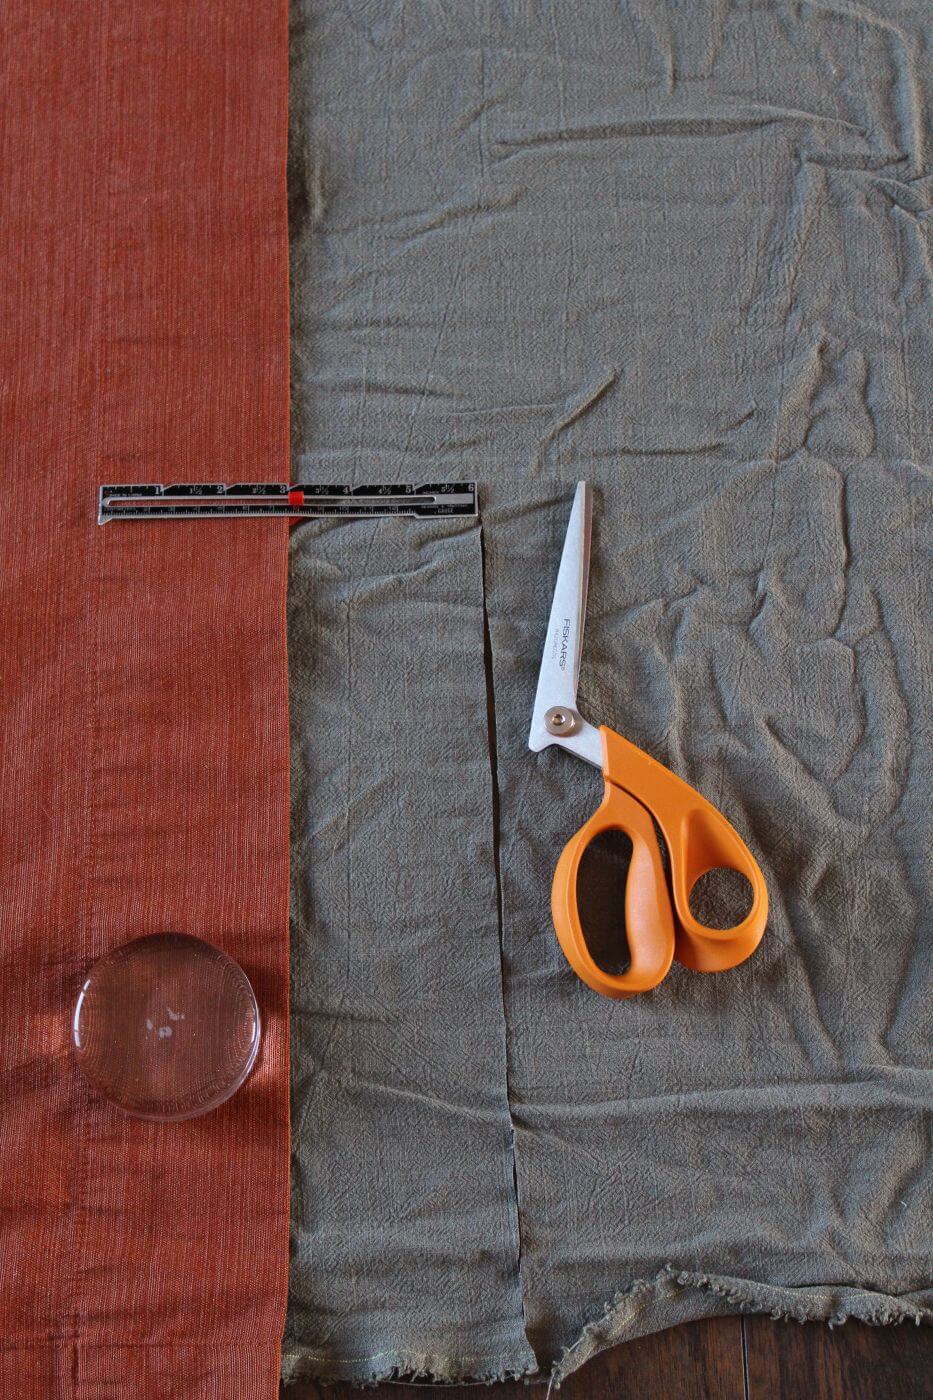
This is where a fabric marking pen or pencil comes in nicely so that we can cut as straight as possible. Measure down 3" from the bottom of the panel or if not using a panel, measure down to the total length you had previously decided on and then add 2-3" from that number for your bottom hem allowance.
Carefully begin cutting your fabric along the marked line.
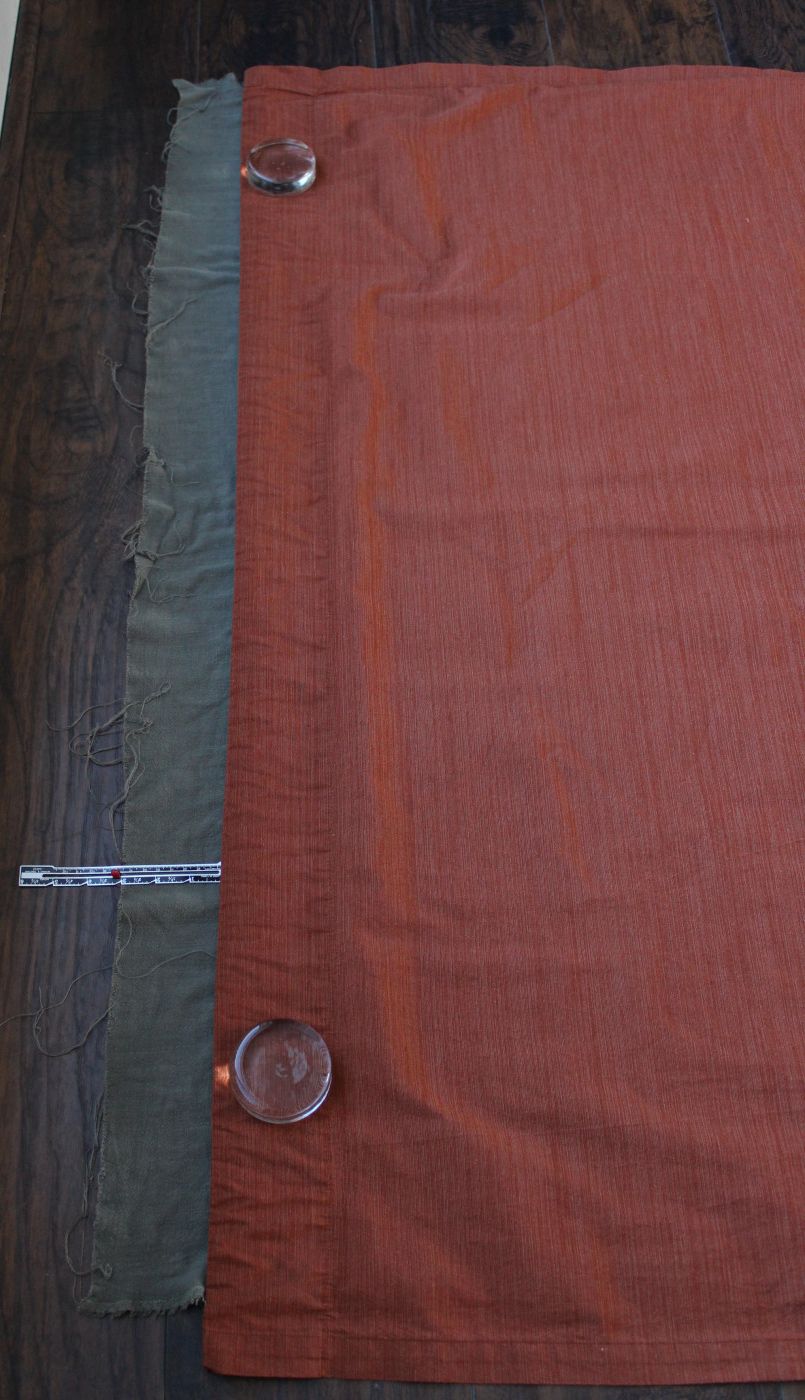
Now, to keep both panels pretty accurate, I went ahead and laid the first panel previously cut out on top of the remaining fabric, keeping a 3" space at the top for our top hemline and then cutting along the bottom edge. Since the bottom hem allowance was already factored in, there was no need to add an additional 3" to the bottom this time. Just make sure that you don't sew on the white selvage (which is the fringy part of the fabric edge that keeps it from unraveling) otherwise it will show on the other side of your seam when you open it up.
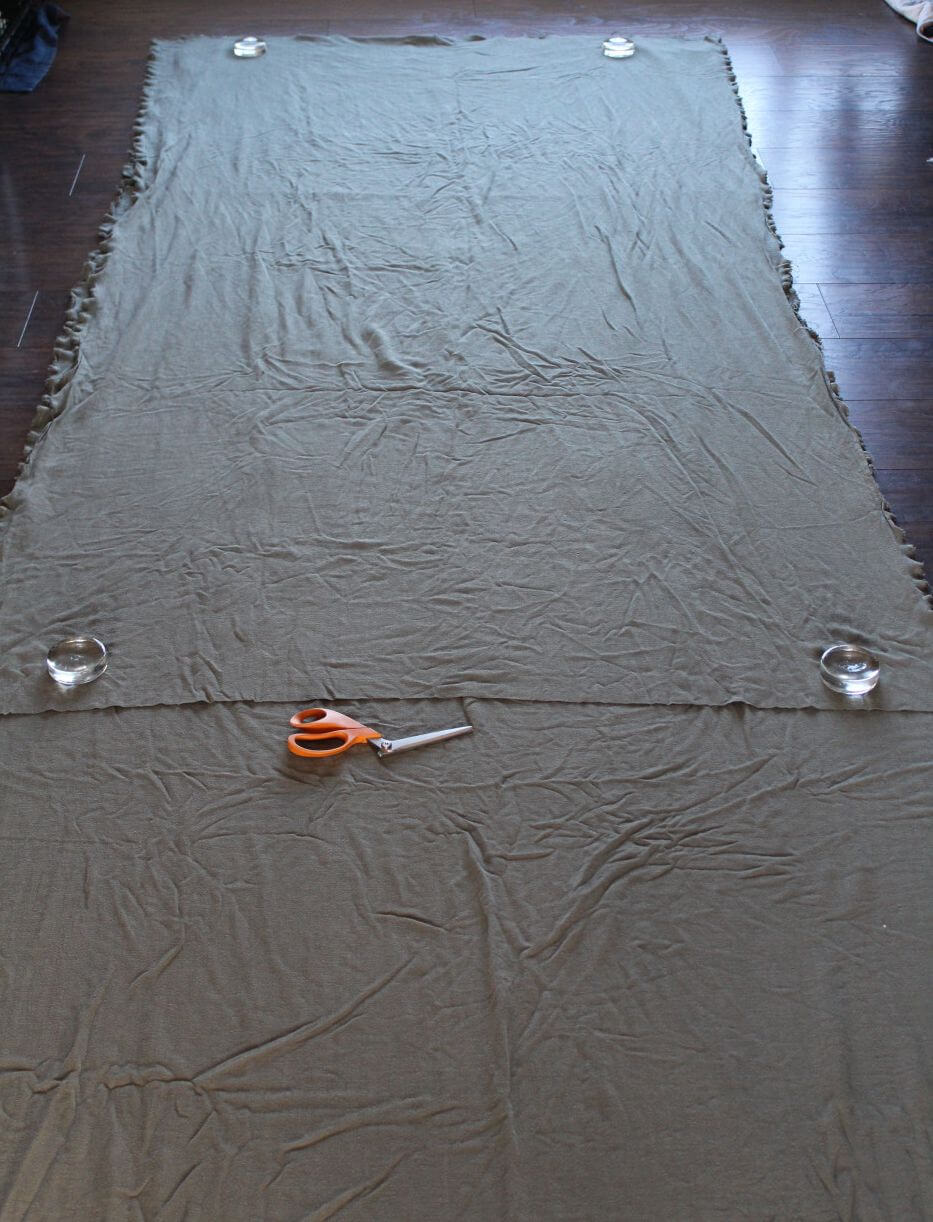
Ok, we have our two panels cut to size. Now it's time to move onto sewing!
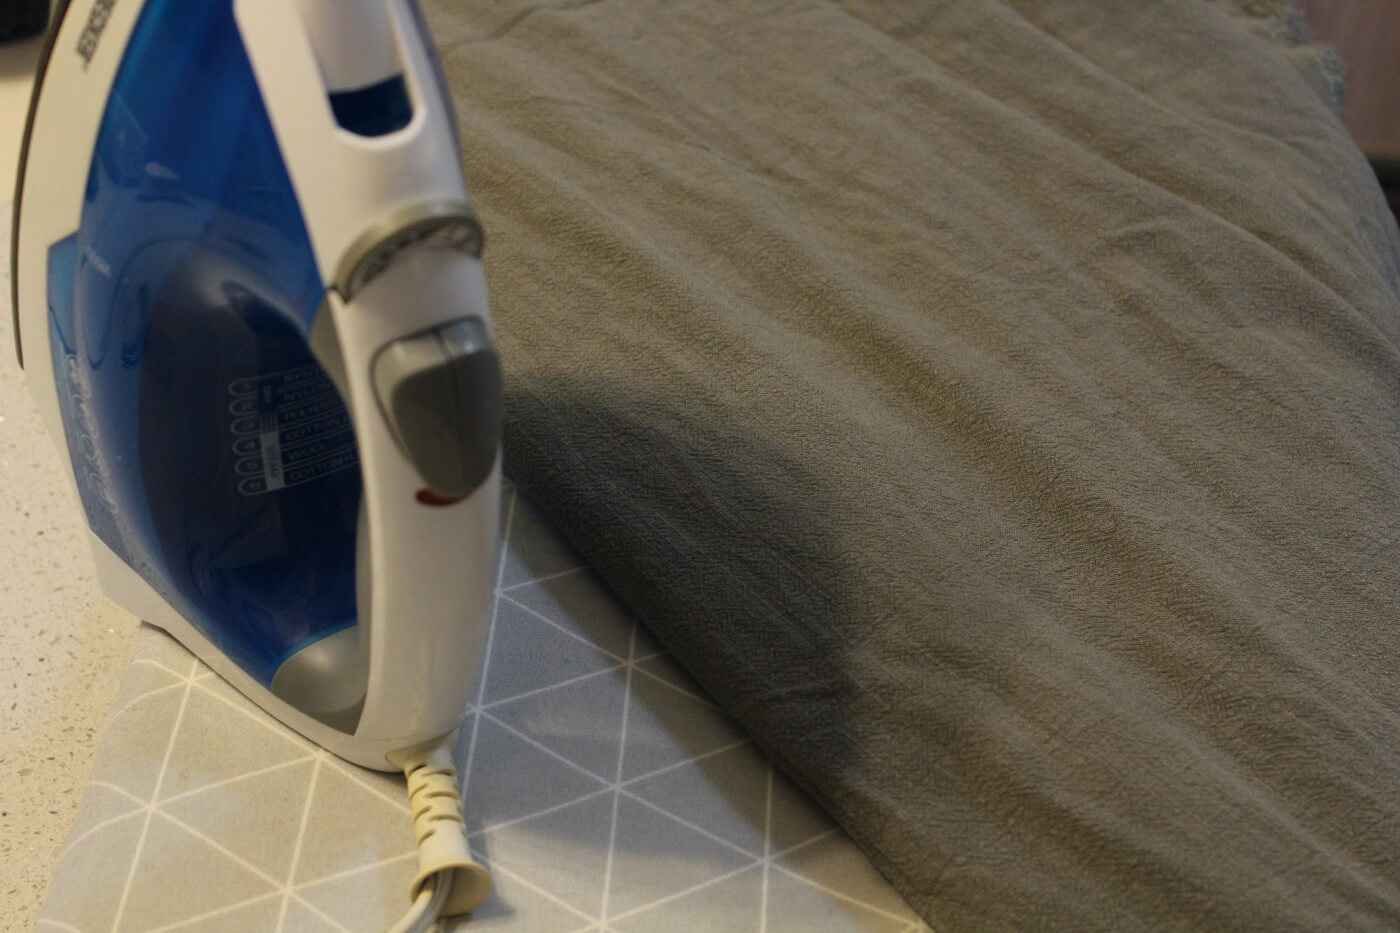
How to Sew Curtains Step Two: Ironing and Pinning
Before we begin to sew, make sure you give your fabric a good ironing. Test the iron settings on a scrap piece of the curtain fabric first.
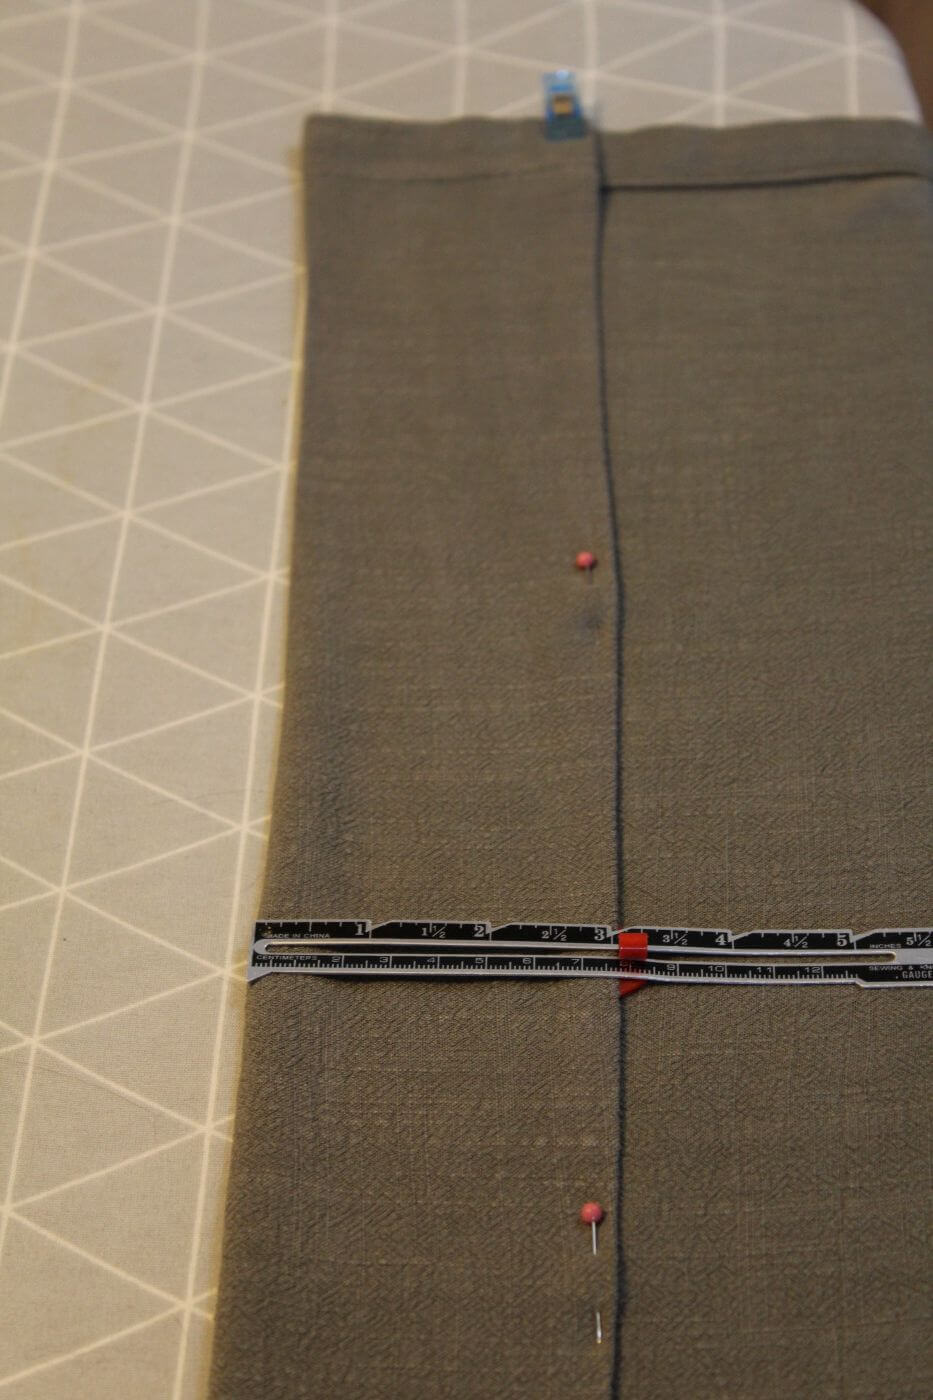
We will start by folding the side edges in 1" towards the wrong side of the fabric and then again, another 1" creating a double fold.
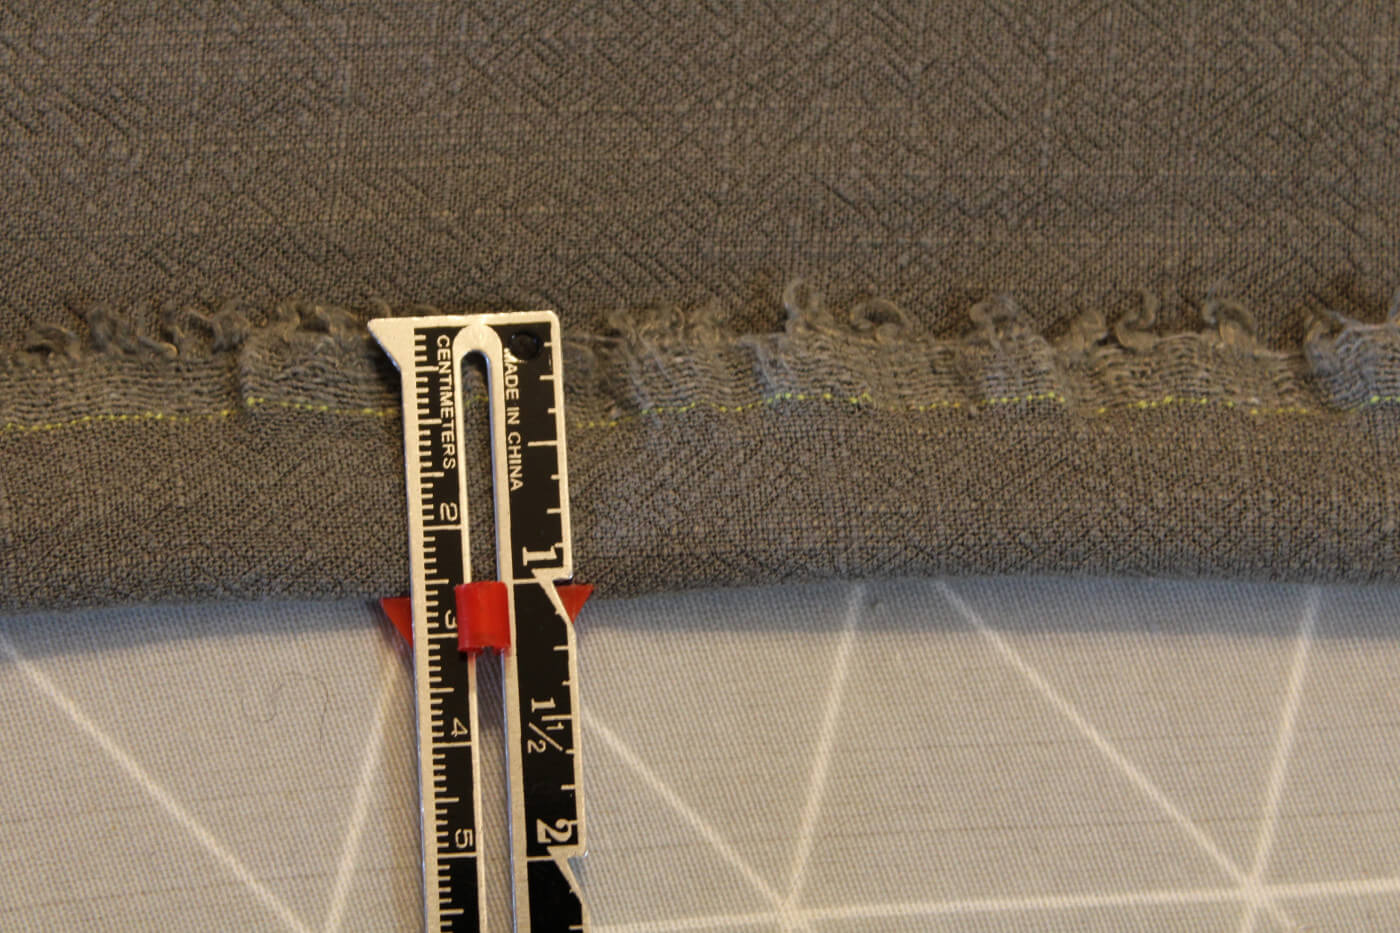
Here is how it should look after it's been folded over twice.
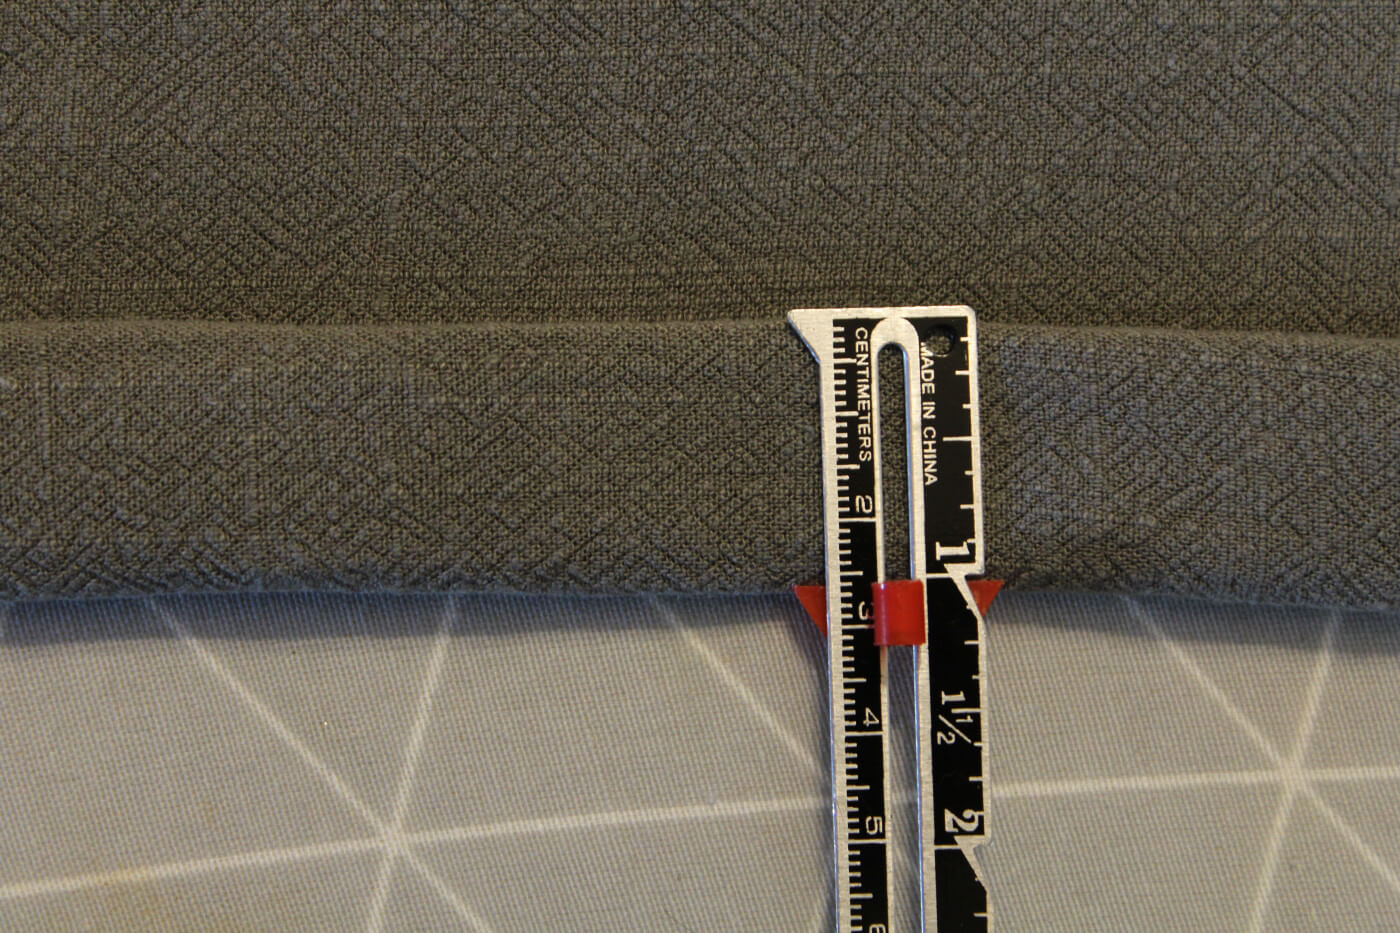
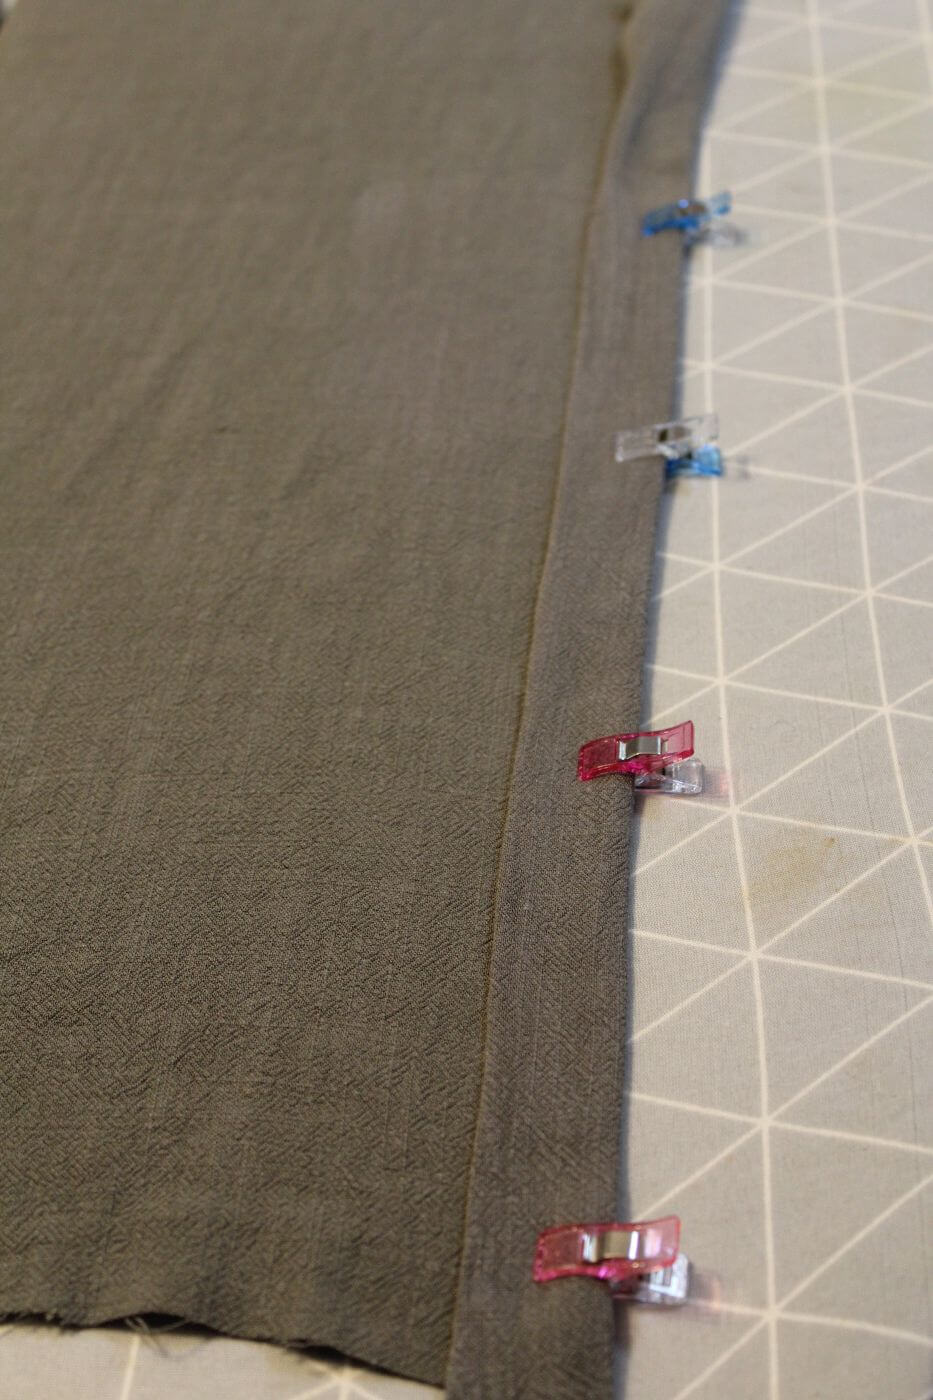
Clip or pin along the folded edges, ironing as you go and pressing flat.
How to Sew Curtains Step Three: Side Seam Topstitching
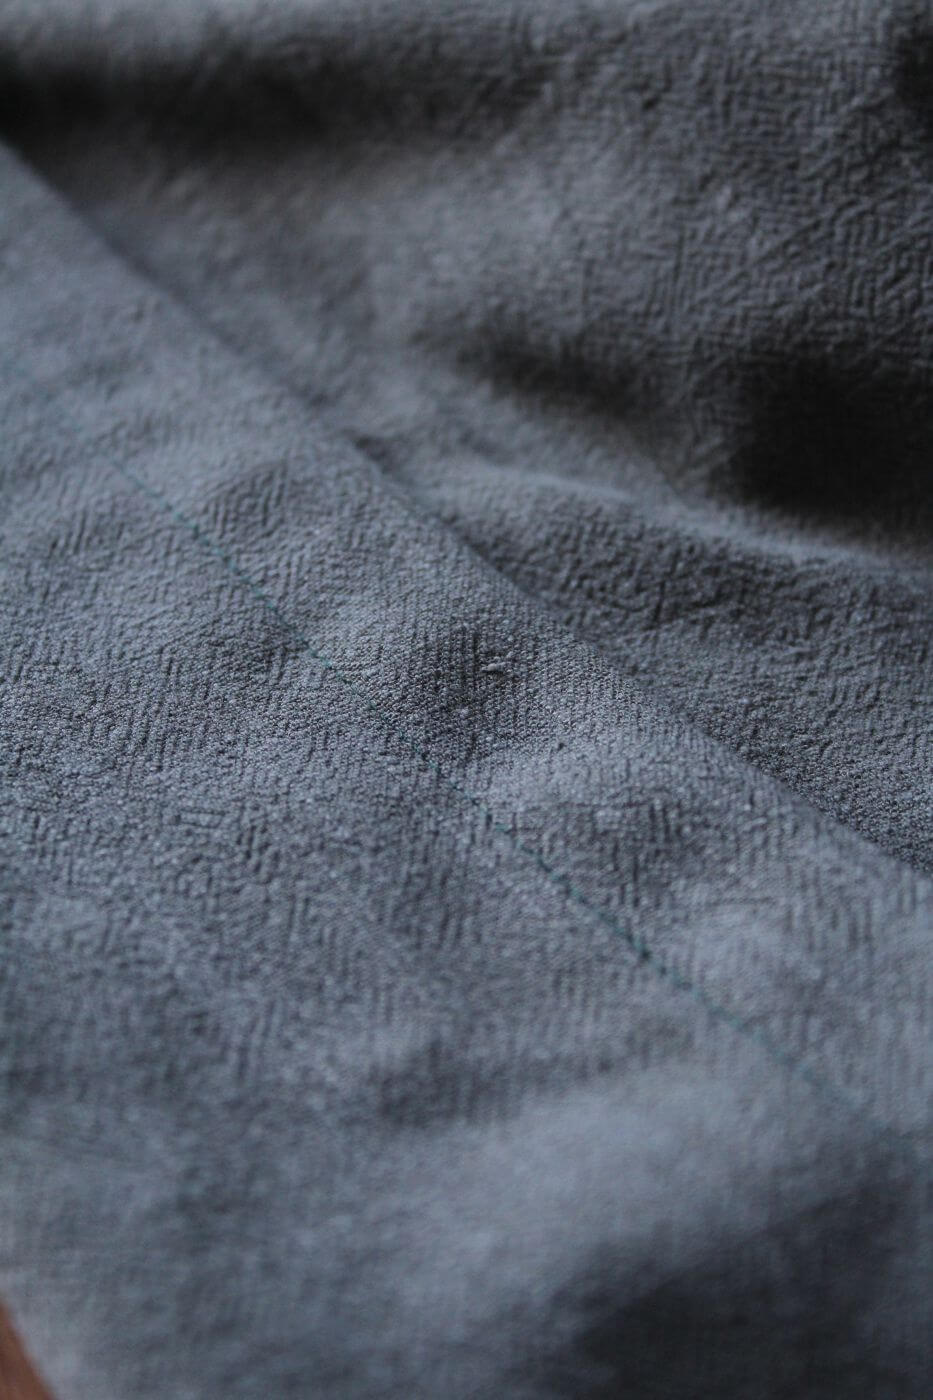
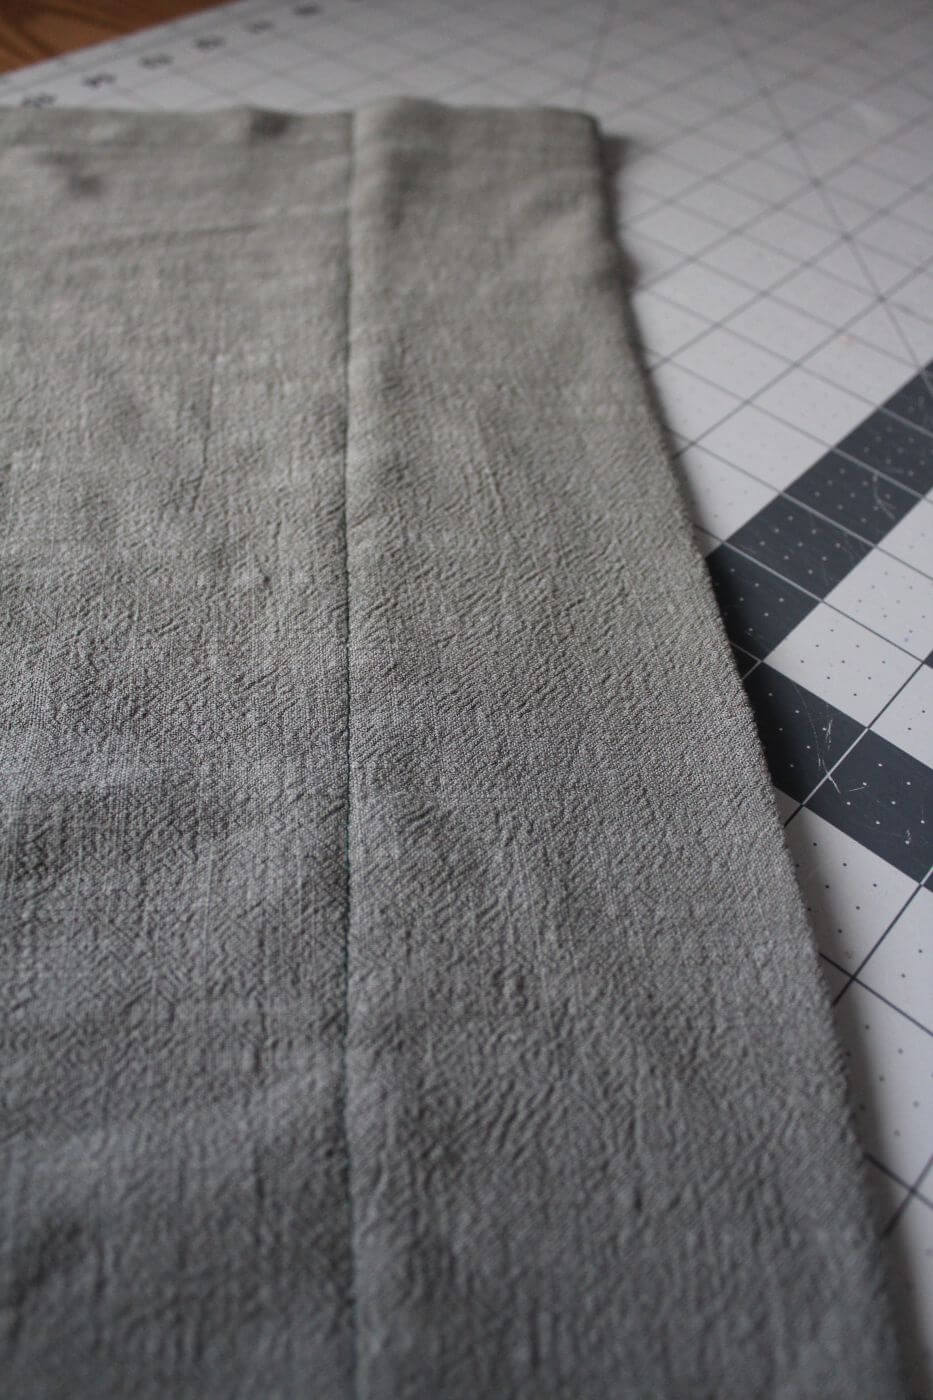
Topstitch along the double fold from top to bottom. Repeat for the other side and then again for the other panel sides.
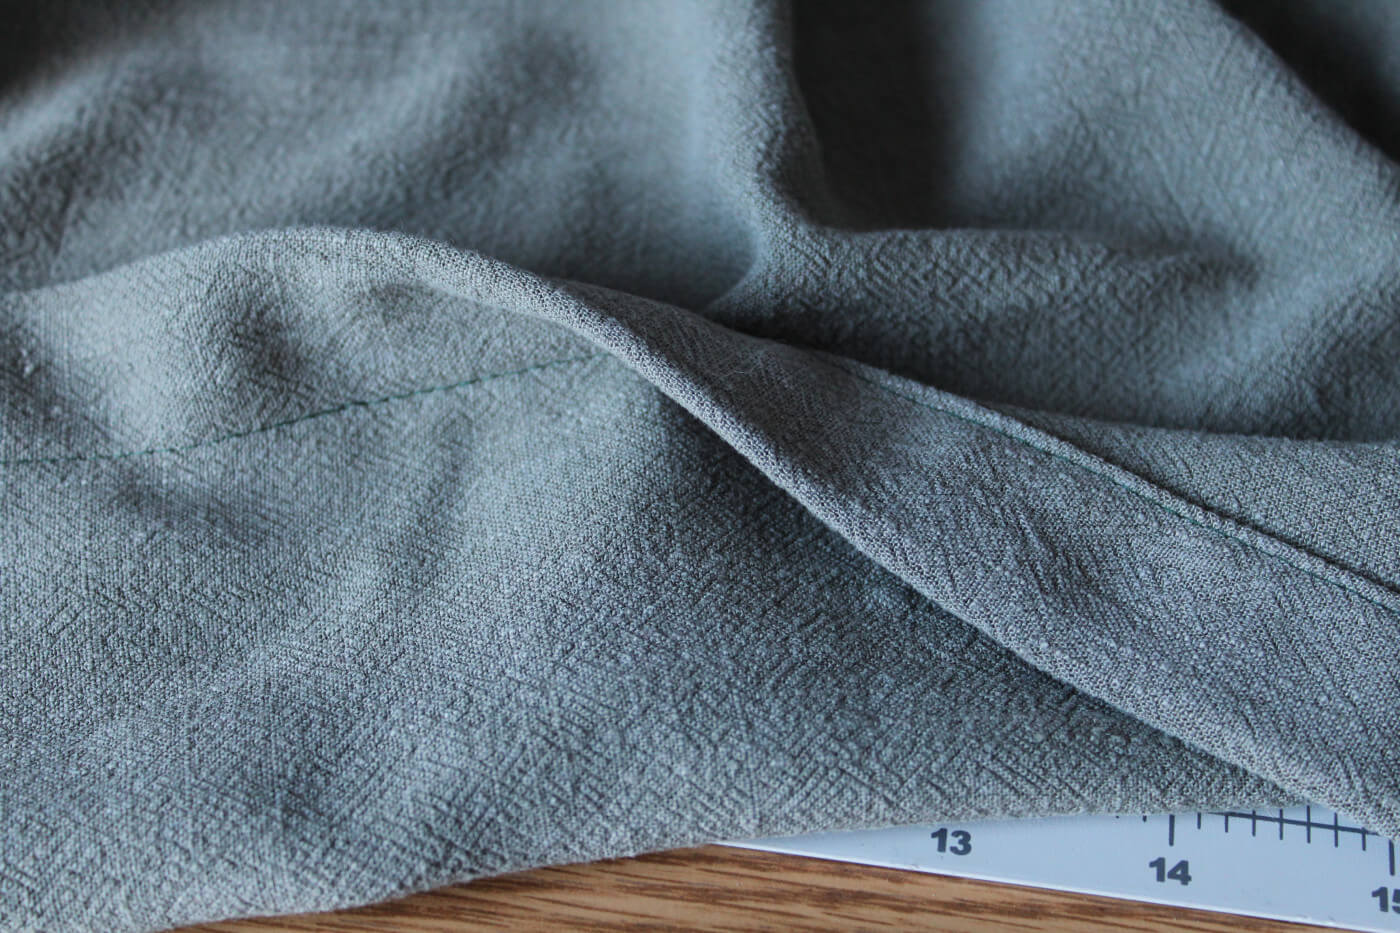
Another look at the side topstitching.
How Do You Sew Curtains Step Four: Top Hemline
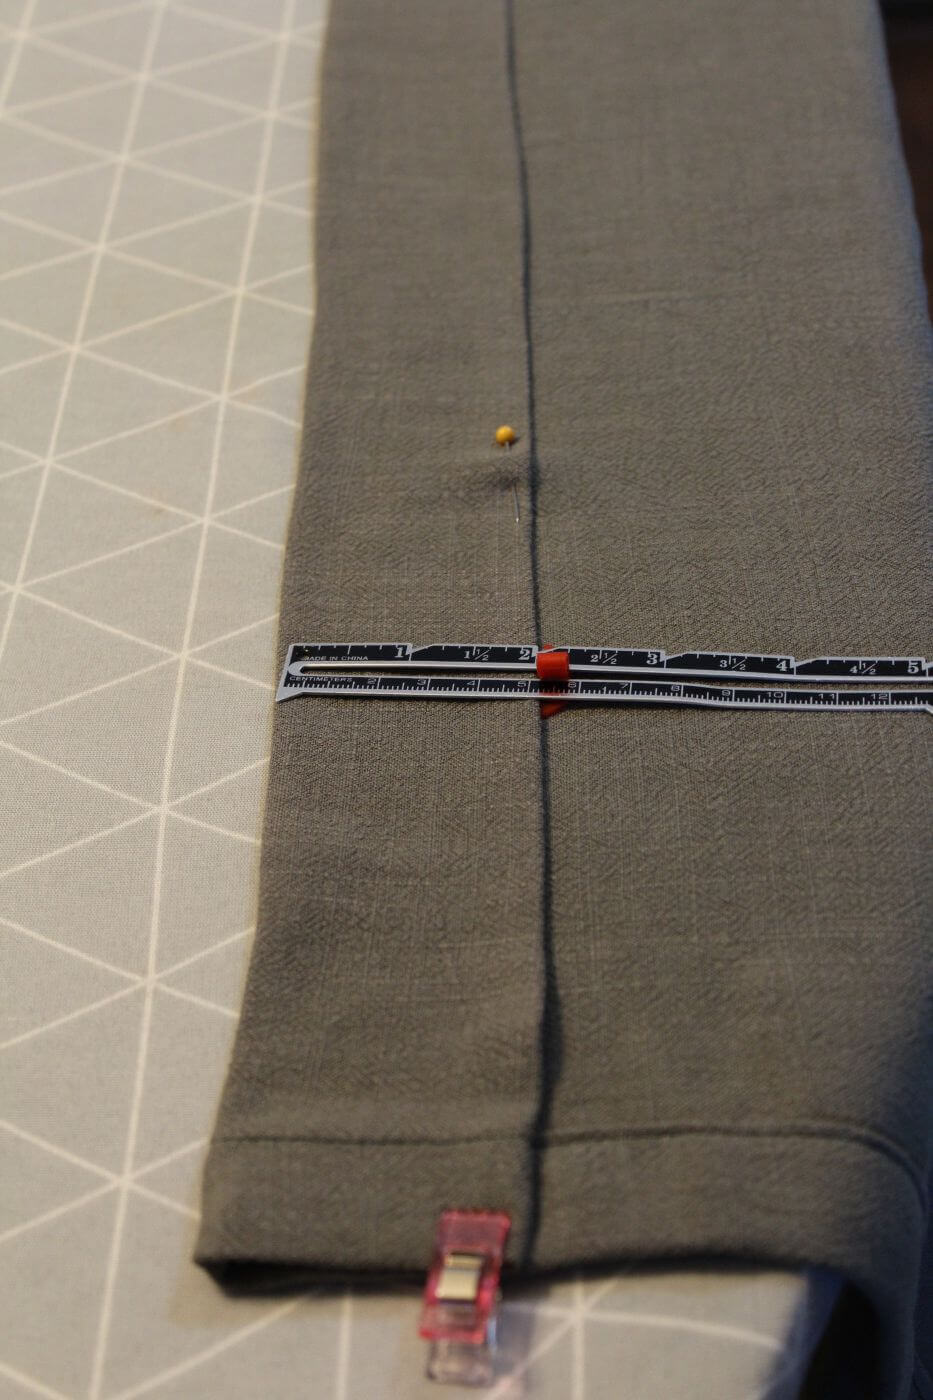
Next, we will prepare to topstitch the top hem where our curtain rod will slide through. Fold the top raw edge down 1/2" towards the wrong side and press flat.
Fold the fabric over again with wrong sides together, this time measuring 3" down. Press flat and pin in place to secure. We will topstitch along the double folded edge.
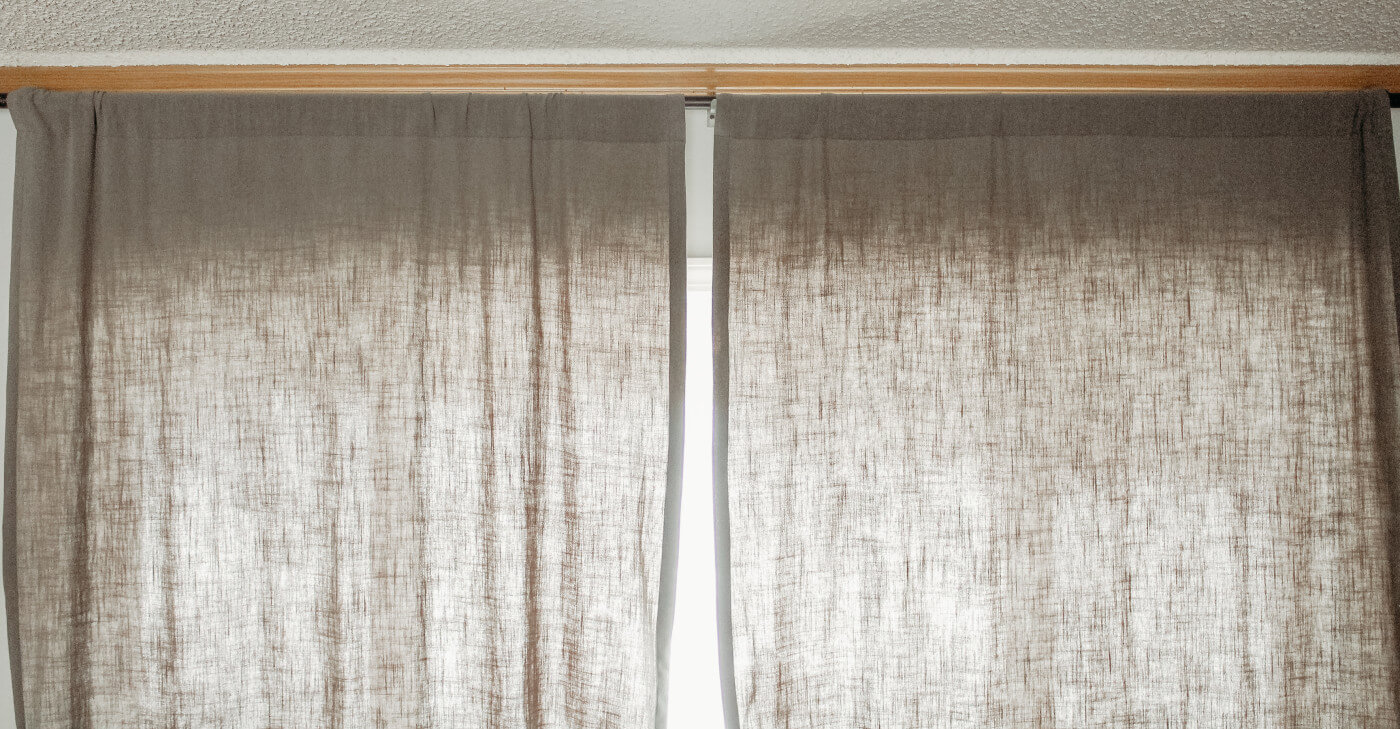
Here is the top of our curtain panel topstitched. Repeat for the other panel.
Step Five: Bottom Hemline
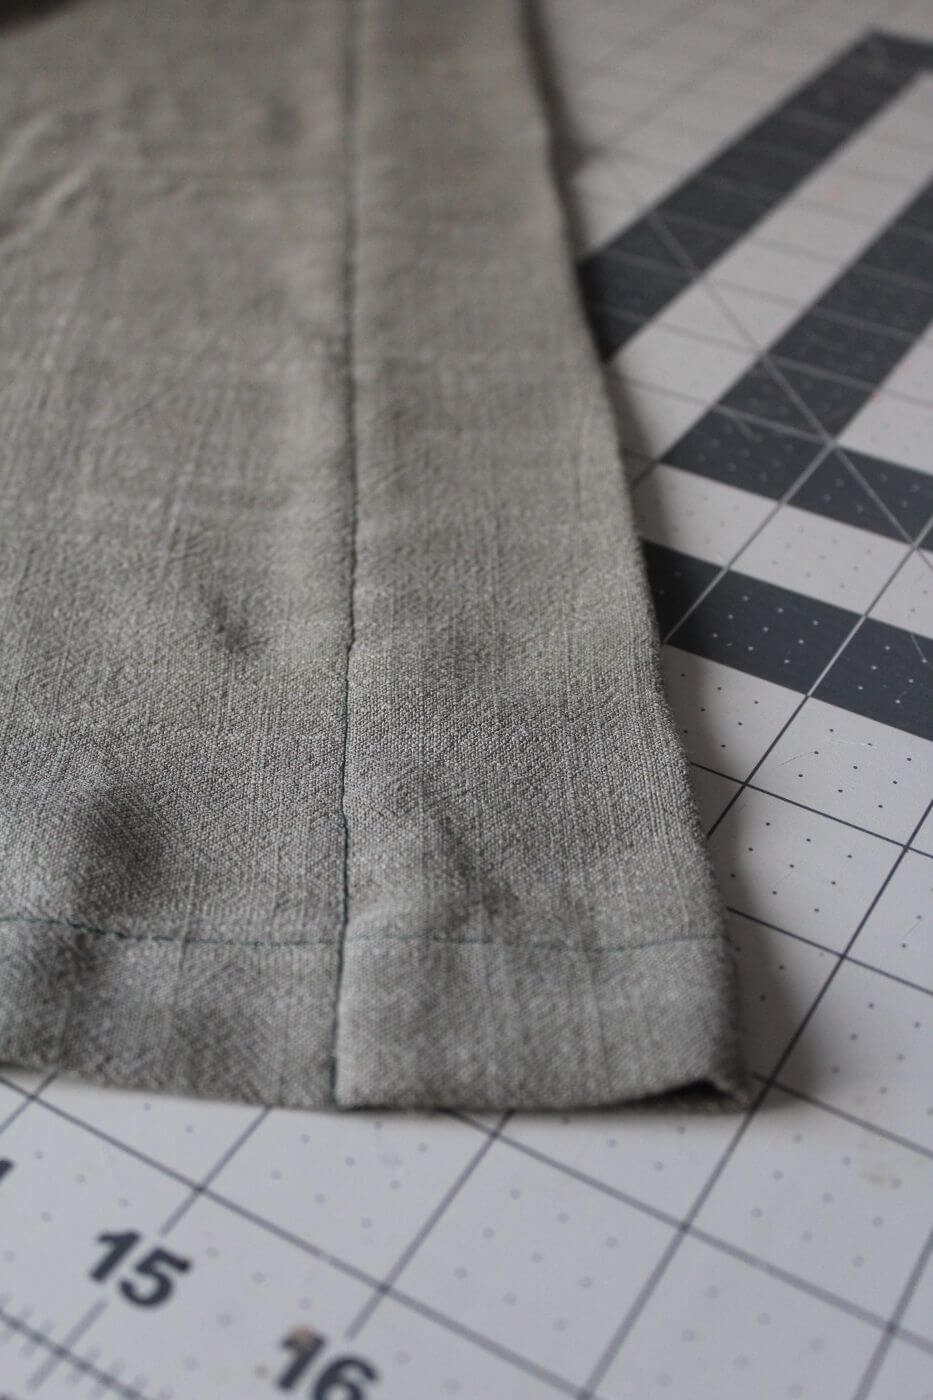
The bottom hem is quite similar to the top hem. Fold the bottom raw edge over with wrong sides together 1/2" and press flat.
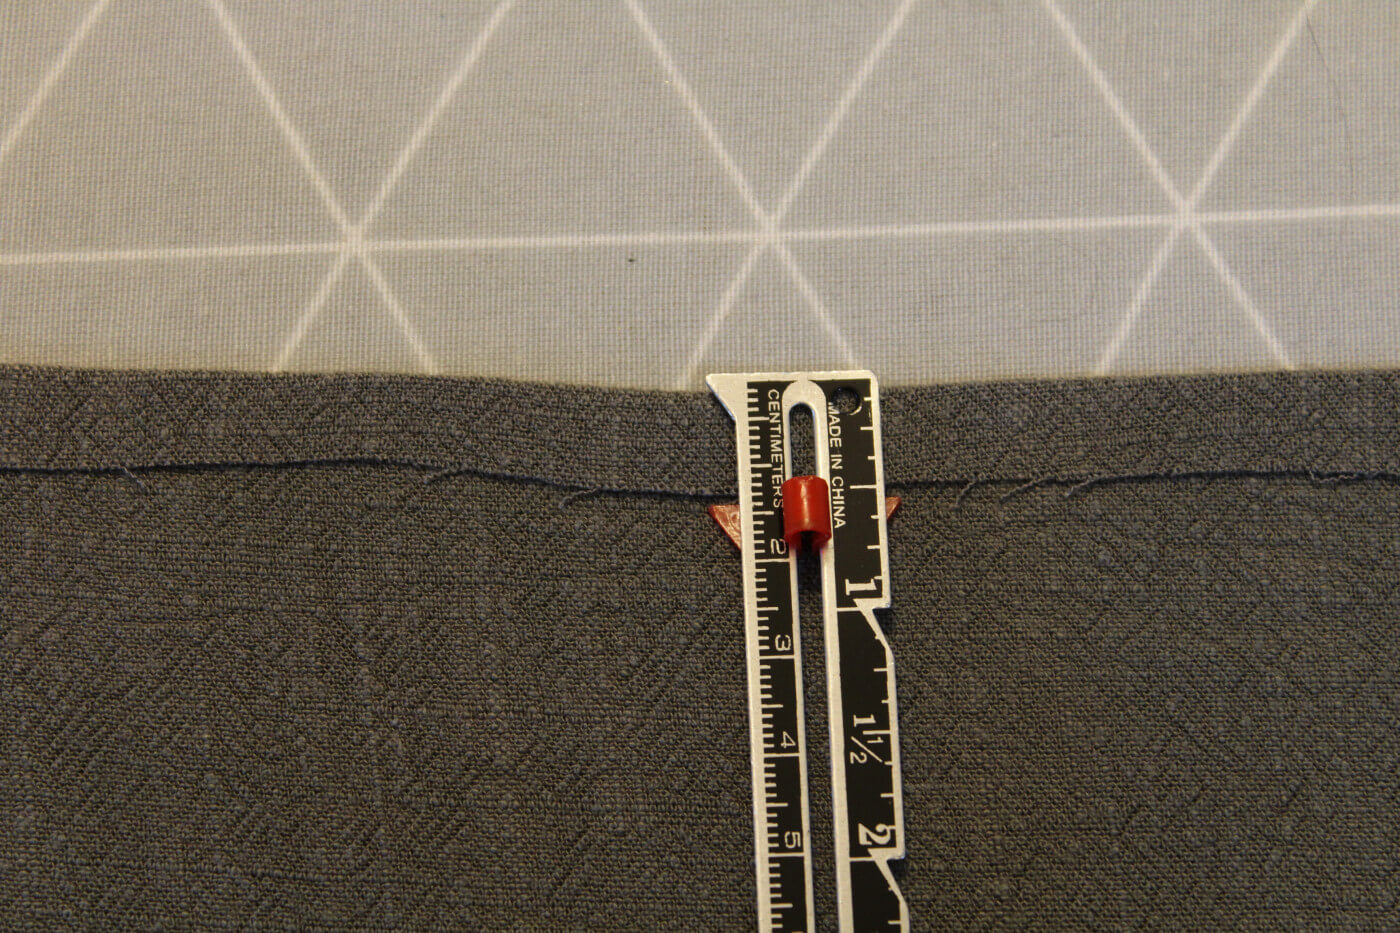
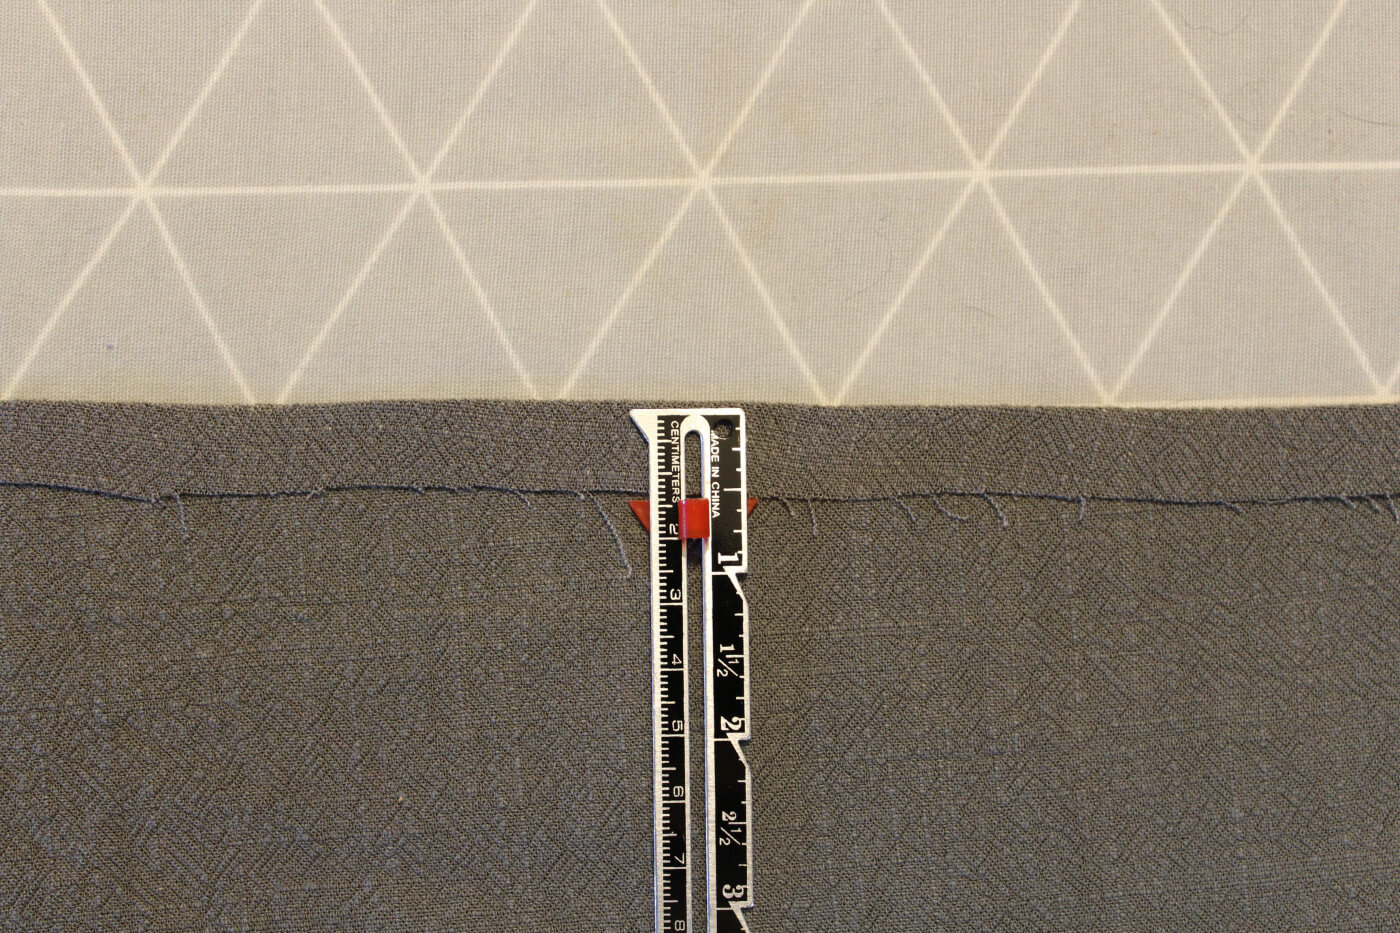
Now, instead of folding the bottom edge over 3", I choose to do a 2" hem at the bottom. This would be a good time to check and see if you like the length and adjust accordingly before topstitching in place. Once you're happy with the length, go ahead and press flat and pin in place.
Here is the bottom hem topstitched. Repeat for the other panel.
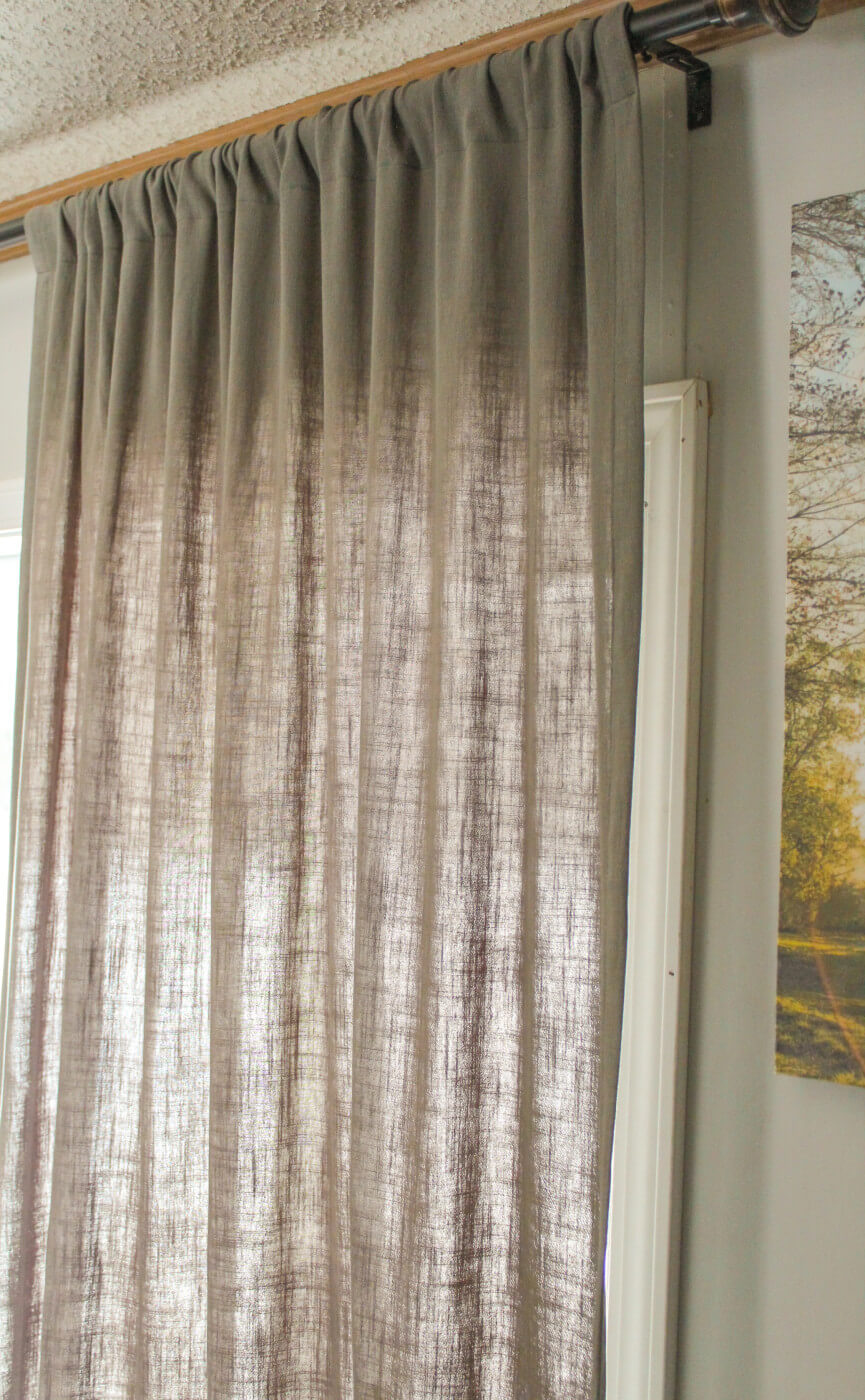
Our curtain panels are complete. Time to hang them up and see what we think!
Tips for Hanging and Adjusting Curtains
When hanging the curtains, use a level to ensure they are straight and even. To create an illusion of height, hang the curtains higher than the window frame (if you want to do this you'll need to adjust your curtain height accordingly). Additionally, consider adding curtain tiebacks or holdbacks to allow more natural light into the room. If your curtains are too long, hem them for a tailored look. Finally, regularly adjust and straighten your curtains to maintain their appearance and functionality. By following these tips, you can achieve beautifully hung and adjusted curtains that elevate the style and ambiance of any room. I find that curtain rods from either IKEA or Home Depot are easy to install and work well with the rings and clips that I like. I find it easiest to take my curtain rod down from the wall and feed it through the rings of the drapes on the floor or a tabletop, rather than trying to put the rings onto it while it is in place.
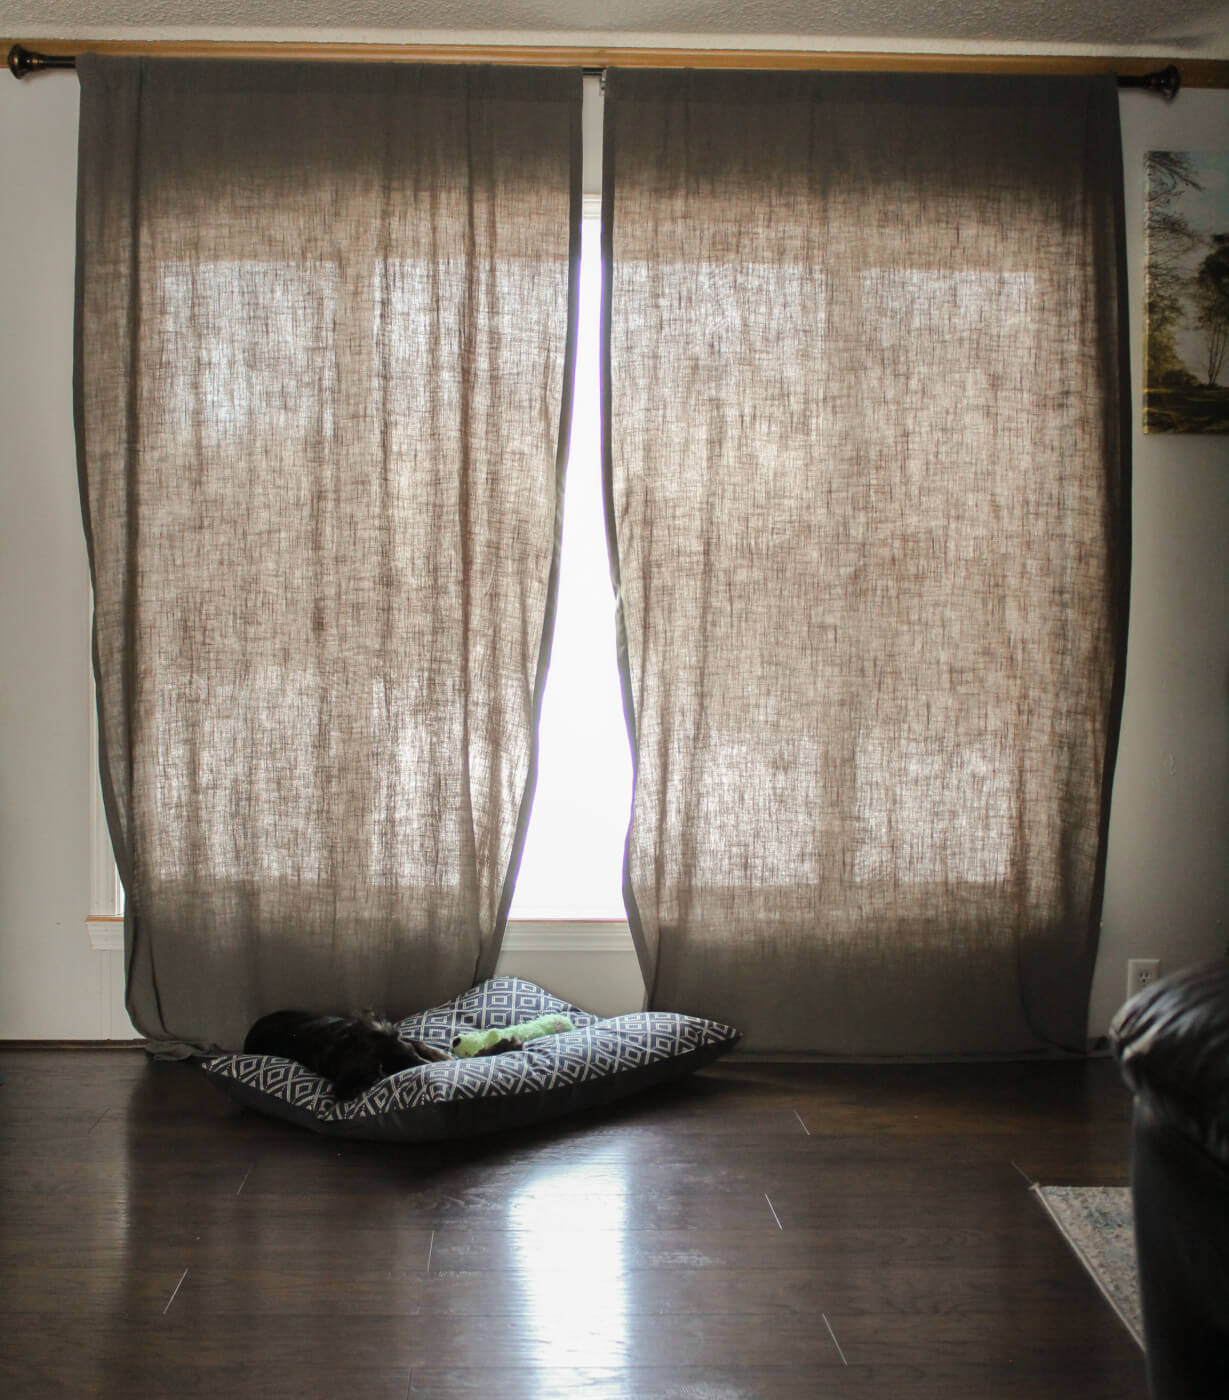
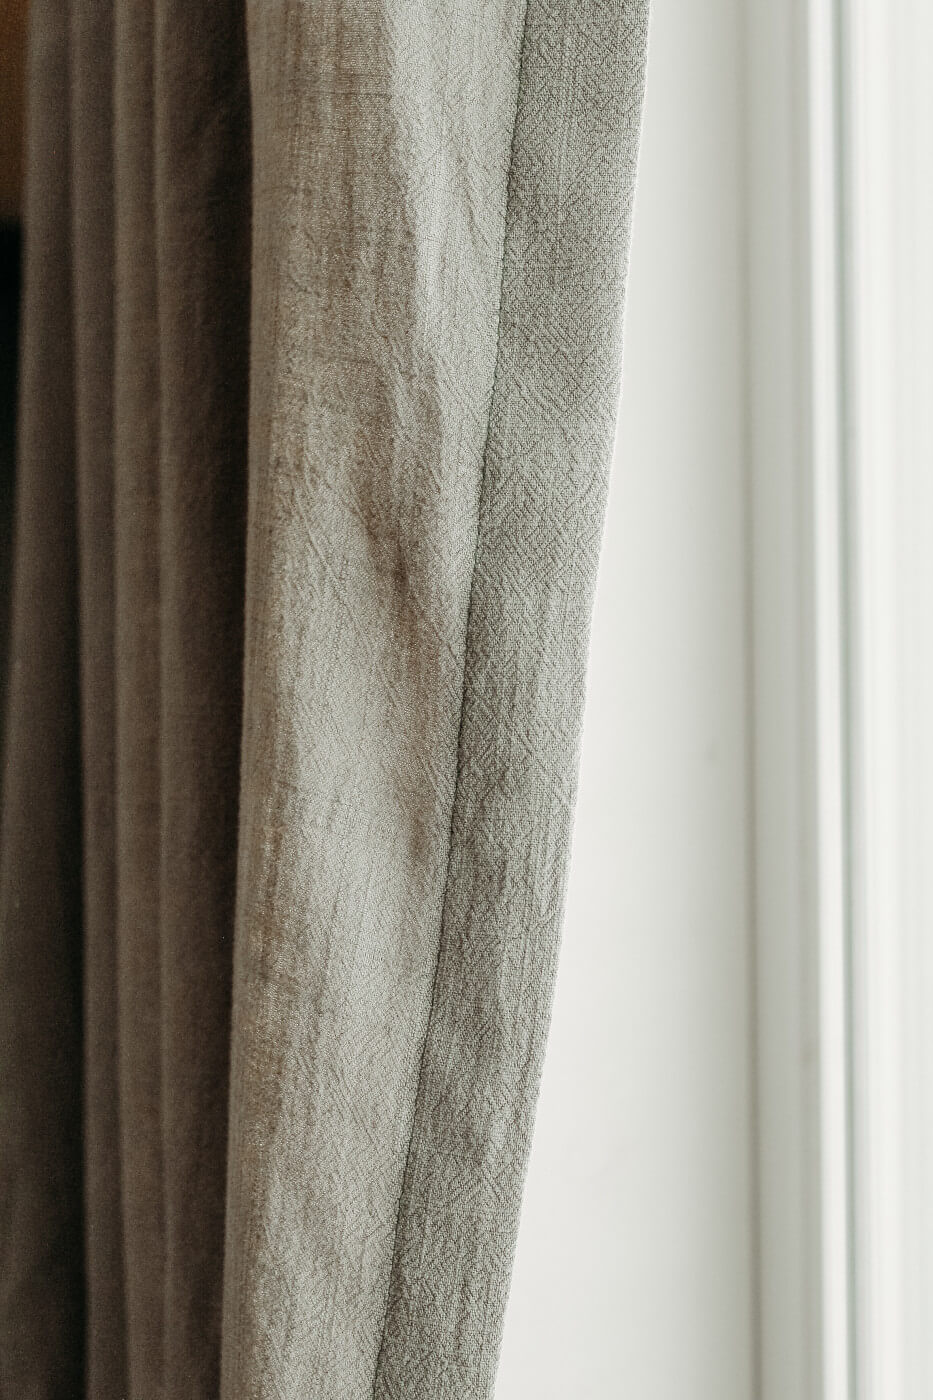

The lighting wasn't great for capturing my fabric's true sage color, but I love how these curtains turned out!
This was a super easy, and straightforward project. I think it took me longer to iron and pin than it did to sew. After you've completed the math portion of it, it's just sewing four sides using a straight stitch x two and you're done and ready to hang those beautiful curtains you made! All in I'd say this took me a couple of hours from start to finish. Not bad for a Saturday morning!
Is it Cost-Effective to Sew Your Own Curtains?
Maybe....learning how to sew curtains can be a budget-friendly alternative to purchasing expensive custom window treatments or pre-made curtains. With the right materials and supplies, you can create beautiful curtains at a fraction of the cost. One benefit of sewing your curtains is the ability to use thrift store fabric or discount fabric. Thrift stores often have a wide selection of fabric at affordable prices, allowing you to find unique and high-quality materials for your curtains. By repurposing fabric from thrift stores or browsing your local fabric store for inspiration, you save money and give new life to old textiles.
In addition, sewing your own rod pocket curtains eliminates the need to rely on expensive custom window treatments. Custom curtains can be pricey, and by sewing your own, you have the flexibility to design curtains that fit your specific style and window dimensions. This gives you the freedom to create curtains that perfectly complement your home decor without breaking the bank.
Tips for Sewing Curtains Efficiently and Accurately
One tip is to measure twice and cut once. Taking accurate measurements before cutting your fabric will ensure that your curtains fit perfectly. Another tip is to use a rotary cutter and a self-healing cutting mat for precise cuts. This will help you achieve clean edges and straight lines. Additionally, using a serger or zigzag stitch along the raw edges of your fabric will prevent fraying and give your curtains a professional finish. Lastly, don't forget to press your seams as you go along. This will help your curtains lay flat and look polished. By following these tips, you'll be able to learn how to sew curtains efficiently and accurately, creating beautiful window treatments for your home.
How do you measure fabric for curtains?
To measure fabric for curtains, start by measuring the window width. Multiply it by 2 or 2.5 for desired fullness. For the length, measure from the curtain rod to desired end point, adding a few inches for hemming.
In conclusion, knowing how to sew curtains can be a rewarding and cost-effective endeavor, especially for beginners. Not only does it give you the freedom to choose the fabric and design that suits your taste and home decor, but it also allows you to personalize your space. By understanding the basics of sewing curtains and gathering the essential sewing supplies, such as a sewing machine, thread, and fabric, you can easily embark on this creative project. Remember to measure carefully, cut accurately, and press seams and hems neatly for professional-looking results. Finally, don't forget the finishing touches, such as deciding on the curtain length and pressing out any wrinkles before hanging them up. So why not give it a try? Discover the joy of creating beautiful curtains that enhance your home decor and reflect your personal style.
Thanks again for joining us today to learn how to sew curtains! Before you leave, make sure to join our Facebook Group or follow us on Instagram. We also have a great selection of fabrics atKnitFabric.com. Happy Sewing!