How to Sew a Skirt: A Step-by-Step Guide
Are you interested in learning how to sew a skirt but don't know where to start? Look no further! In this step-by-step guide, we will walk you through sewing a skirt from start to finish. We'll cover everything from choosing the right fabric and supplies to follow along with a pattern. We'll even give you tips on customizing your skirt to make it uniquely yours. Whether a beginner or an experienced seamstress, this guide has everything you need to start. So grab your fabric, and let's get sewing!
What are the basic steps to sewing a skirt?
The basic steps to sewing a skirt include measuring and cutting the fabric, sewing the side seams, attaching the waistband, inserting a zipper or elastic, hemming the bottom edge, and adding any desired finishing touches such as pockets or decorative details.
What Fabric is Best?
When selecting the fabric, it is essential to remember the season and the desired style. For summer skirts, lightweight fabrics such as cotton or linen are ideal as they allow for breathability and comfort. On the other hand, denim or twill works well for casual or structured skirts. Knit fabrics provide elasticity and comfort, making them perfect for elastic waistbands. It is also important to consider the durability of the fabric and how it will hold up after multiple washes. Ultimately, choosing the right fabric can greatly enhance your skirt's overall look and feel.
Other Supplies
When sewing, having the right supplies for a smooth and successful project is important. Patterns are a great starting point, providing instructions and templates for skirt construction. To ensure accurate sizing and hemming, a measuring tape is essential. Pins and clips come in handy for holding fabric pieces together during sewing, while scissors or a rotary cutter are used for cutting the fabric. An iron and ironing board are also essential for pressing seams and creating a polished finished product. By having these supplies ready, you'll be well-prepared to create your DIY skirt masterpiece.
Choosing the Right Sewing Pattern for Sewing a Skit
When sewing, it's important to choose the right sewing pattern that reflects the style of the skirt you want to make. Whether you prefer a simple skirt, a skort, pencil, or maxi skirt, selecting a pattern that matches your desired look is crucial. At Peek-a-Boo Pattern Shop, we offer a variety of skirt patterns in our Skirt Patterns section. When selecting a pattern, be sure to check the size chart to ensure you choose the correct size for a perfect fit. With the right sewing pattern and tutorial, you'll be on your way to creating a beautiful skirt in no time.
The Women's Tiered Skort Pattern from Peek-a-Boo Pattern Shop
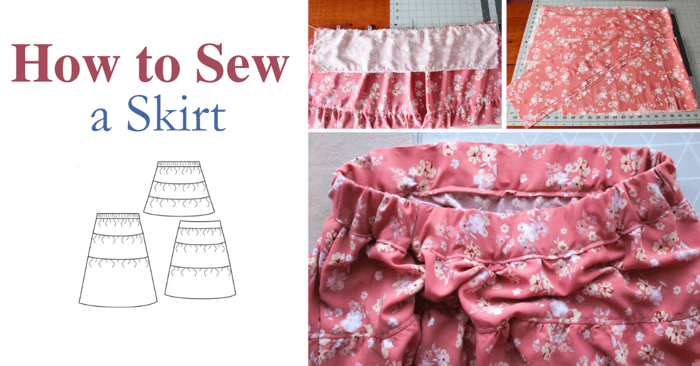
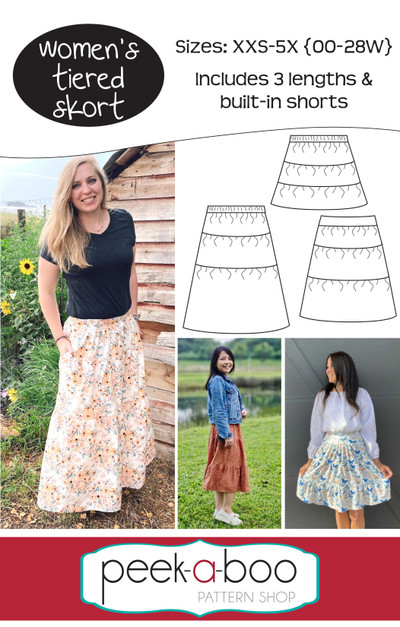
The Women's Tiered Skort Pattern from Peek-a-Boo Pattern Shop is a stylish and versatile design that allows sewers to create their own fashionable skirt. With instructions for different lengths and sizes, this pattern can be customized to fit individual preferences. It features a comfortable elastic waistband and tiered layers, adding a touch of femininity to any outfit. Suitable for beginner to intermediate sewers, this pattern provides a great opportunity to practice sewing skills and create a beautiful garment. Whether you want to make a casual or dressier skirt, the Women's Tiered Skort pattern has you covered. The Women's Tiered Skort features 3 tiers, optional pockets, 3 lengths, and optional built-in shorts. This tiered skirt pattern can be sewn with your favorite knit or woven fabrics.
Women's Tiered Skort
$9.95
The Women's Tiered Skort features 3 tiers, optional pockets, 3 lengths, and optional built-in shorts. This tiered skirt pattern can be sewn with your favorite...… read more
Step -by Step Tutorial on How to Sew the Women's Tiered Skort
Skirt Supplies:
Optional shorts: Lightweight knits
2" Wide Elastic for woven version and 1/4" elastic for knit waistband
- Sewing machine, Serger, iron, pins or clips, & thread
To sew the women's tiered skort, gather your materials and waist measurement. For my skirt, I chose a lovely woven rayon fabric with a good drape, and I will be sewing up the midi skirt version without the shorts. Since some fabrics can be more sheer than others, especially when working with certain lightweight woven’s, I opted to omit the shorts for mine so that I could wear a slip. The built-in shorts are great for many reasons, and I have made this pattern both ways! Just a thought to keep in mind when choosing your fabric.
Cut out the fabric pieces for each skirt tier, ensuring you have rectangles that match the width and length of the skirt.
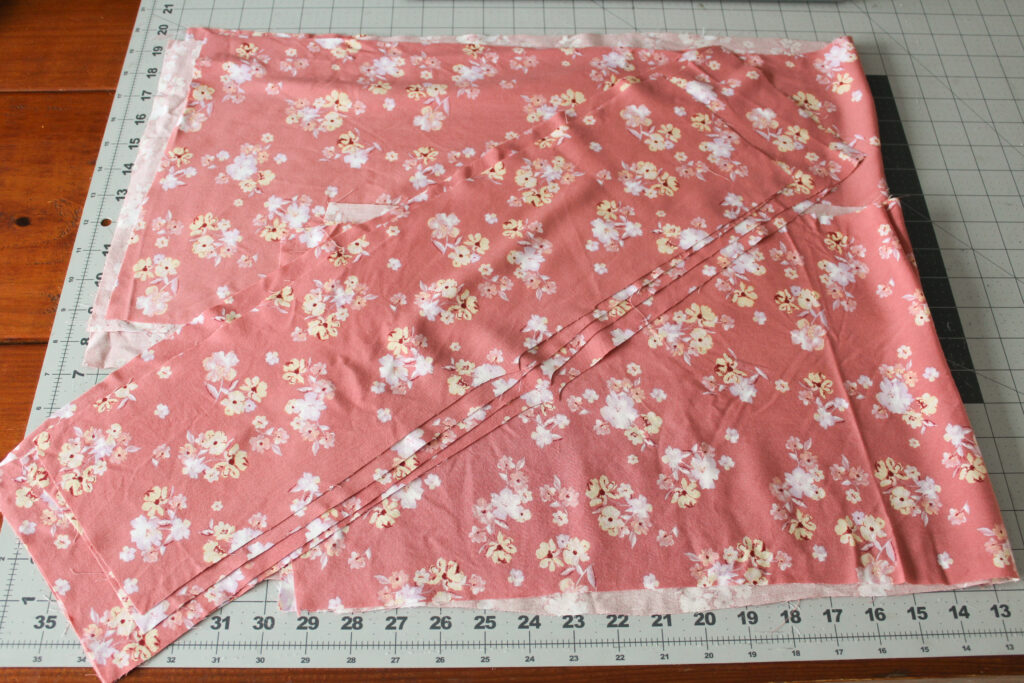
If using a woven fabric, finish all seam allowances to prevent fraying.
Step One: Gathering Tiers 2 and 3
We will begin by sewing two rows of basting stitches 1/4″ and 1/2″ along the top raw edges of tiers two and three.
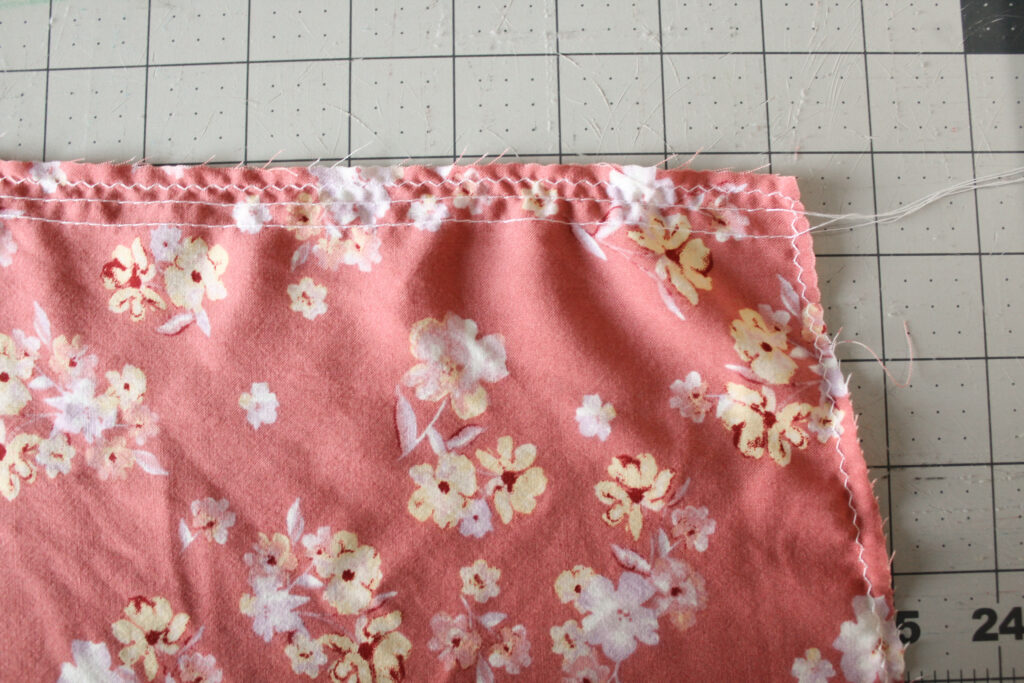
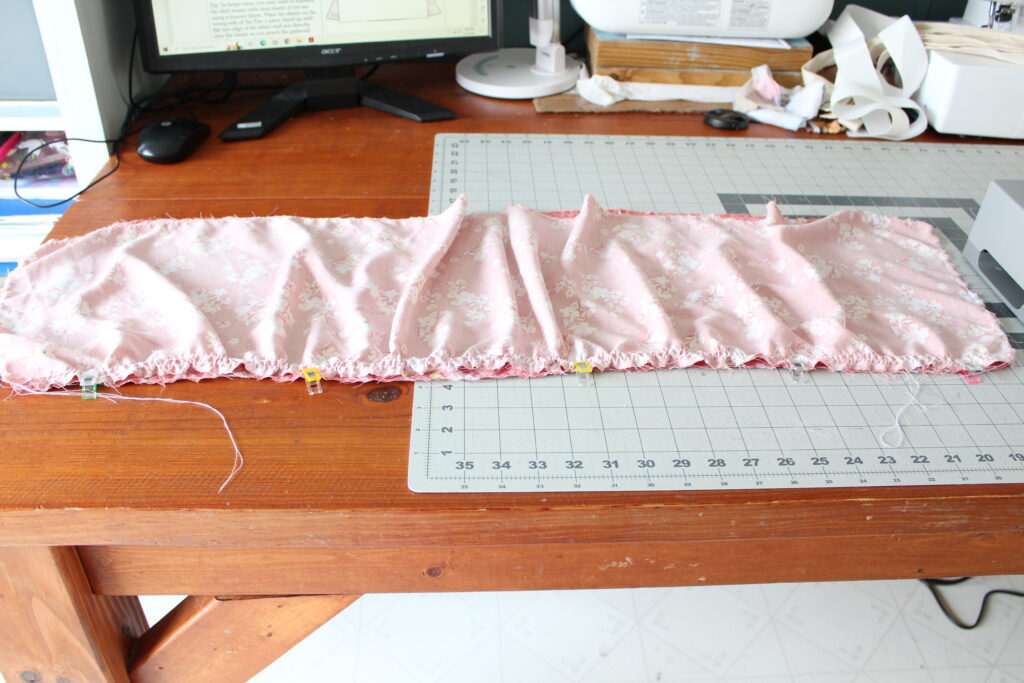
Next, we will gather the top of tier three to match the width of tier two bottom piece. With right sides together, clip or pin in place and sew tier three to tier two using a 1/4″ seam allowance.
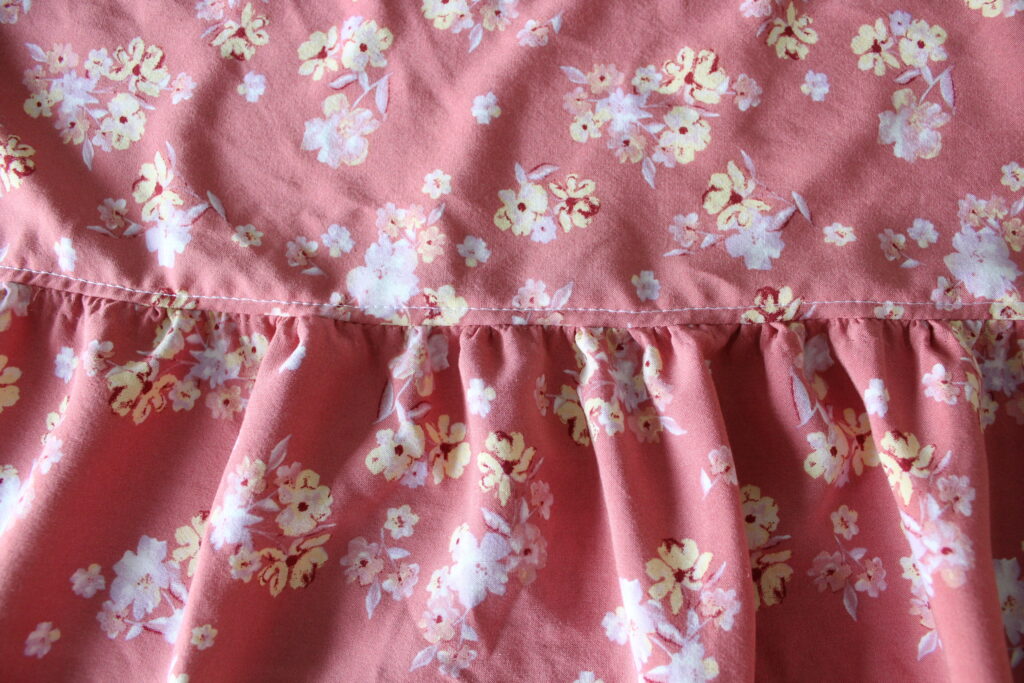
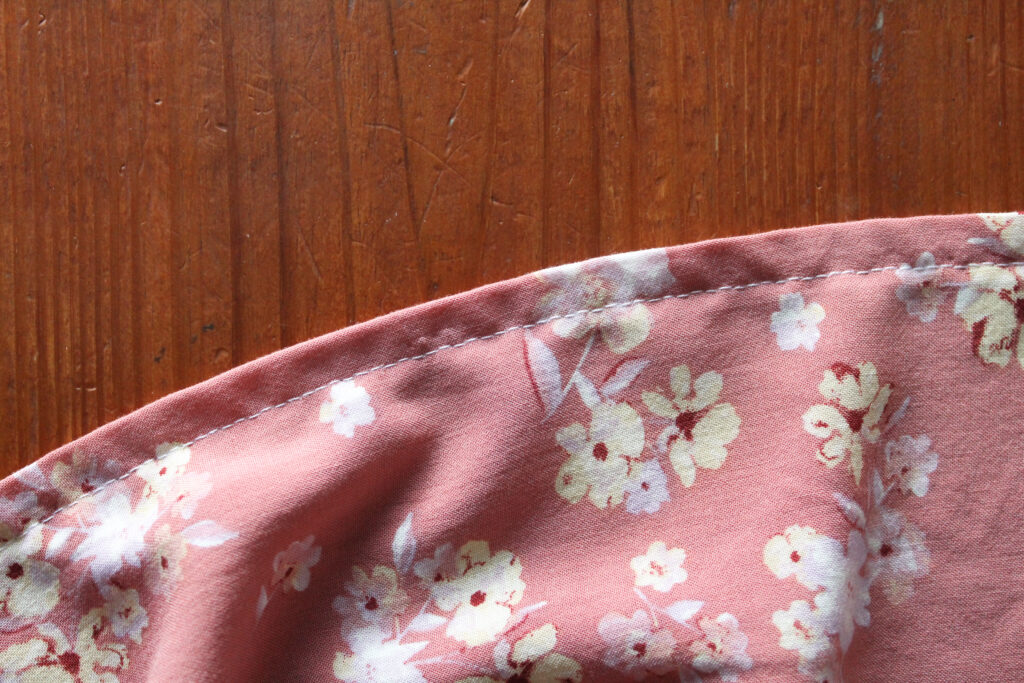
Topstitch the seam allowance to the bottom of tier two if you’d like. I chose to topstitch mine, but it is completely optional.
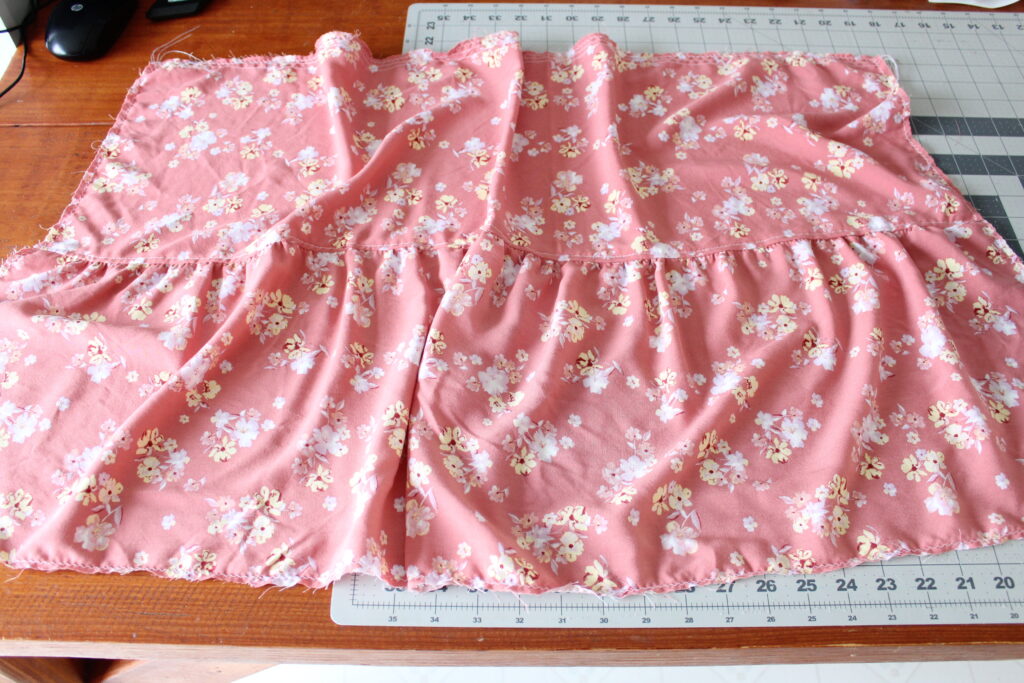
Close-up view of our top stitching.
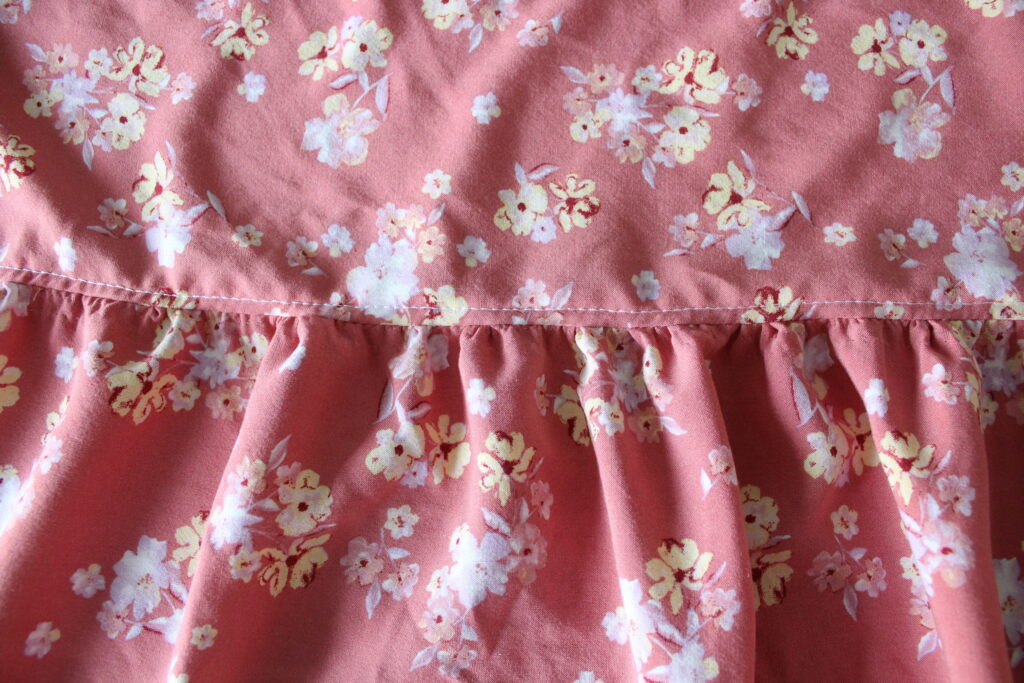
Repeat the same process as stated above for the other tier two and tier three pieces.
Step Two: Tier Two and One
The construction for attaching tier two to tier one is the same as the previous steps. We will gather the top edge of tier two to fit the size of tier one. Be mindful of the shape of tier one so as not to confuse it with your waistband. Tier one will have a curved bottom edge.
Clip or pin in place and sew tier two and tier one together.
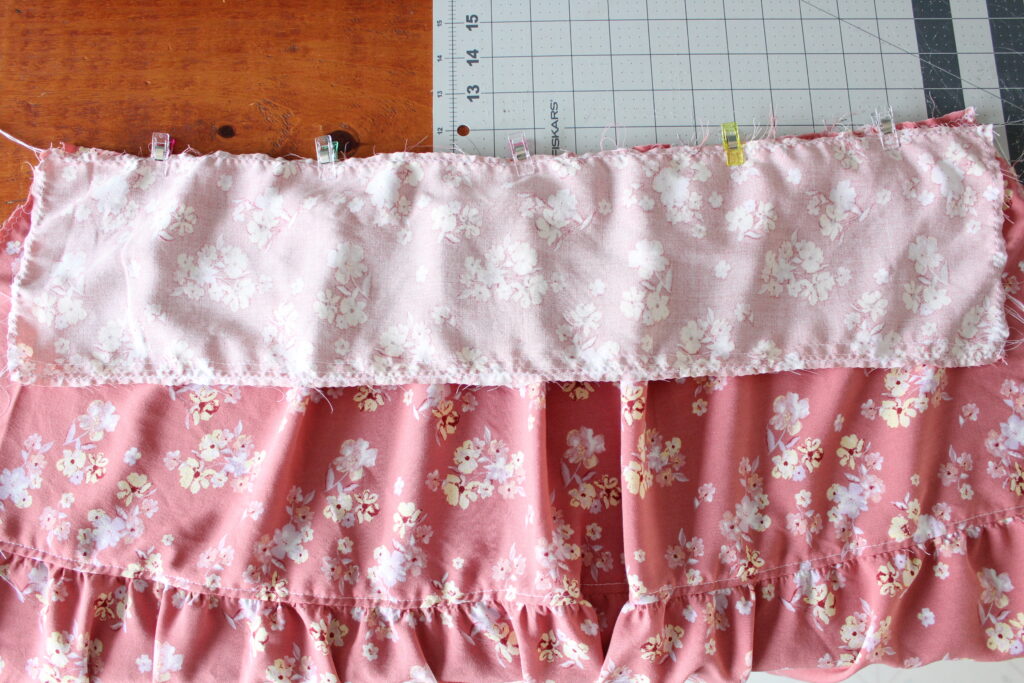
If you chose to topstitch tier three onto tier two, go ahead and do the same for tier two and one to keep with the cohesiveness.
Topstitching complete. Repeat for the other tier two and tier one pieces.
If you are including pockets, refer to the pattern instructions for constructing those at this point. Pockets are pretty simple to add into a garment, so don’t be afraid to try them out if you enjoy or need them.
Step Three: Front and Back Seams
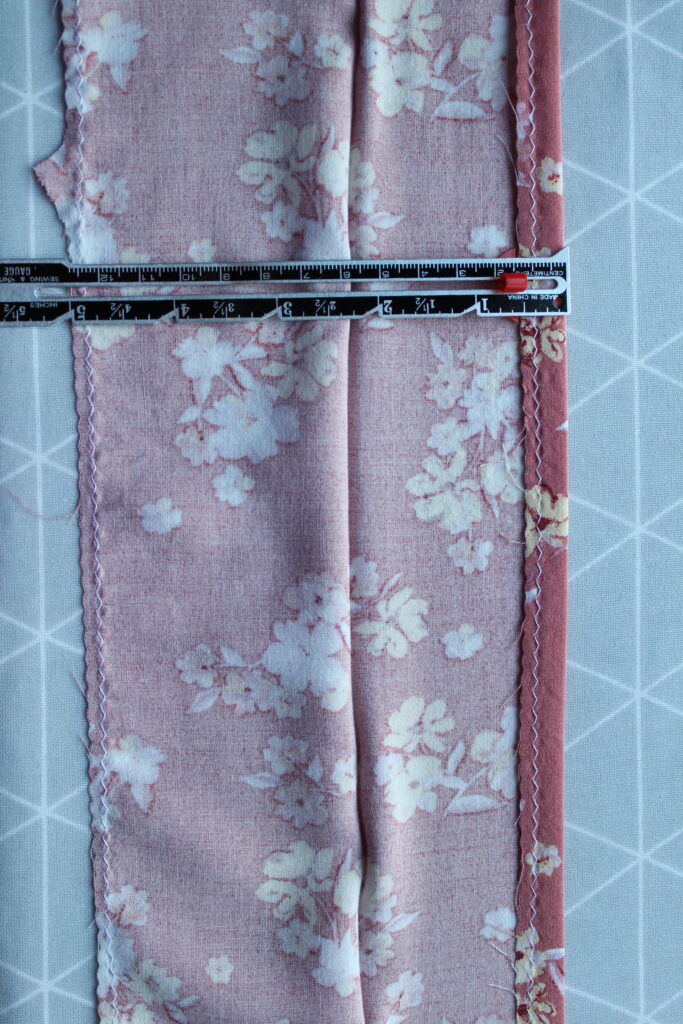
With right sides together, clip or pin the front and back pieces and sew along the seams on the side of the skirt. (I have my skirt folded in half here to give a visual since my workspace was a bit cramped right here at that moment).
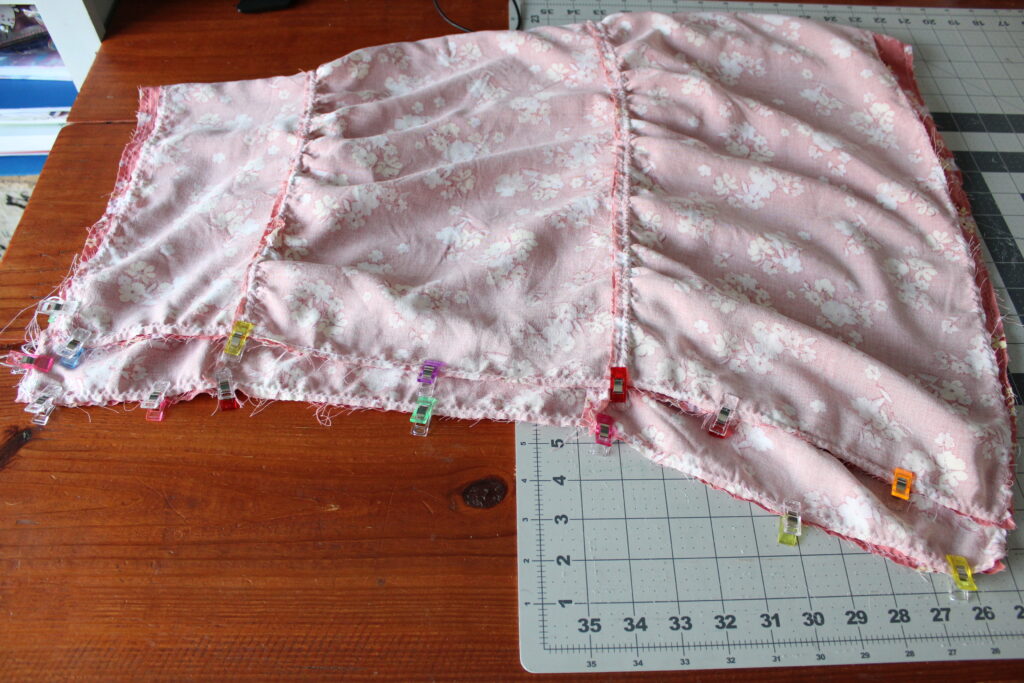
Step Four: Hemming The Skirt
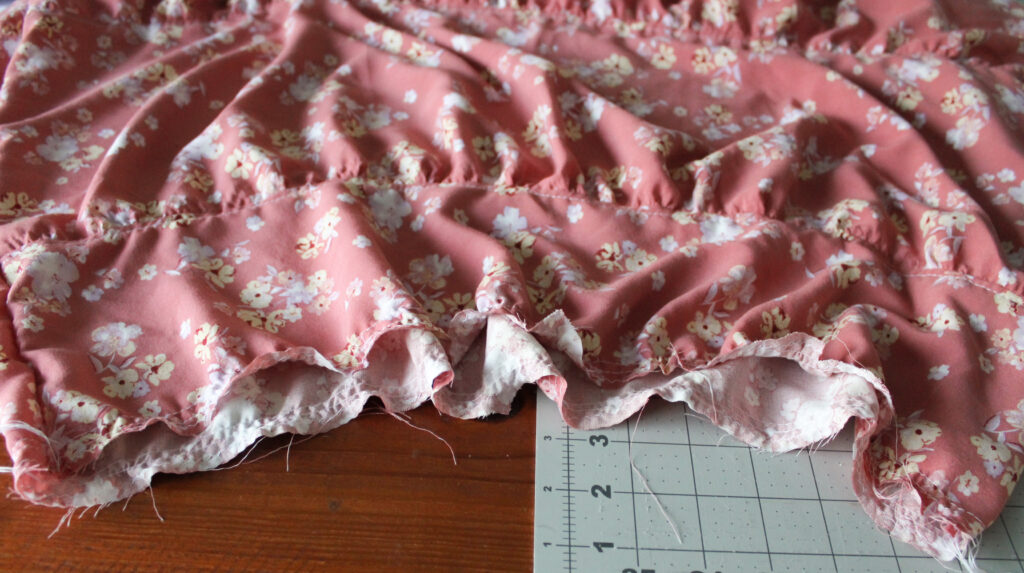
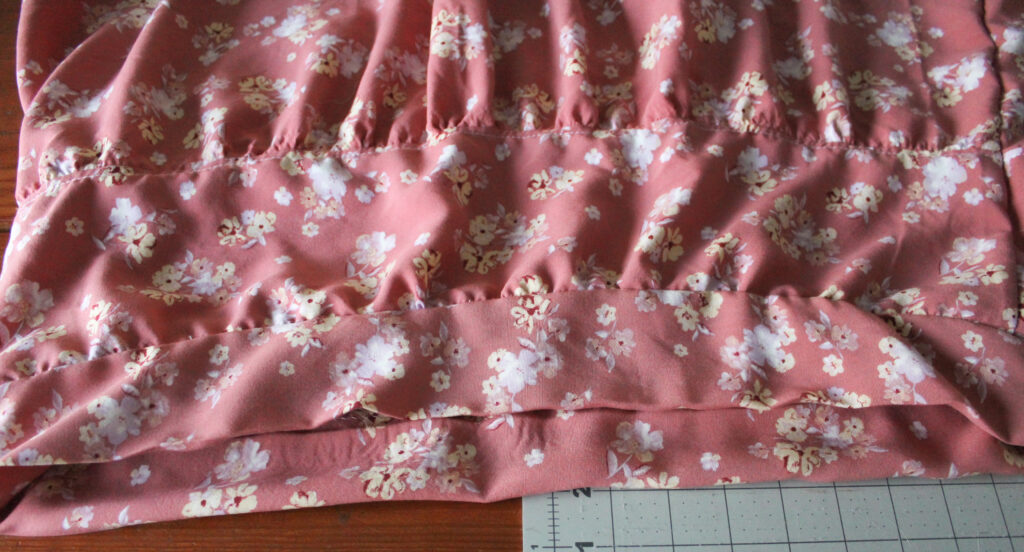
For woven: Fold the edge of the bottom of the skirt up 1/4″ and then another 1/4″ and press. Topstitch in place.
For knit: Fold the bottom edge up 1/2″ towards the wrong side and topstitch.
*Hemming can also be saved for the last step if you prefer to try it on first and then hem.
Step 5: Creating the Perfect Waistband
First, we will sew two rows of basting stitches along the top edge

Next, we will grab our two waistband pieces. Construction is different for the woven versus the knit waistband. I will be showing the steps for constructing the woven band.
Fold the waistband in half with wrong sides together and press flat. Repeat for the other piece.
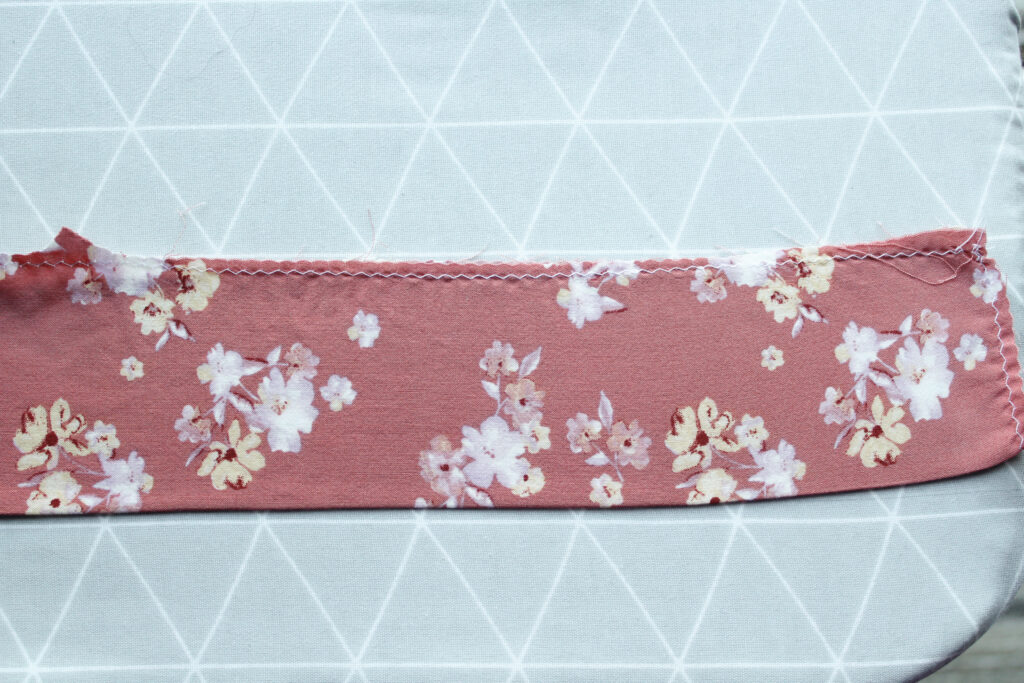
Unfold the waistband pieces and fold over one long edge 1/2″ and press.
With right sides together, Pin or clip the waistband pieces and sew the short ends. Make sure the freshly pressed edges are unfolded for this step.
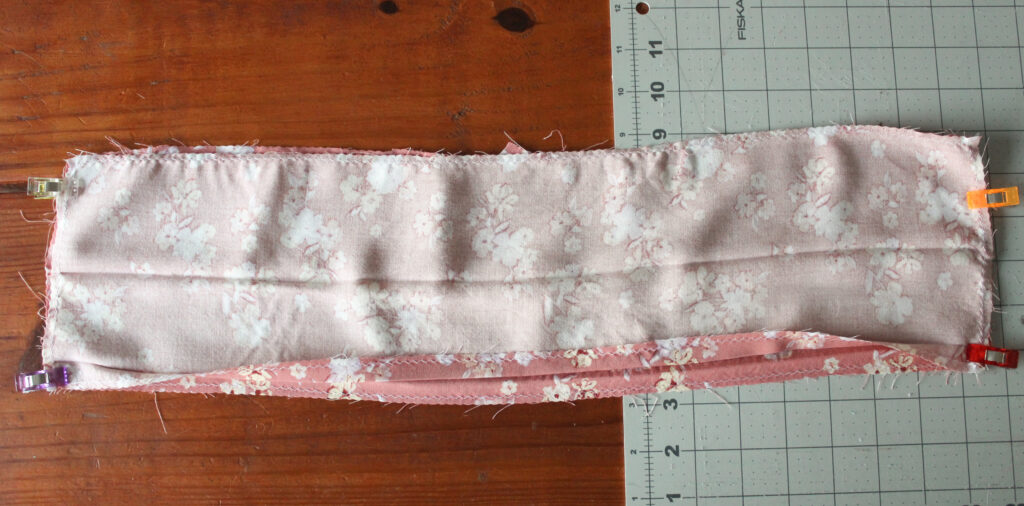
Grab the skirt and lightly gather the top edge, pulling at the basting stitches we put in prior. Gather just enough to fit the waistband piece.
Slide the waistband over the skirt with the right sides together, lining up the notch with the center back and front of the skirt and the side seams with one another. The back is slightly longer than the front so please make note of this before you begin to sew. Sew the unpressed edge of the waistband to the skirt waist using a 1/2 inch seam allowance.
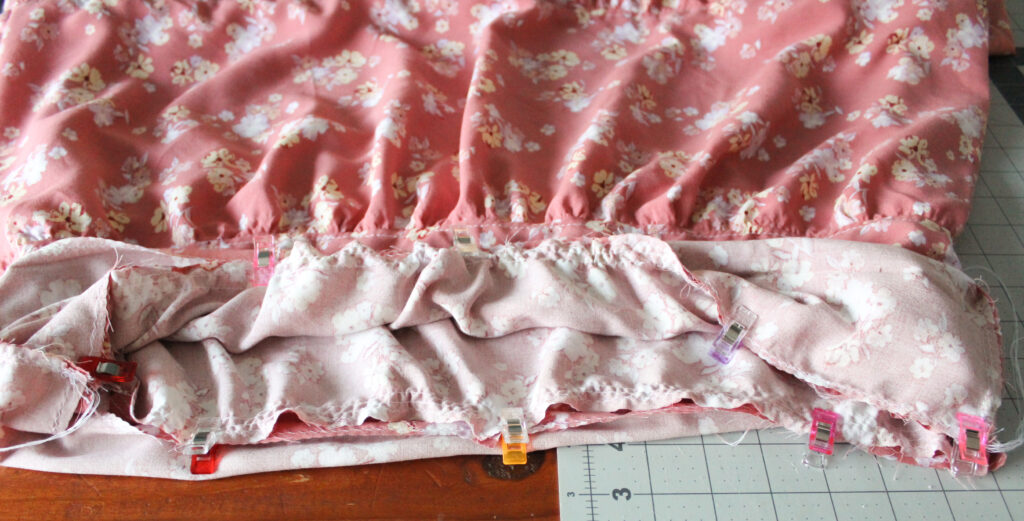
Refold the waistband. The seam allowance will be encased by the pressed crease we created previously. Pin the waistband in place.
Topstitch through all the layers along the bottom edge leaving a 1.5″ gap in the center of the back.
Cut your elastic to size using the chart guide and measure it up to your own body to ensure you like the fit. Thread the elastic through the back opening. Overlap the elastic ends by 1/2″.
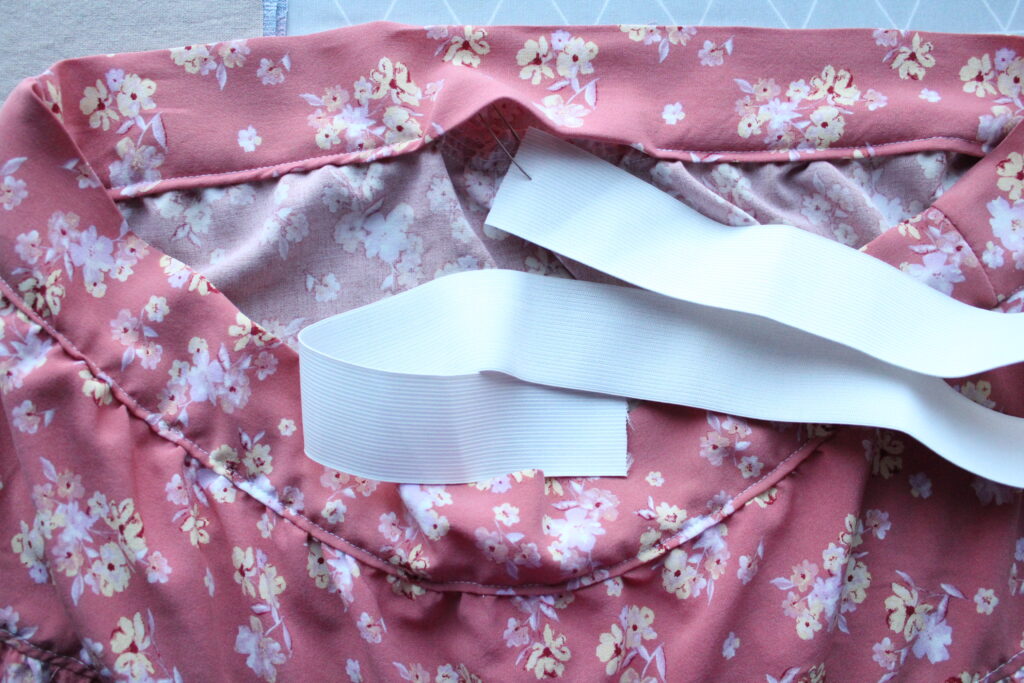
Sew the gap closed. If you would like to sew one or two rows of topstitching through the waistband, you may. This will help the elastic not to wiggle and turn. I chose to leave mine as is.
The women’s tiered skort is now complete! If you chose to save the hemming for last, go ahead and try it on now, otherwise it’s ready to wear!
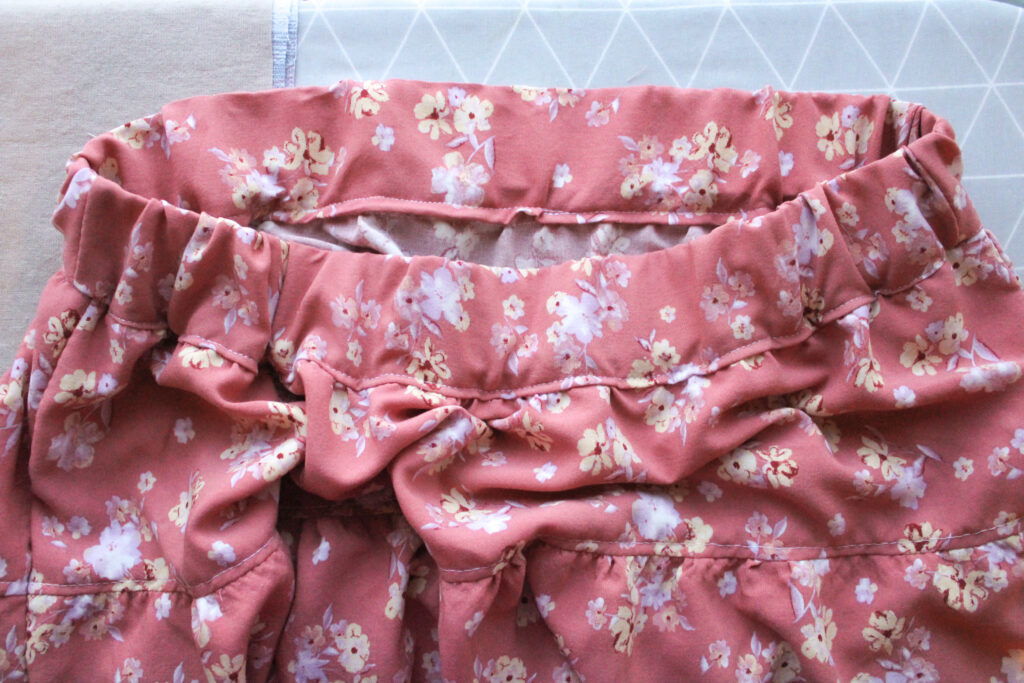
I really love how this feels and fits me! It’s really comfortable and flowy. Although it’s officially spring on the calendar, I can’t wait for the real spring weather to arrive so I can wear this out. I paired it with Peek-a-boo’s Women’s Tie Front Tee, and I really think it pulled the look together well! That’s another great pattern too if you haven’t sewn one up yet.
What are some common mistakes while sewing a skirt?
Mistakes while sewing a skirt can include uneven hemlines, so measure and cut carefully. Ensure a proper fit by taking accurate waist and hip measurements. Use the correct stitch length and tension to prevent puckering, and double-check pattern placement to avoid mismatched seams. Finally, secure seams with backstitching to prevent unraveling.
How can you customize your skirt?
Customizing your skirt is a great way to add a unique touch. Consider adding a decorative waistband or experimenting with different hemline styles like high-low or asymmetrical. Get creative and personalize your skirt with pockets, belts, or other accessories.
Conclusion | How to Sew a Skirt
Thank you for joining us learn how to sew a skirt. Sewing a skirt is a great way to unleash creativity and create professional-looking garments. By following this step-by-step guide, you can confidently sew skirts that reflect your style. Experiment with different fabrics, patterns, and lengths to customize your skirts. Don't be afraid to make adjustments to ensure the perfect fit. The possibilities are endless, whether you prefer a gathered skirt, pleats, or a simple pencil skirt. With a little practice and the right techniques, you can create beautiful skirts you'll love to wear. Voila! You're now ready to start sewing your handmade skirts.


