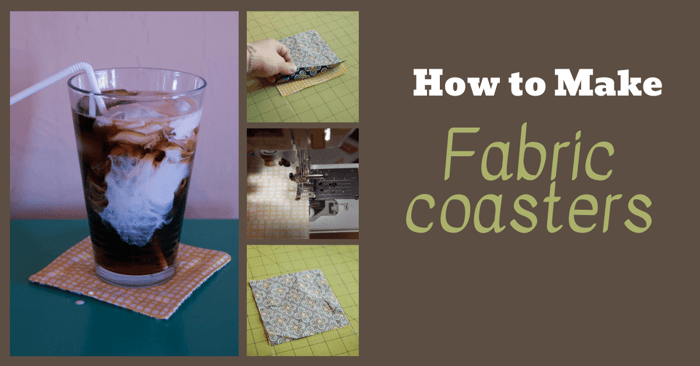
How to Make Fabric Coasters: Step-by-Step Guide
Today, I’m going to show you how to make fabric coasters. It’s that time of year again where I find myself rushing around trying to remember where I left my purse, phone, keys, kids…well you know…that’s nearly every day of my life. BUT – now is busier right?
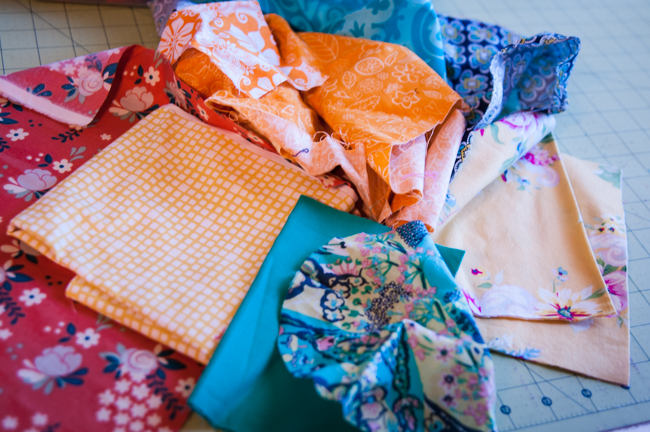
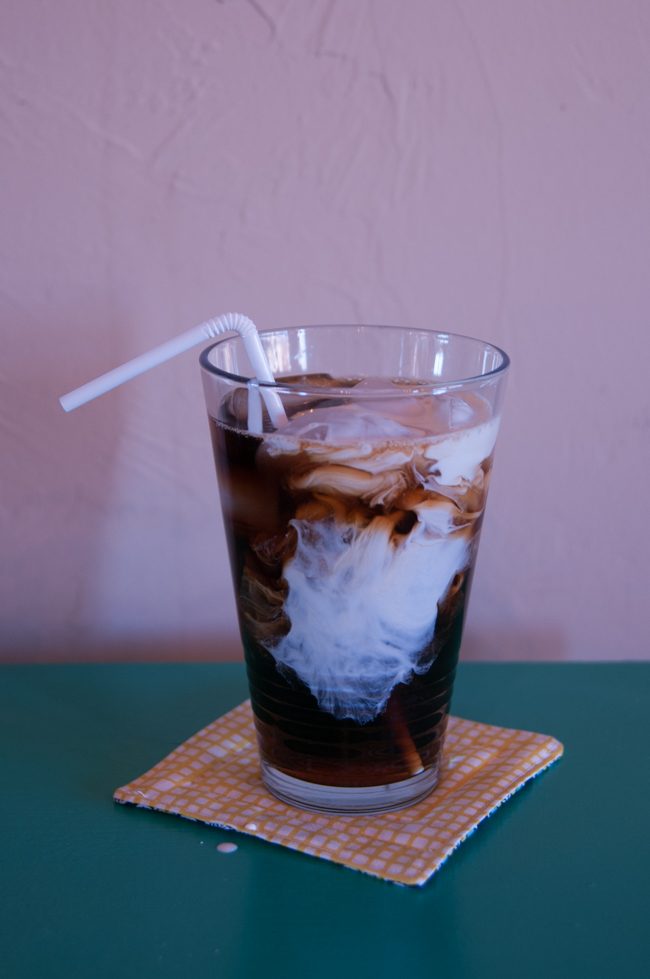
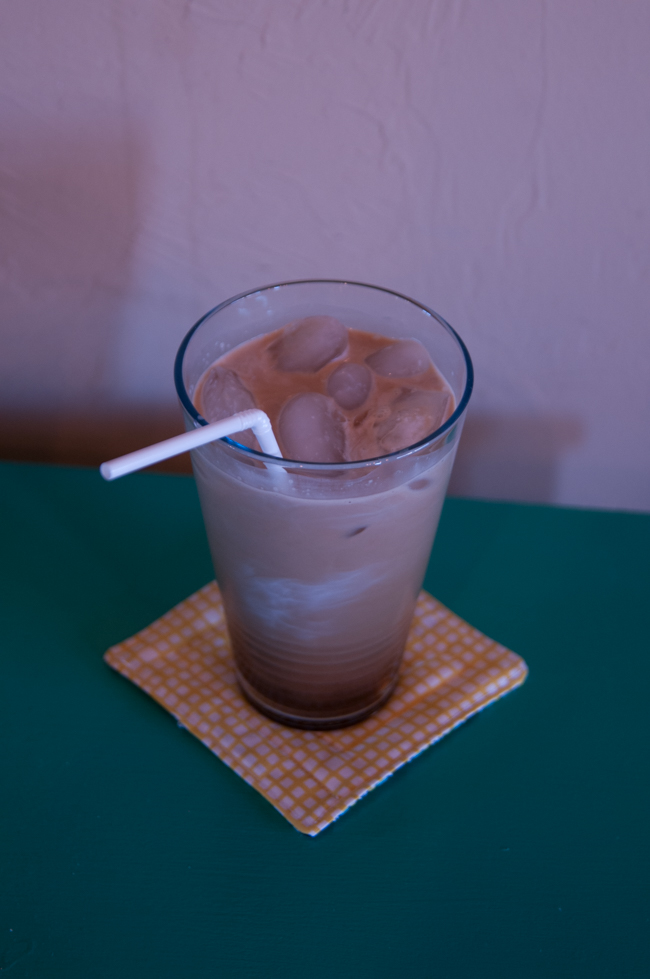
It is for me and as we enter the season of Christmas and gift-giving, it is important for me to have little gifts on hand that show my appreciation (and don’t break the bank). I present to you the simplest way I know how to give something handmade and thoughtful that ACTUALLY takes 5 minutes. Really! Grab your fabric scrap bin and let’s get started on the DIY Fabric Coasters.
What is the Best Fabric for DIY Fabric Coasters?
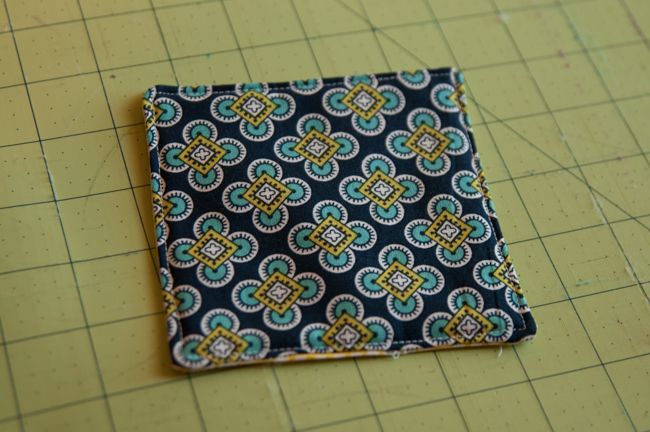
When making coasters, the material choice is crucial. Use cotton fabric for its absorbency. Select polyester or cotton batting for insulation and absorbency. Vibrant prints enhance aesthetics, and consider fleece backing for surface protection. These 4-inch square fabric coasters are practical and visually appealing.
DIY Fabric Coasters | Make Your Own Fabric Drink Coasters
Supplies to Sew these Easy Fabric Coasters:
- Scraps of fabric cut to 5×5 inch squares
- Batting of some kind – quilt, fleece, etc.
- Scissors
- Sewing Machine
- Thread
- Iron
How to Make Fabric Coasters Instructions
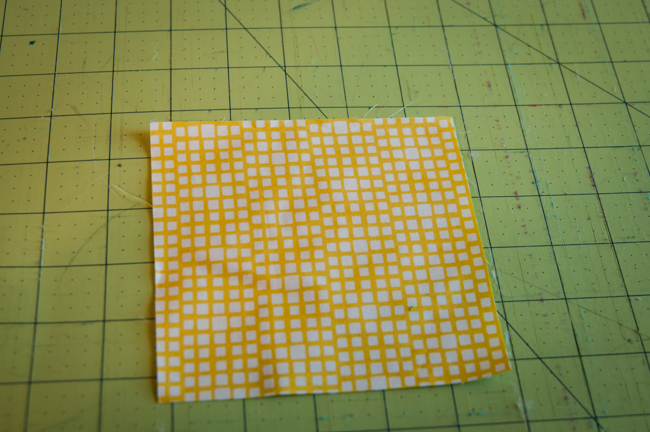
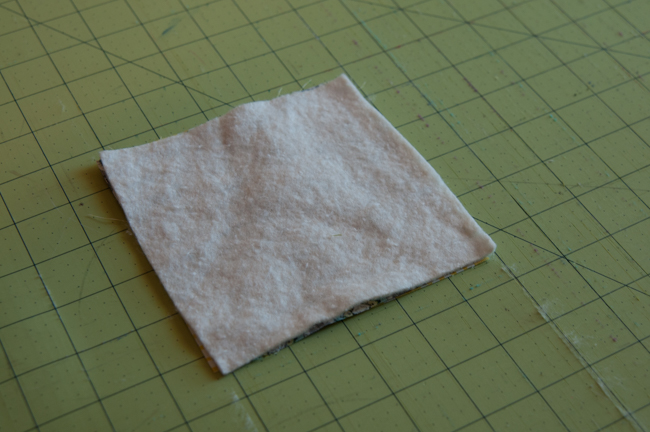
Step 1: Begin by cutting your scraps into 5 x 5-inch squares. Do the same with your batting. I usually have leftover quilt batting, but if you don’t, leftover fleece works just as well.
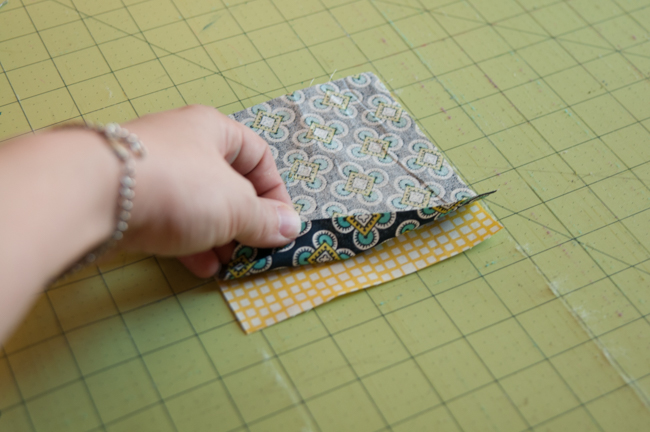
Step 2: Build your diy fabric coaster sandwich. First fabric right side up.
Step 3: Second fabric right side down (so the right sides are together). 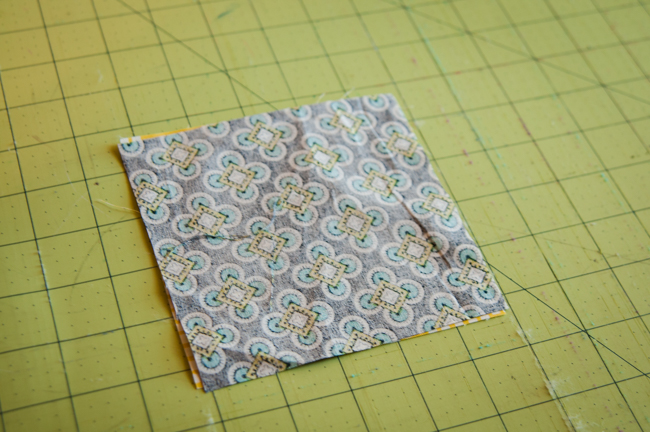
Step 4: Place the batting on top of the cut fabric.
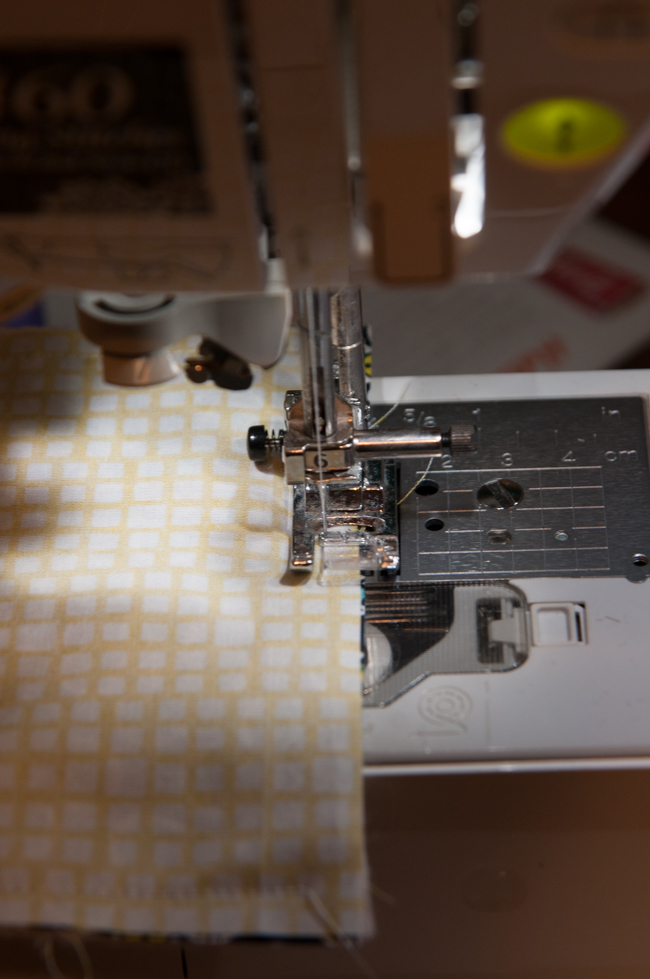
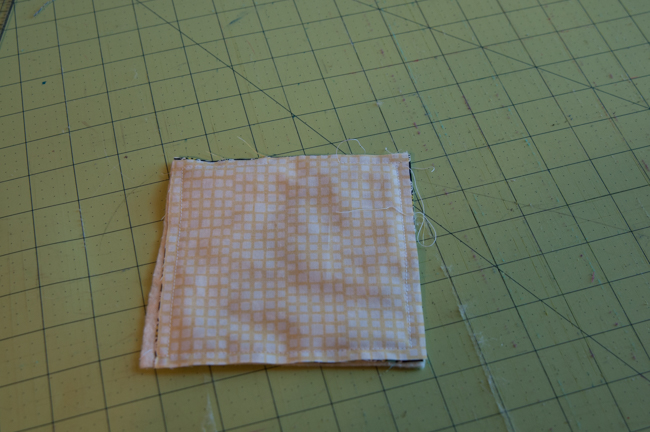
Step 5: Stitch the coasters together using a 1/4 inch seam allowance. Go all the way around the fabric, but leave about a 1-inch gap for turning.
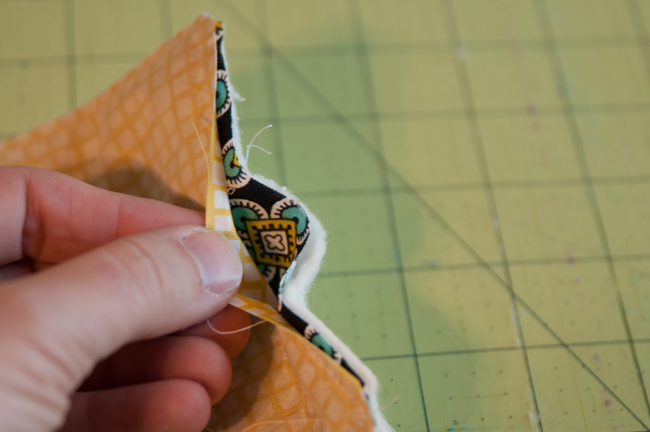
Step 6: Snip the corners of the fabric on your coasters.
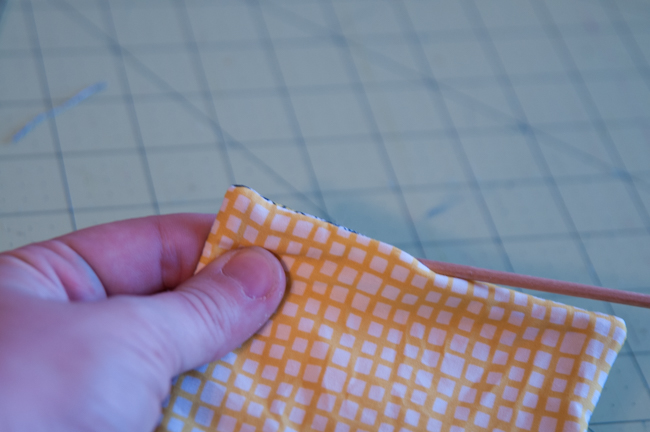
Step 7: Turn the right side out on each coaster.
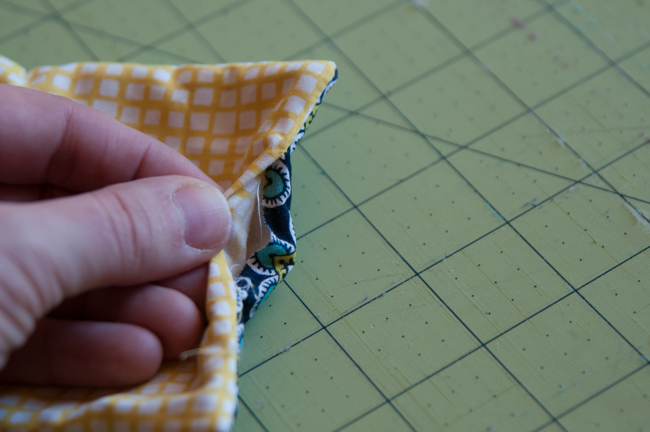
Use a tool of your choosing (I have a skewer) to push out the coaster corners and make them square.
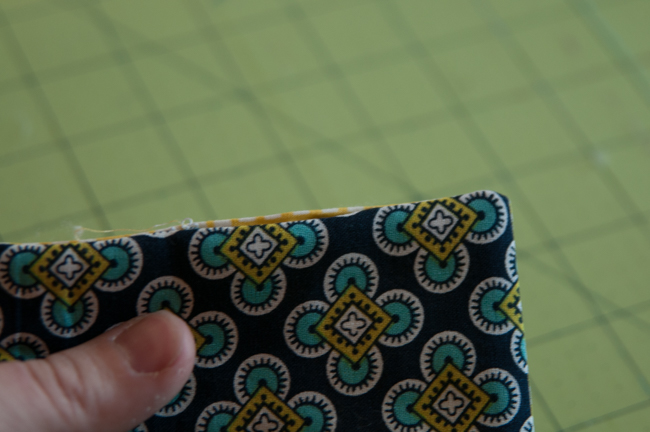
Step 8: Iron everything smooth on each coaster. Be sure to tuck in your gap fabric and iron it down.
Step 9: Now, depending on time and what kind of sewist you are, you have a couple options for your coaster:
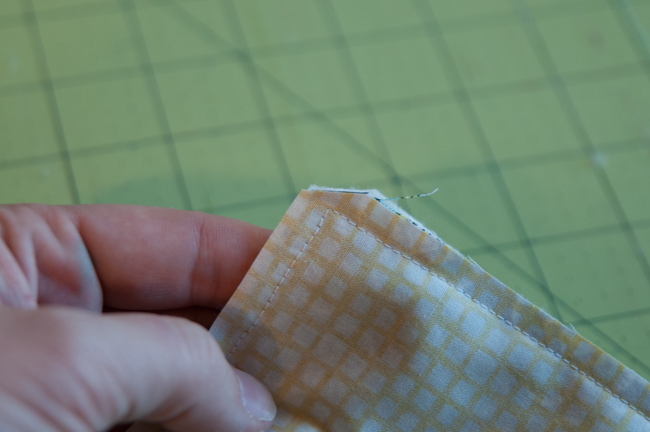
1. Top stitch all the way around the coaster making sure to catch the gap fabric to close it.
2. Hand-stitch the gap on the coaster for a clean look.
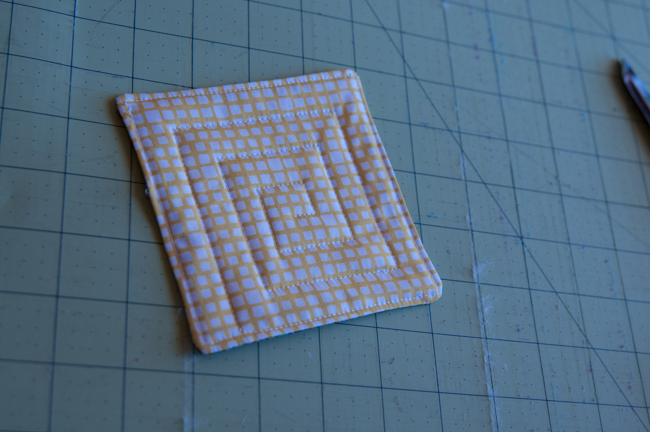
Step 10: I like to quilt each coaster to give them a little character. The world is your oyster at this point. Try sewing zigzags, straight lines, circles, or those fancy stitches no one ever uses on their machines (you know, the ones that make flowers, etc.).
Step 11: Trim your threads and take a look at your handiwork you sewing goddess. You managed to make that present in under 10 minutes right??? Sure you did!
Now – you are armed and ready to spread Christmas cheer with handmade scrap-bustin’ gifts. From my family to yours – Merry Christmas!
We hope you enjoyed learning how to make Fabric Coasters. Before you leave, be sure to join our sewing community in our Peek-a-Boo Pattern Shop Facebook Group.
