DIY Bow Pillow | How to Make a Bow Pillow
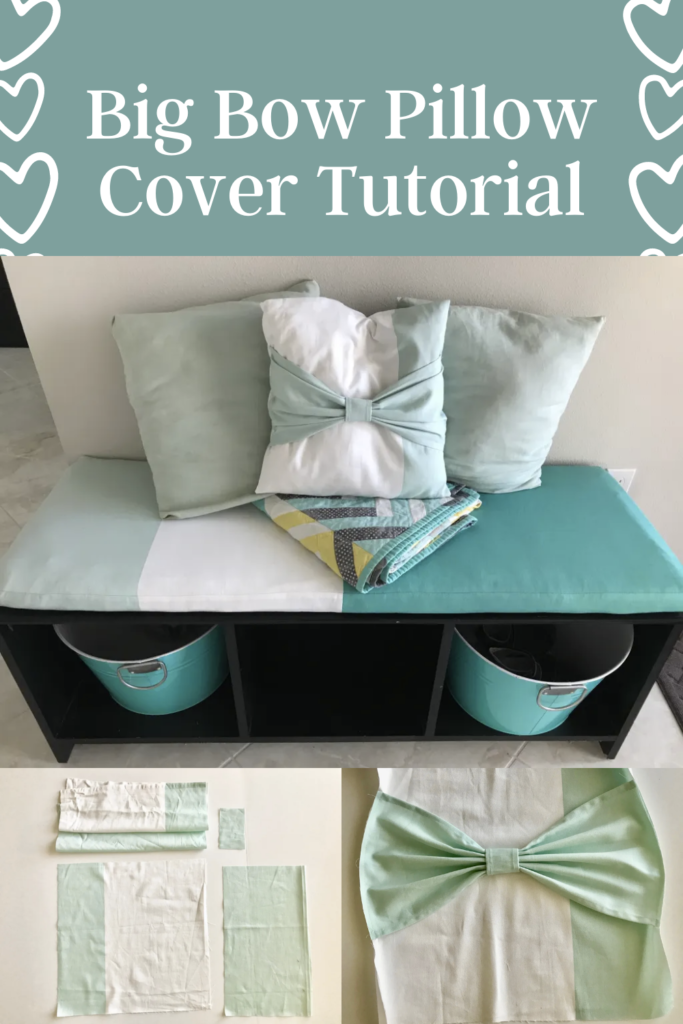
Today we’ll learn how to make a bow pillow! Now that I’m in a new house and planning to stay for the foreseeable future, I’m making some attempts at decorating. One of my first projects was making a new bench seat cover for the bench my husband made me years ago. But now, I’m making new pillow covers for my throw pillows. And this Big Bow pillow cover is cute and simple to pull off…
DIY Bow Pillow | Pillow Cover Tutorial
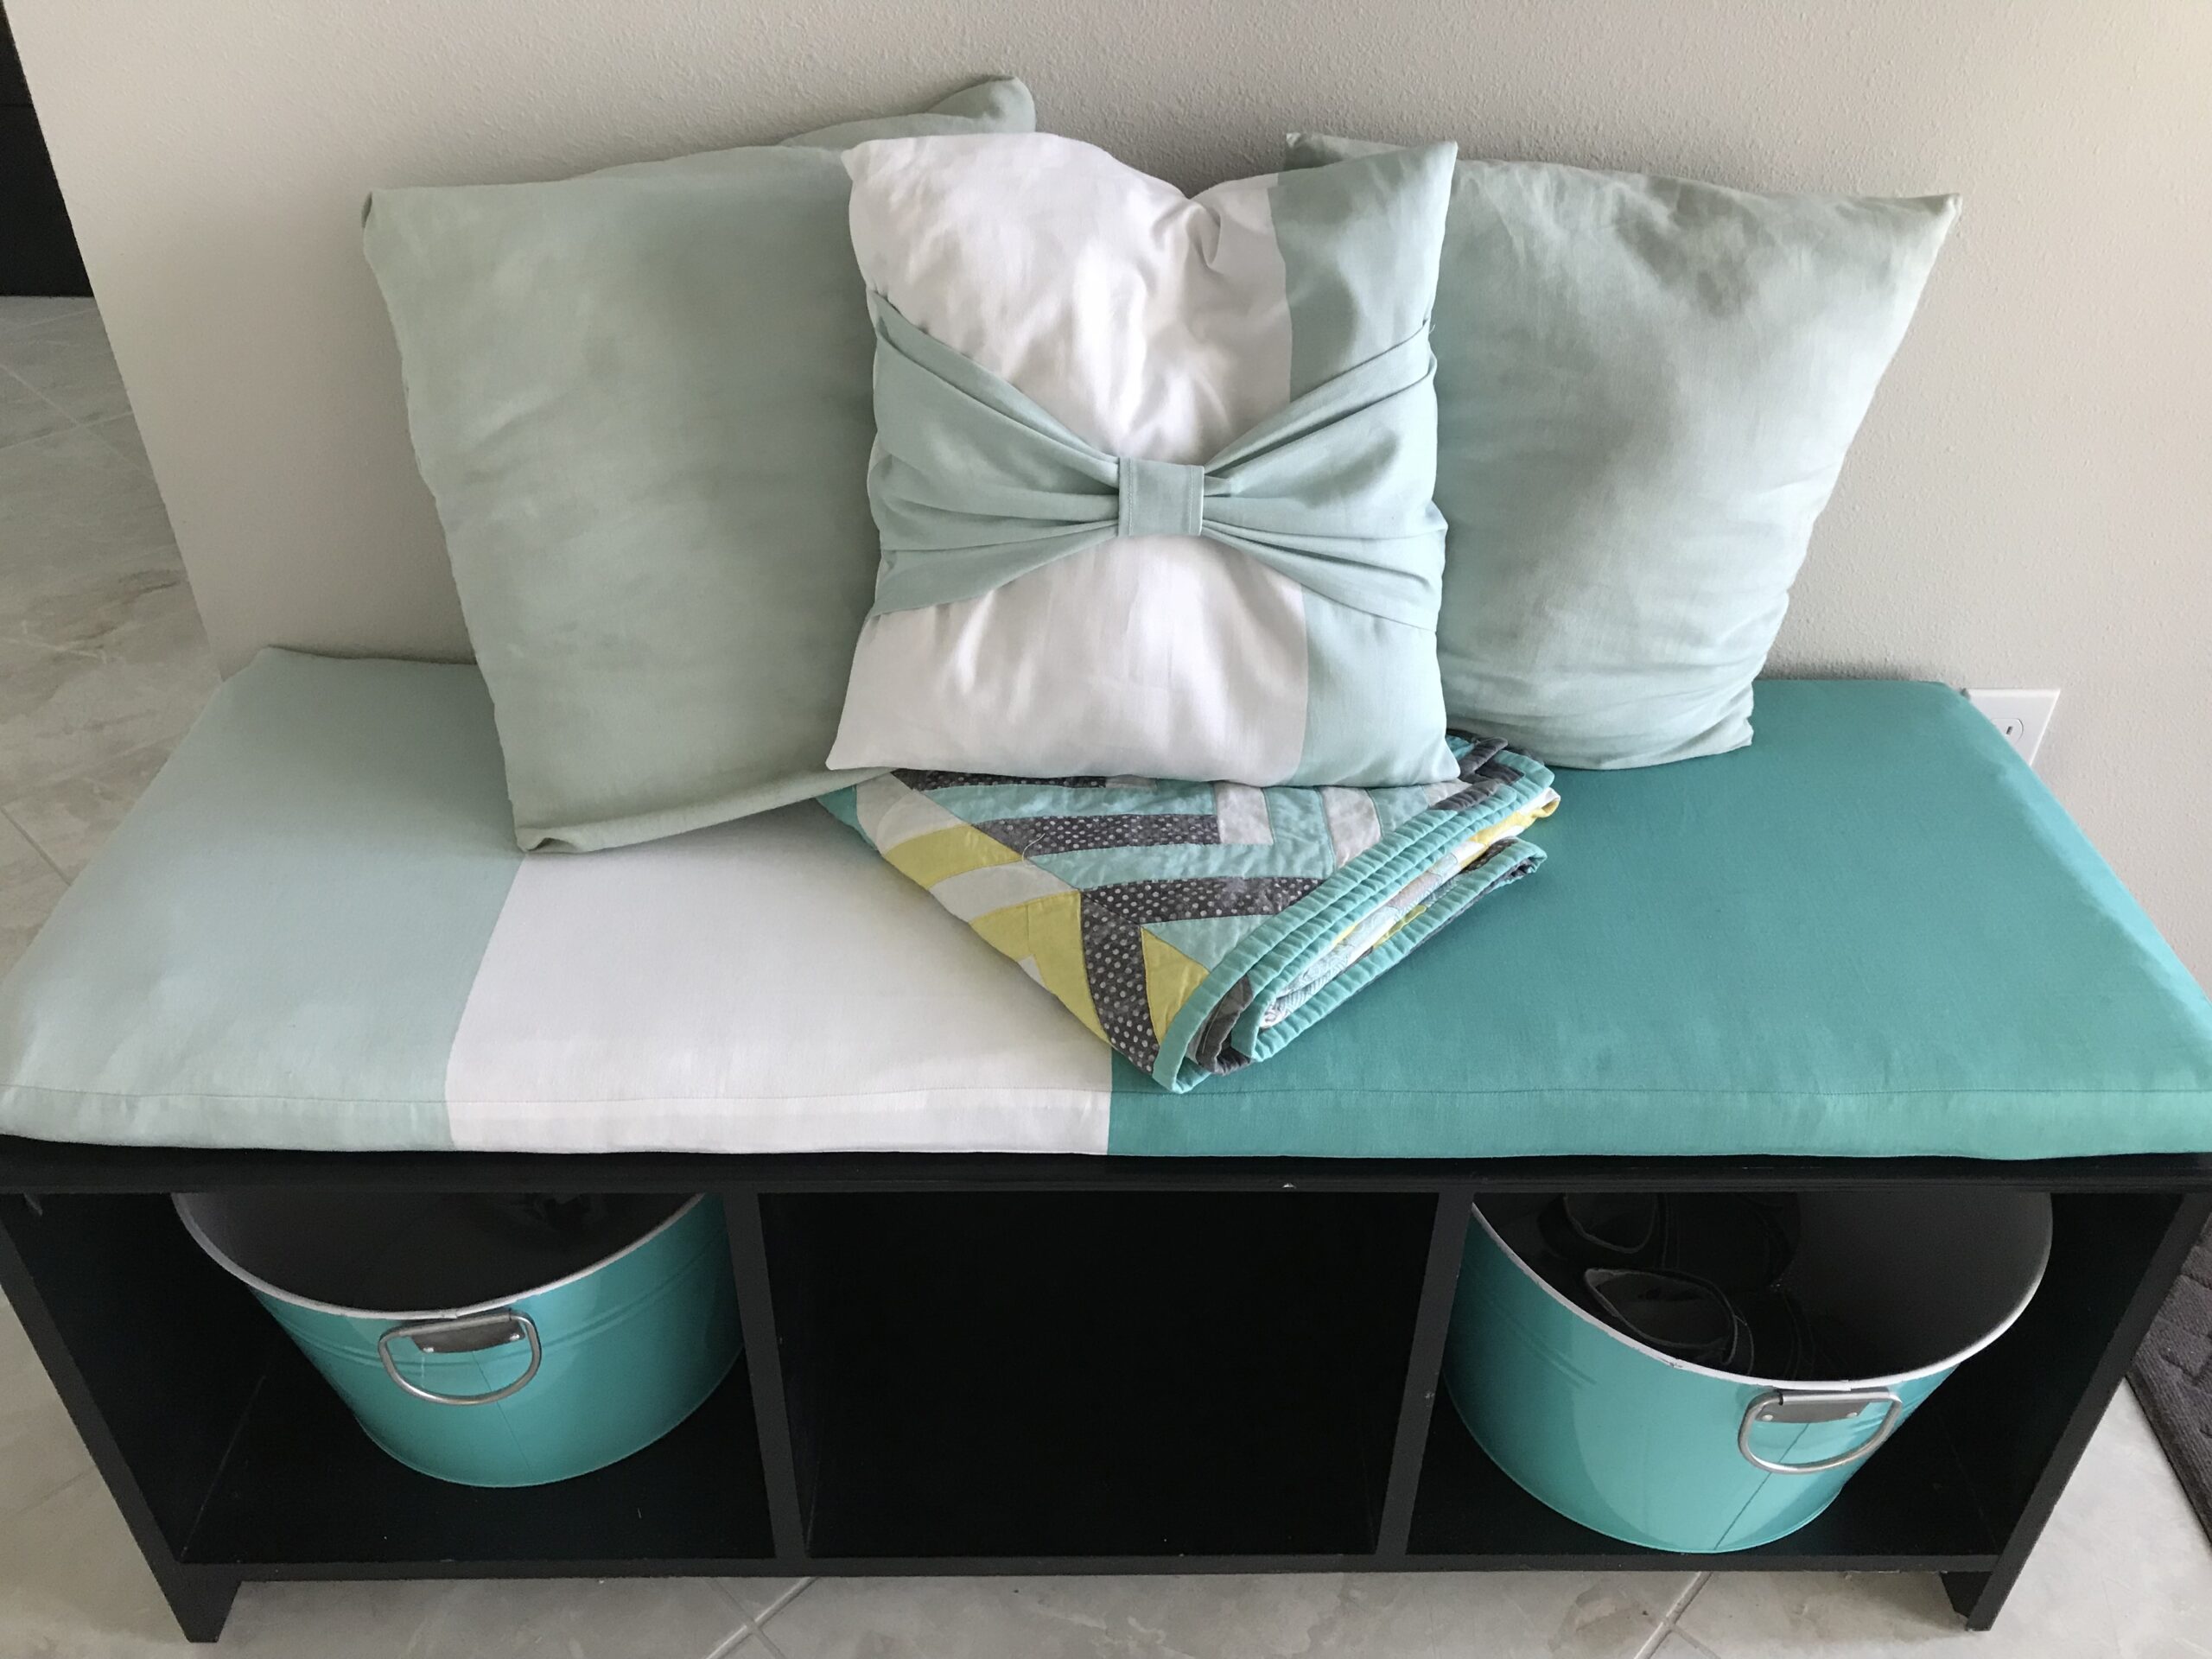
Instead of buying home decor fabric to make the bench seat cover, I cut up a shower curtain I no longer need. (You can check out the post on making the bench seat cover here.) The colors are right, the style is right, and the fabric is right (canvas). It may not be a great quality canvas, but it’s working for me. The shower curtain has way more fabric than I needed for the bench seat cover, which means I have plenty for making coordinating throw pillow covers!
Pillow covers are super simple to make-especially envelope-back ones. (Need a tutorial for a basic envelope pillow cover? Head here!) But these DIY Bow Pillow Covers are almost as quick and easy. Here’s how to make covers for 16 inch pillow inserts.
Bow Pillow Materials:
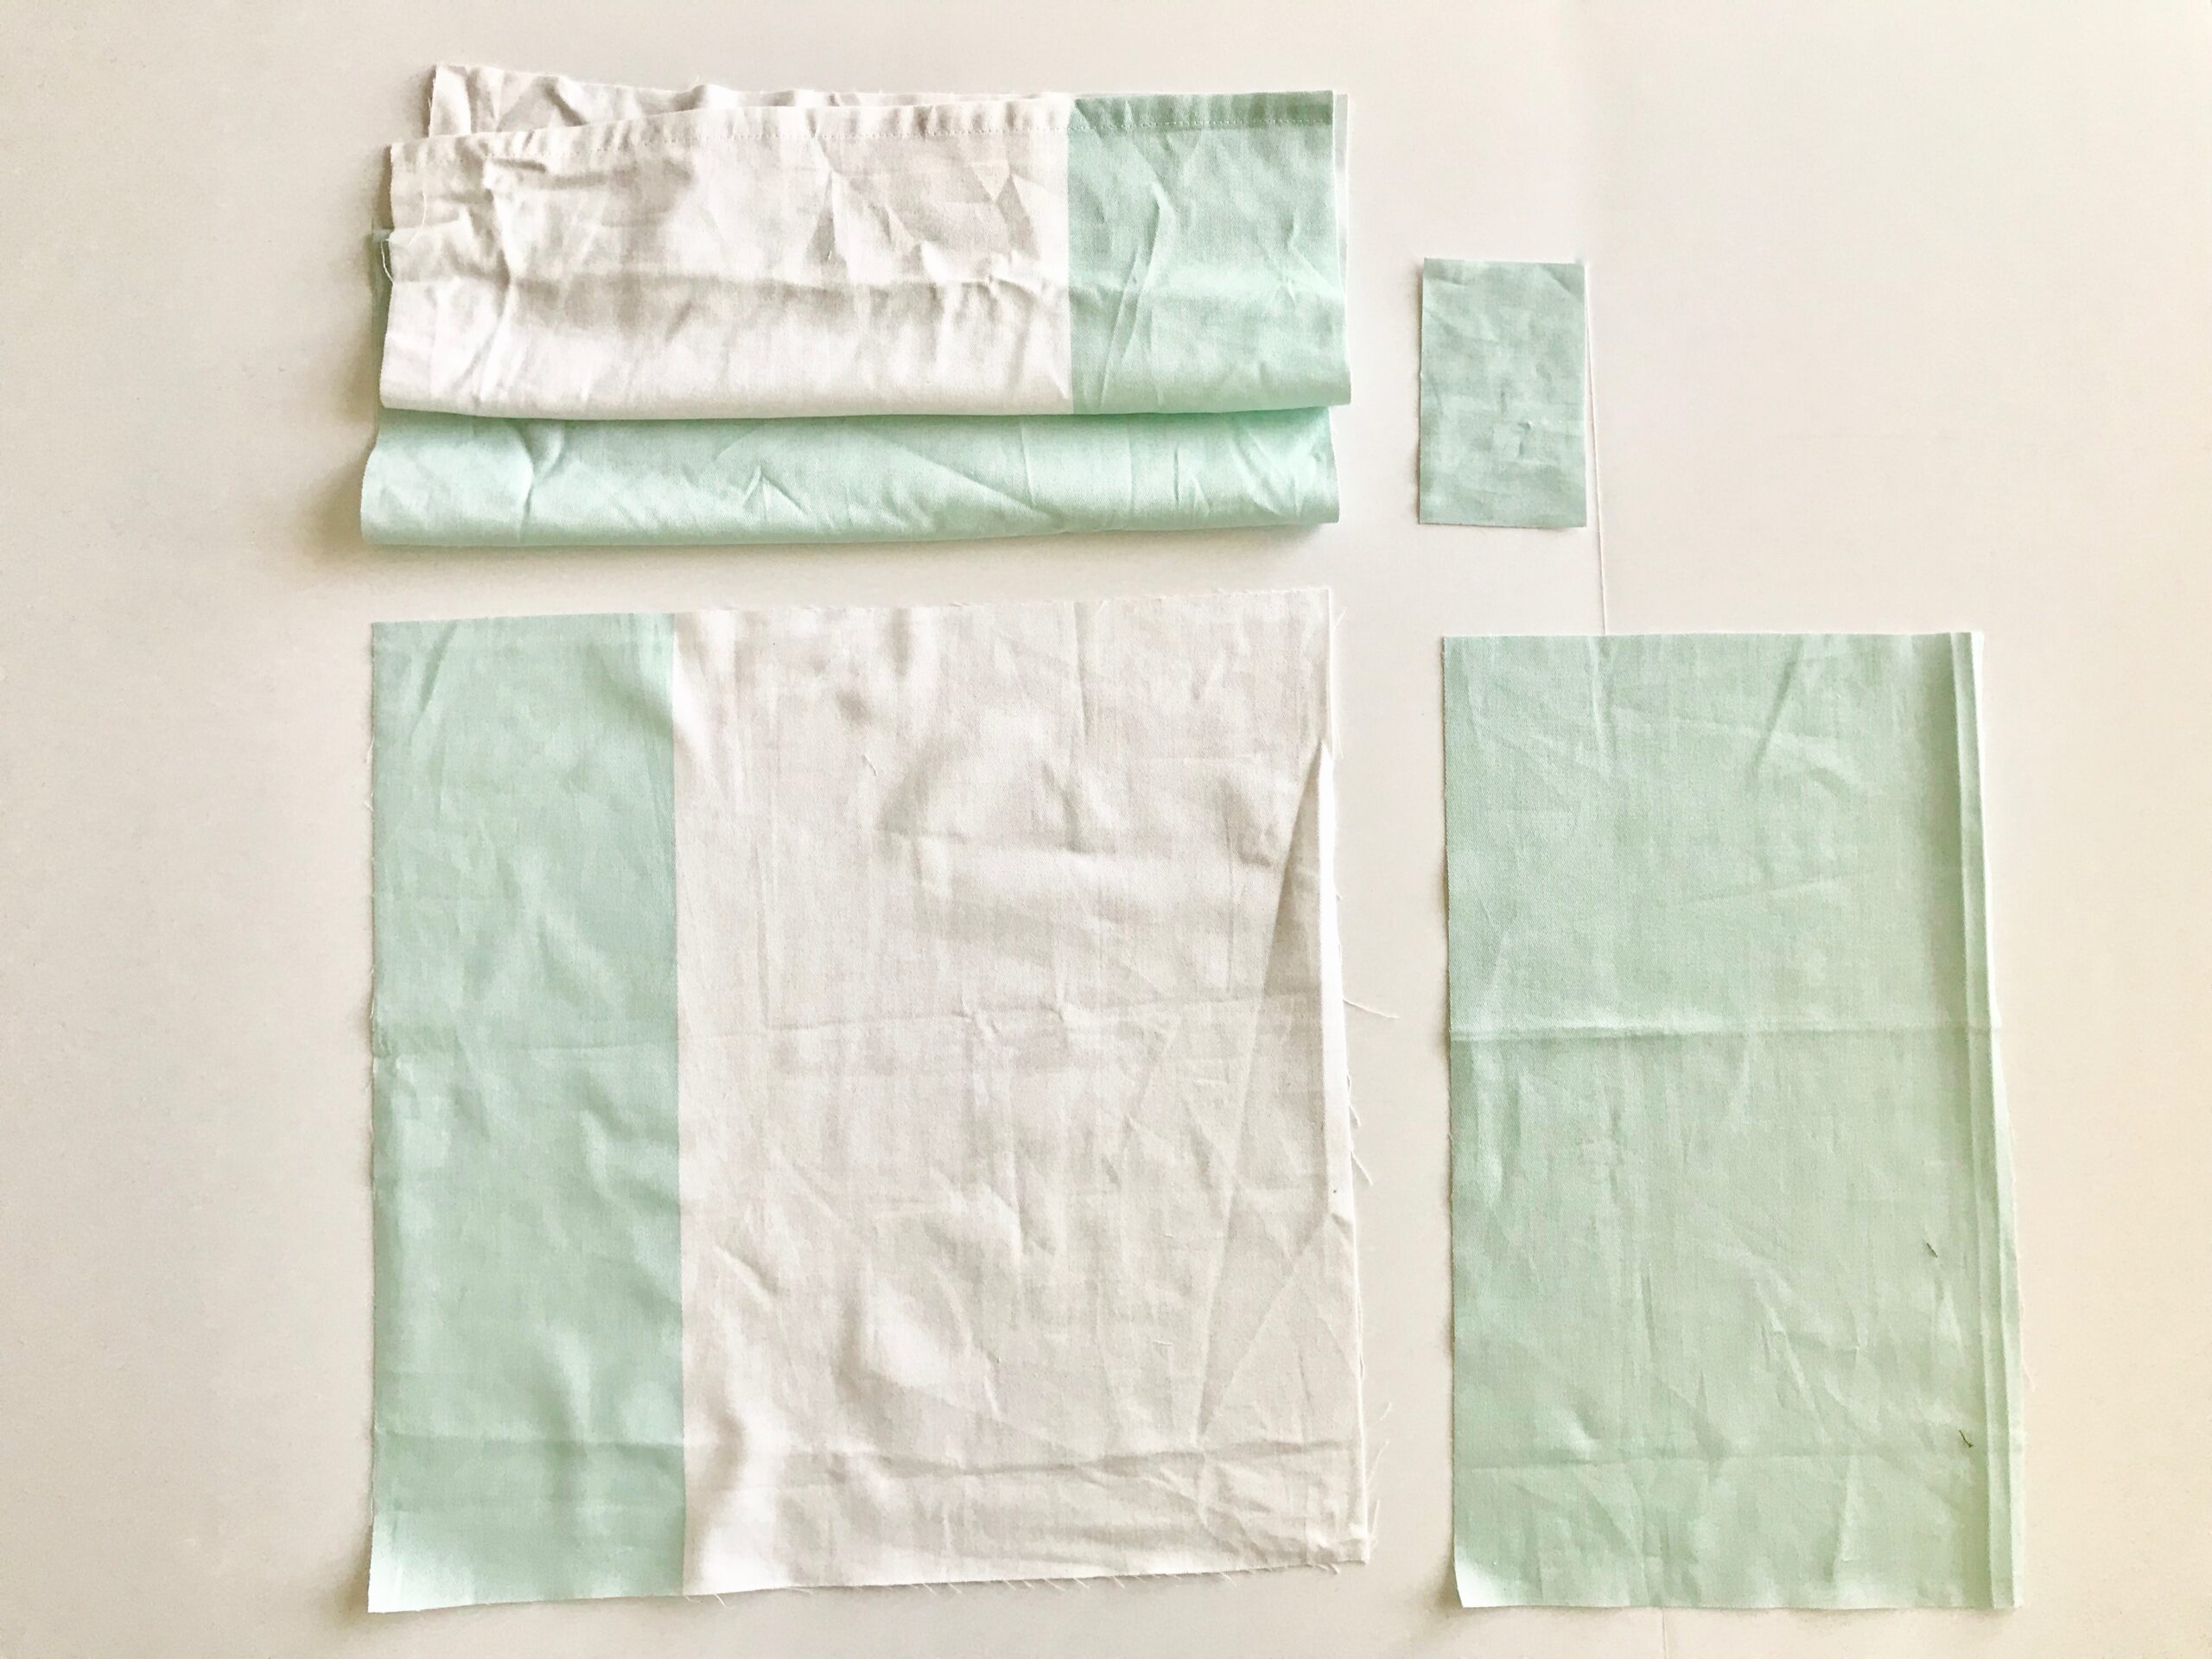
- 1 17×17 inch square (pillow front)
- 2 17×11 inch rectangles (pillow back)
- 1 17×10 inch rectangle (Big Bow)
- 1 3×5 inch rectangle (Big Bow center)
DIY Bow Pillow Instructions
When I say ‘finish’ you can choose from a couple methods.
- Serge the edge, iron under 3/8 inch, and sew 1/4 inch from the edge.
- Iron the edge under 3/8 inch, then again another 3/8 inch and sew 1/4 inch from the edge.
- Zig-zag stitch the edge, iron under 3/8 inch, and sew 1/4 inch from the edge.
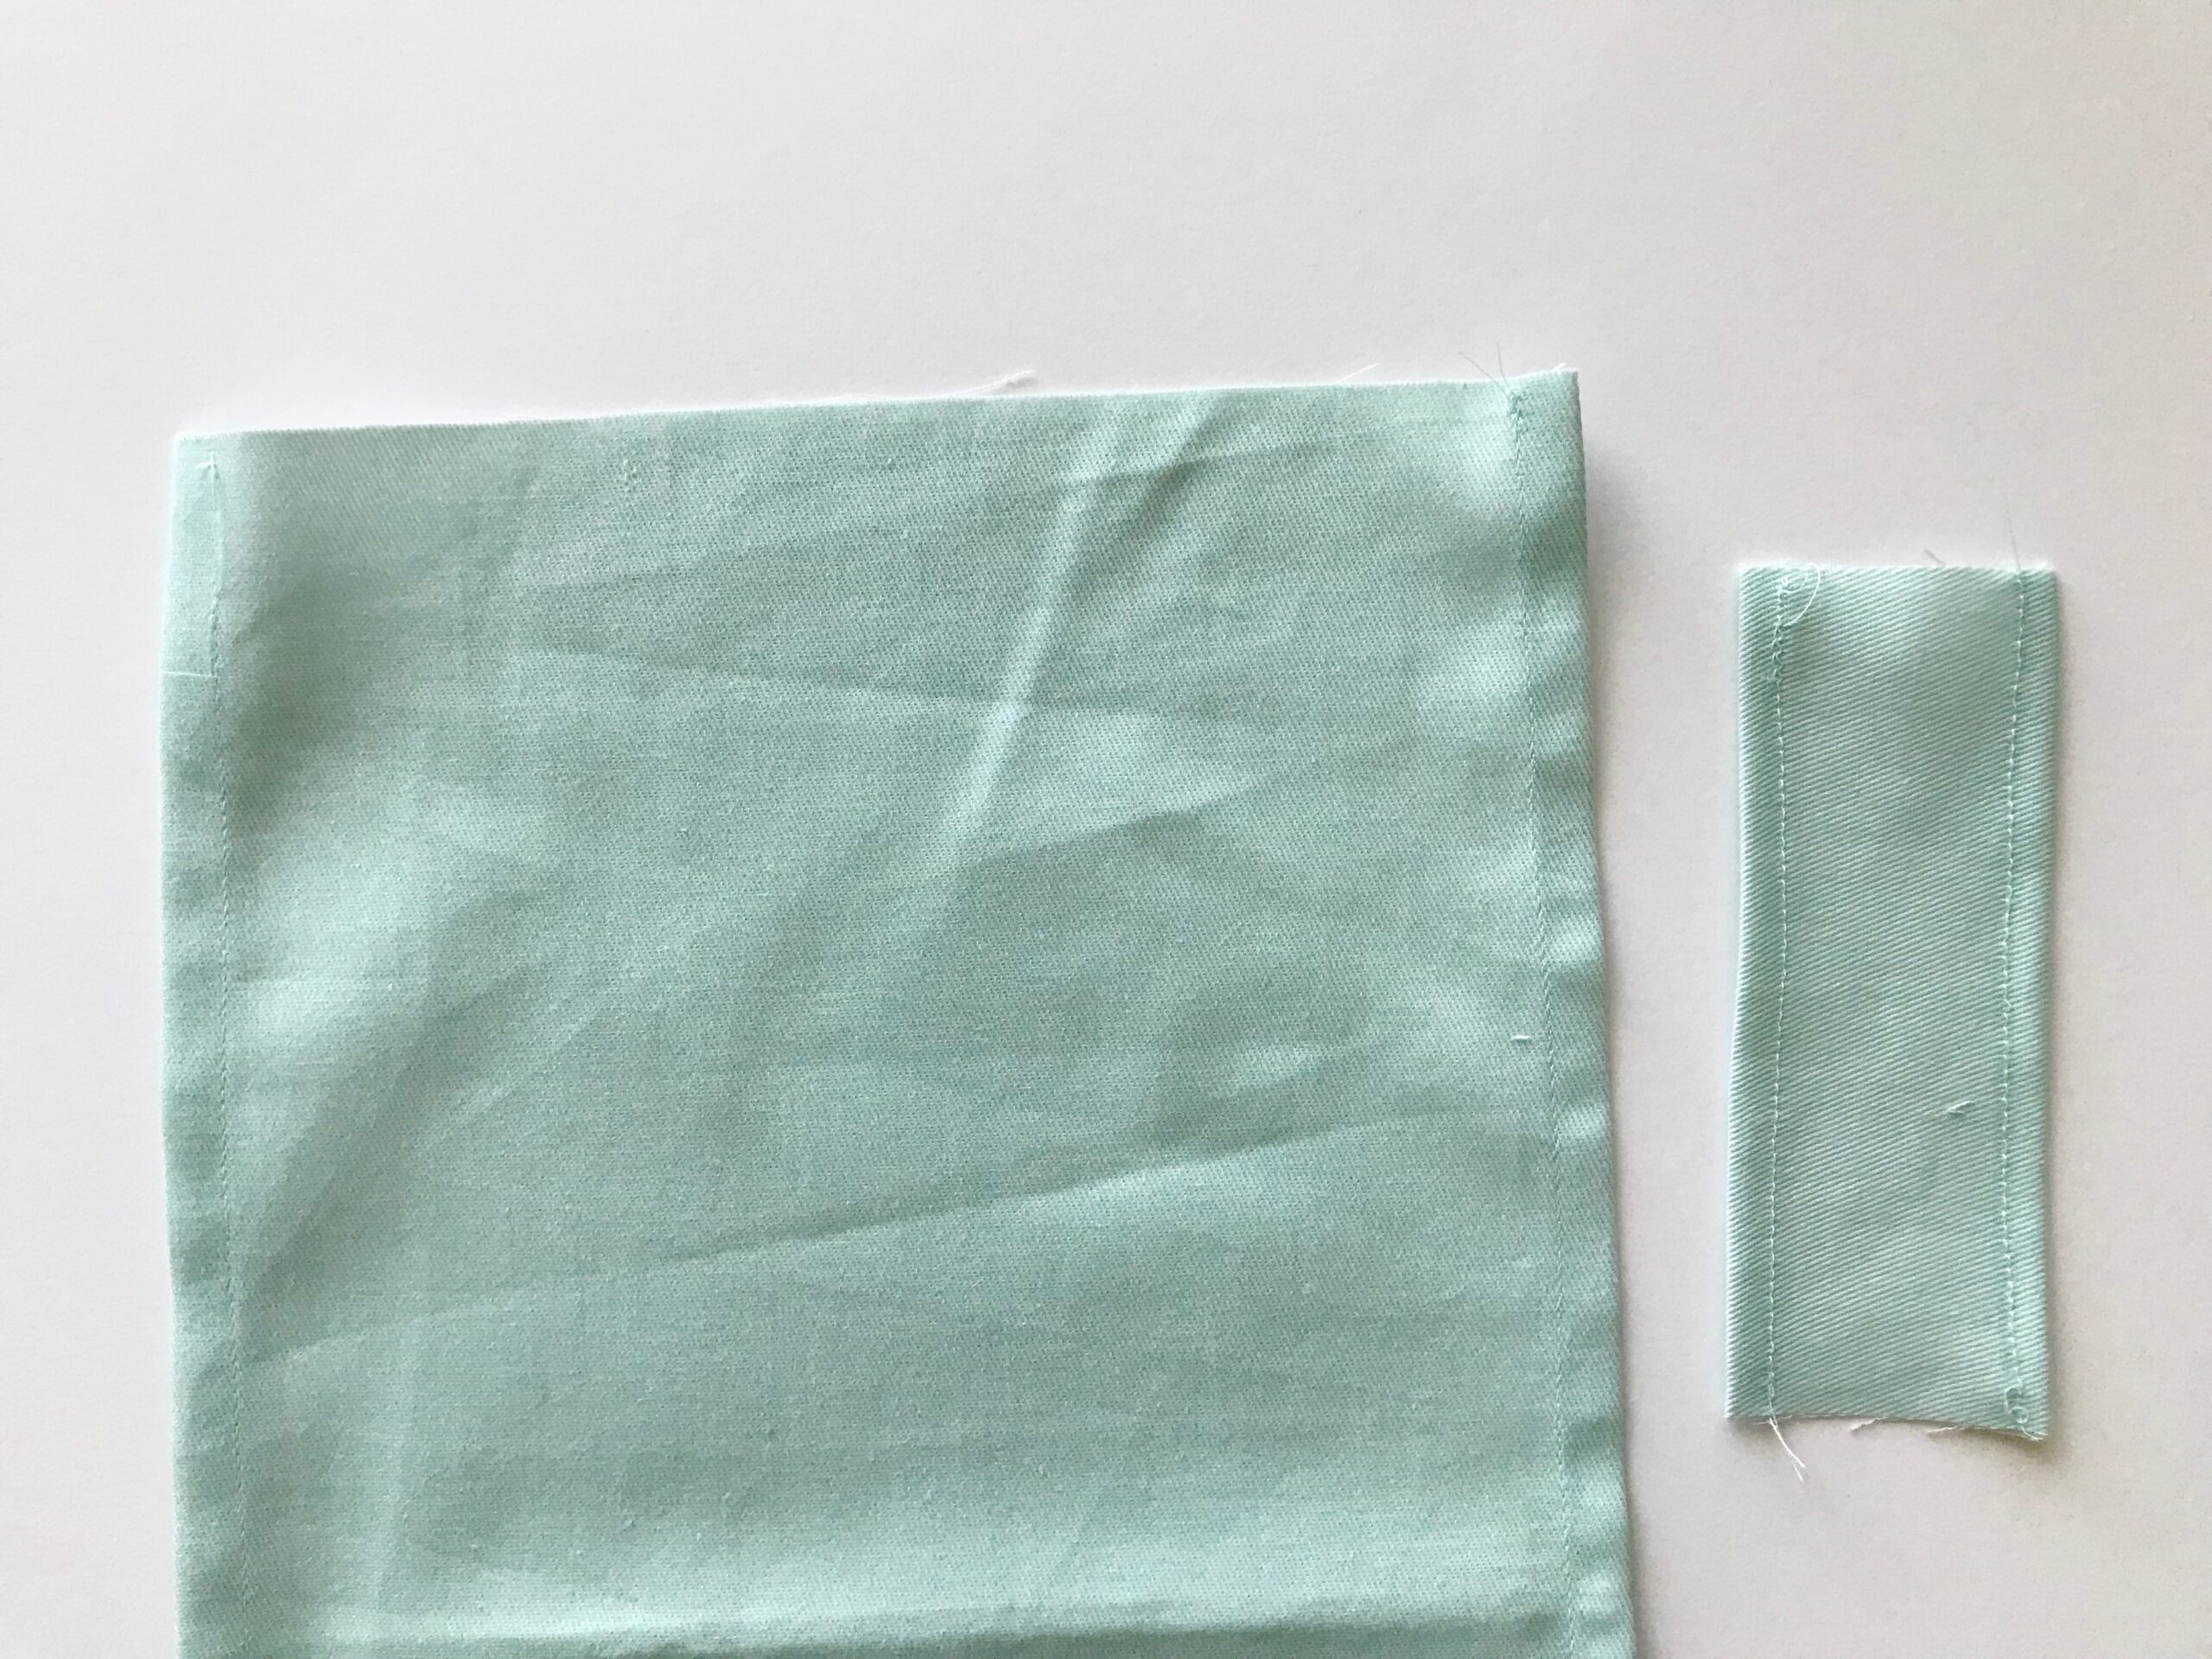
Finish both long edges of your big bow and big bow center pieces and one long side of each pillow back piece. Then finish a short side of the big bow center piece. Since I repurposed a shower curtain, I used the existing shower curtain hem as the finished side of my pillow backs.
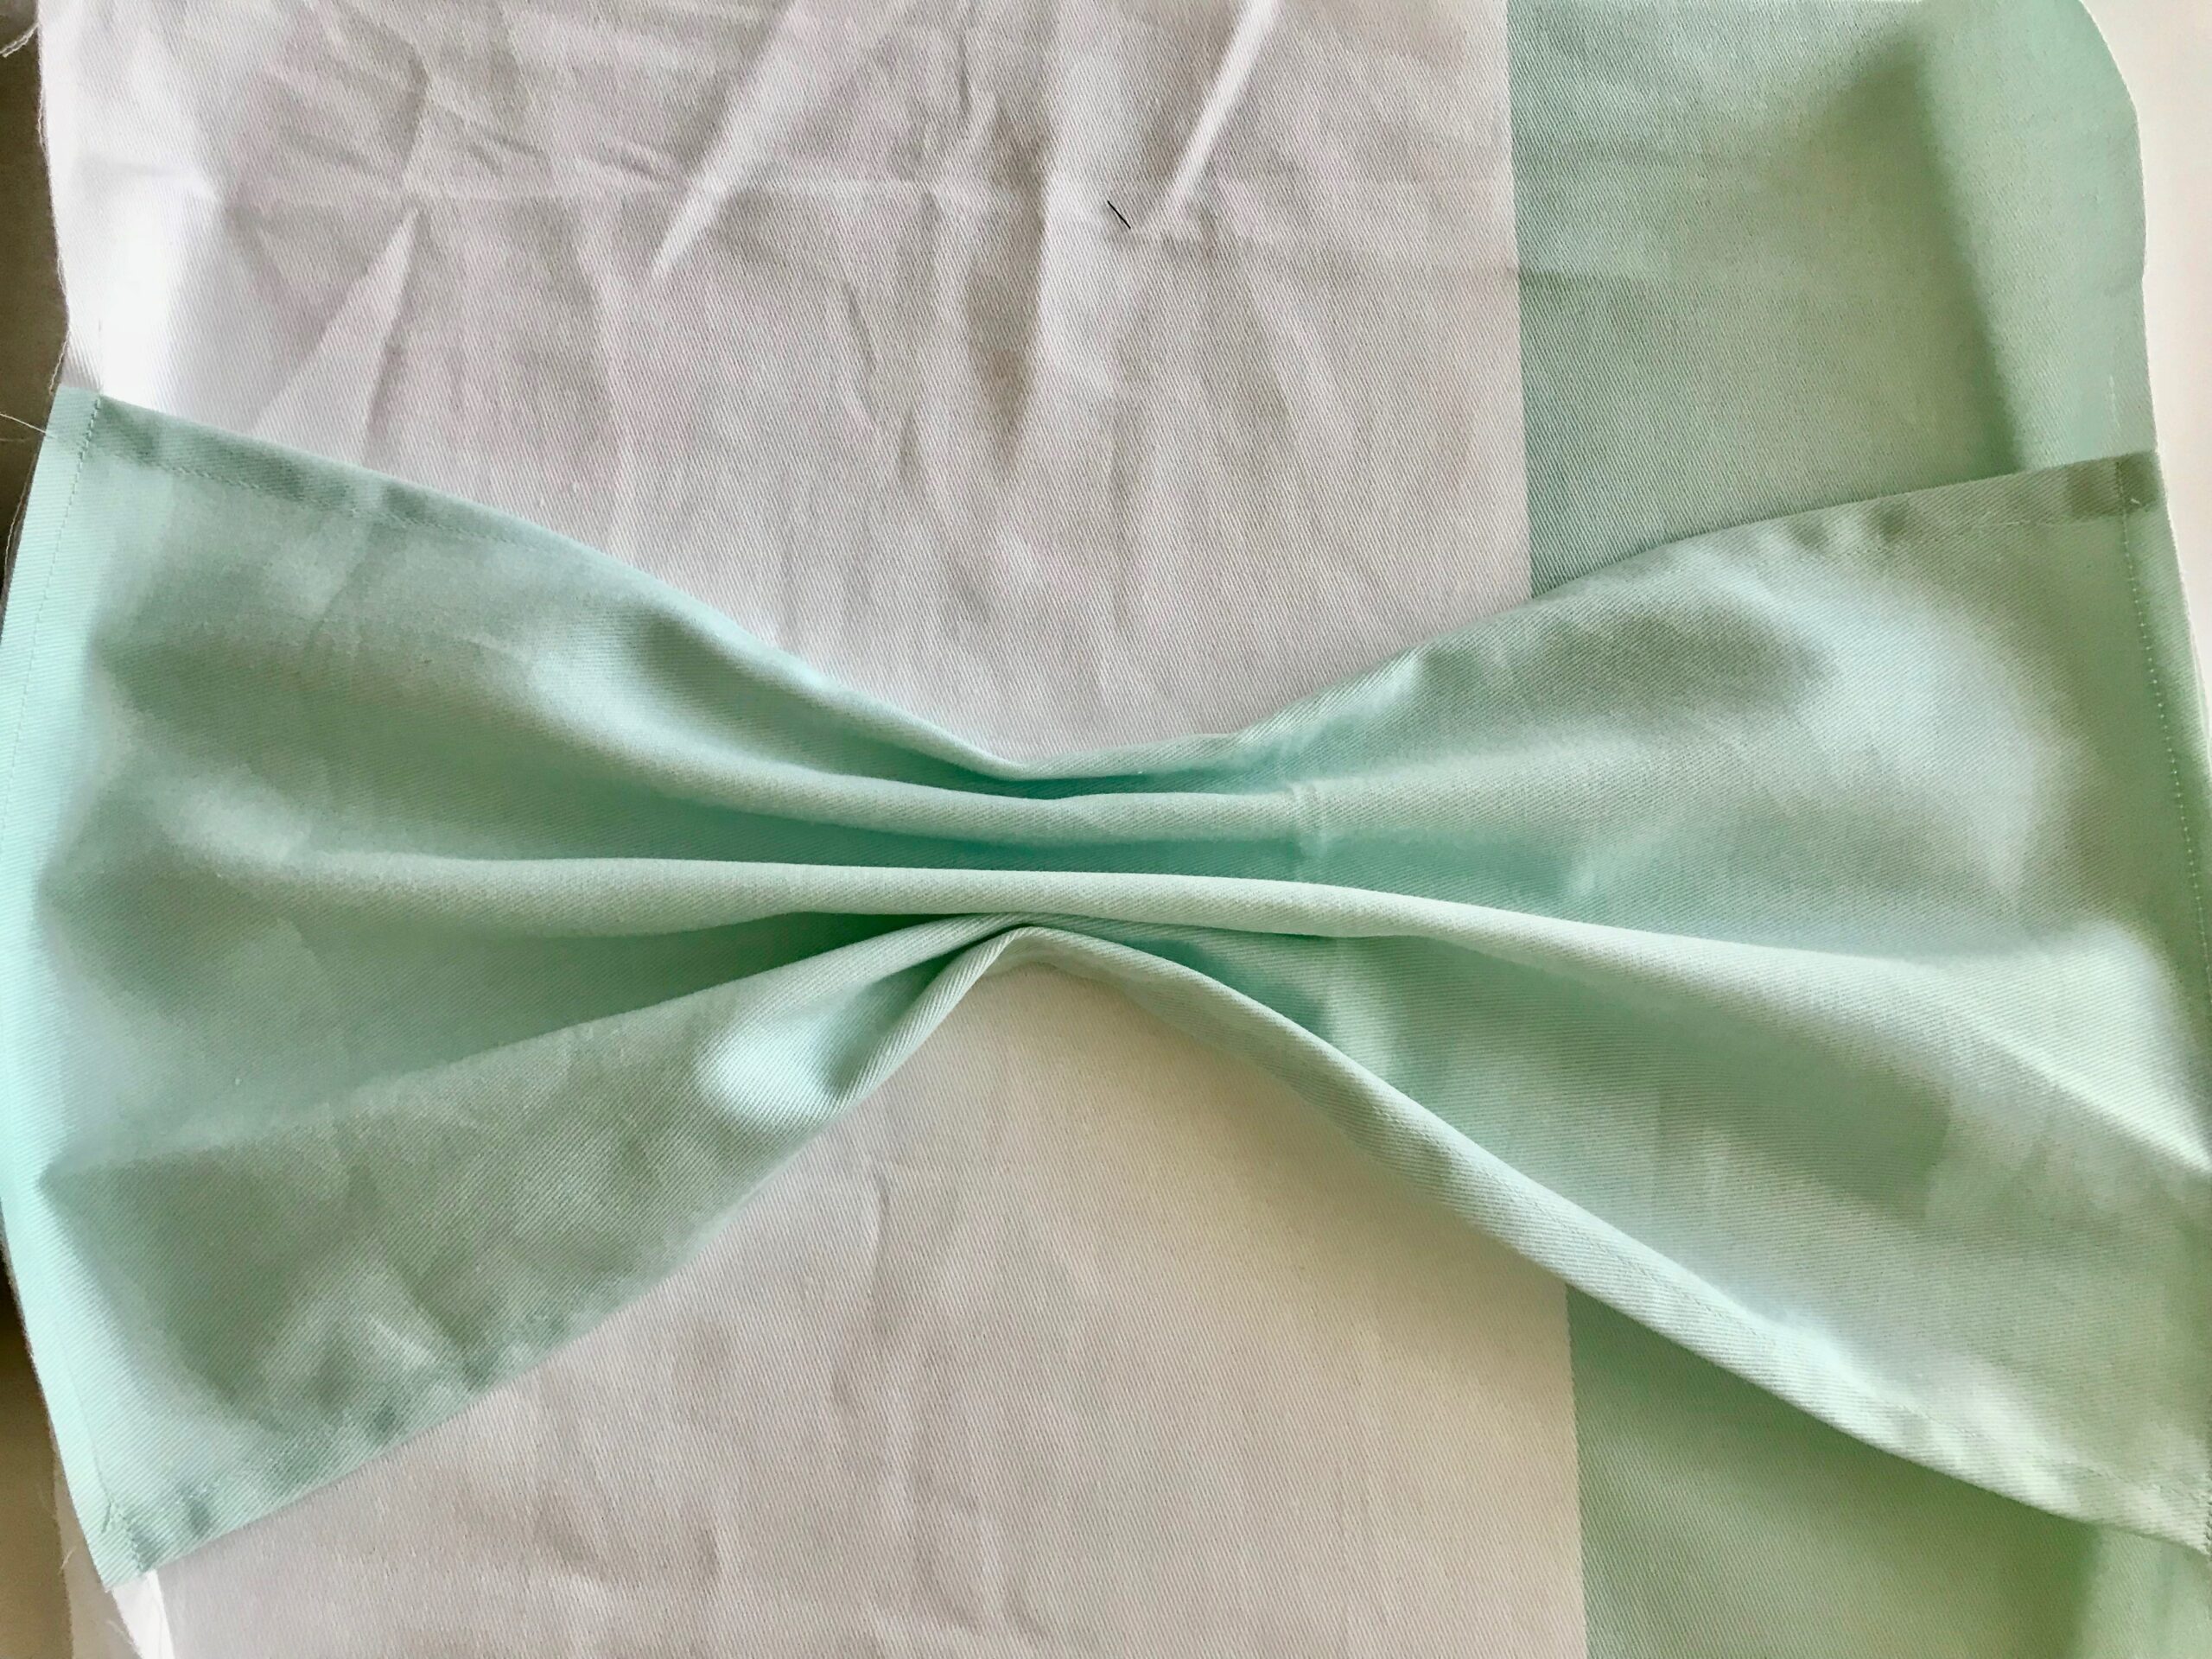
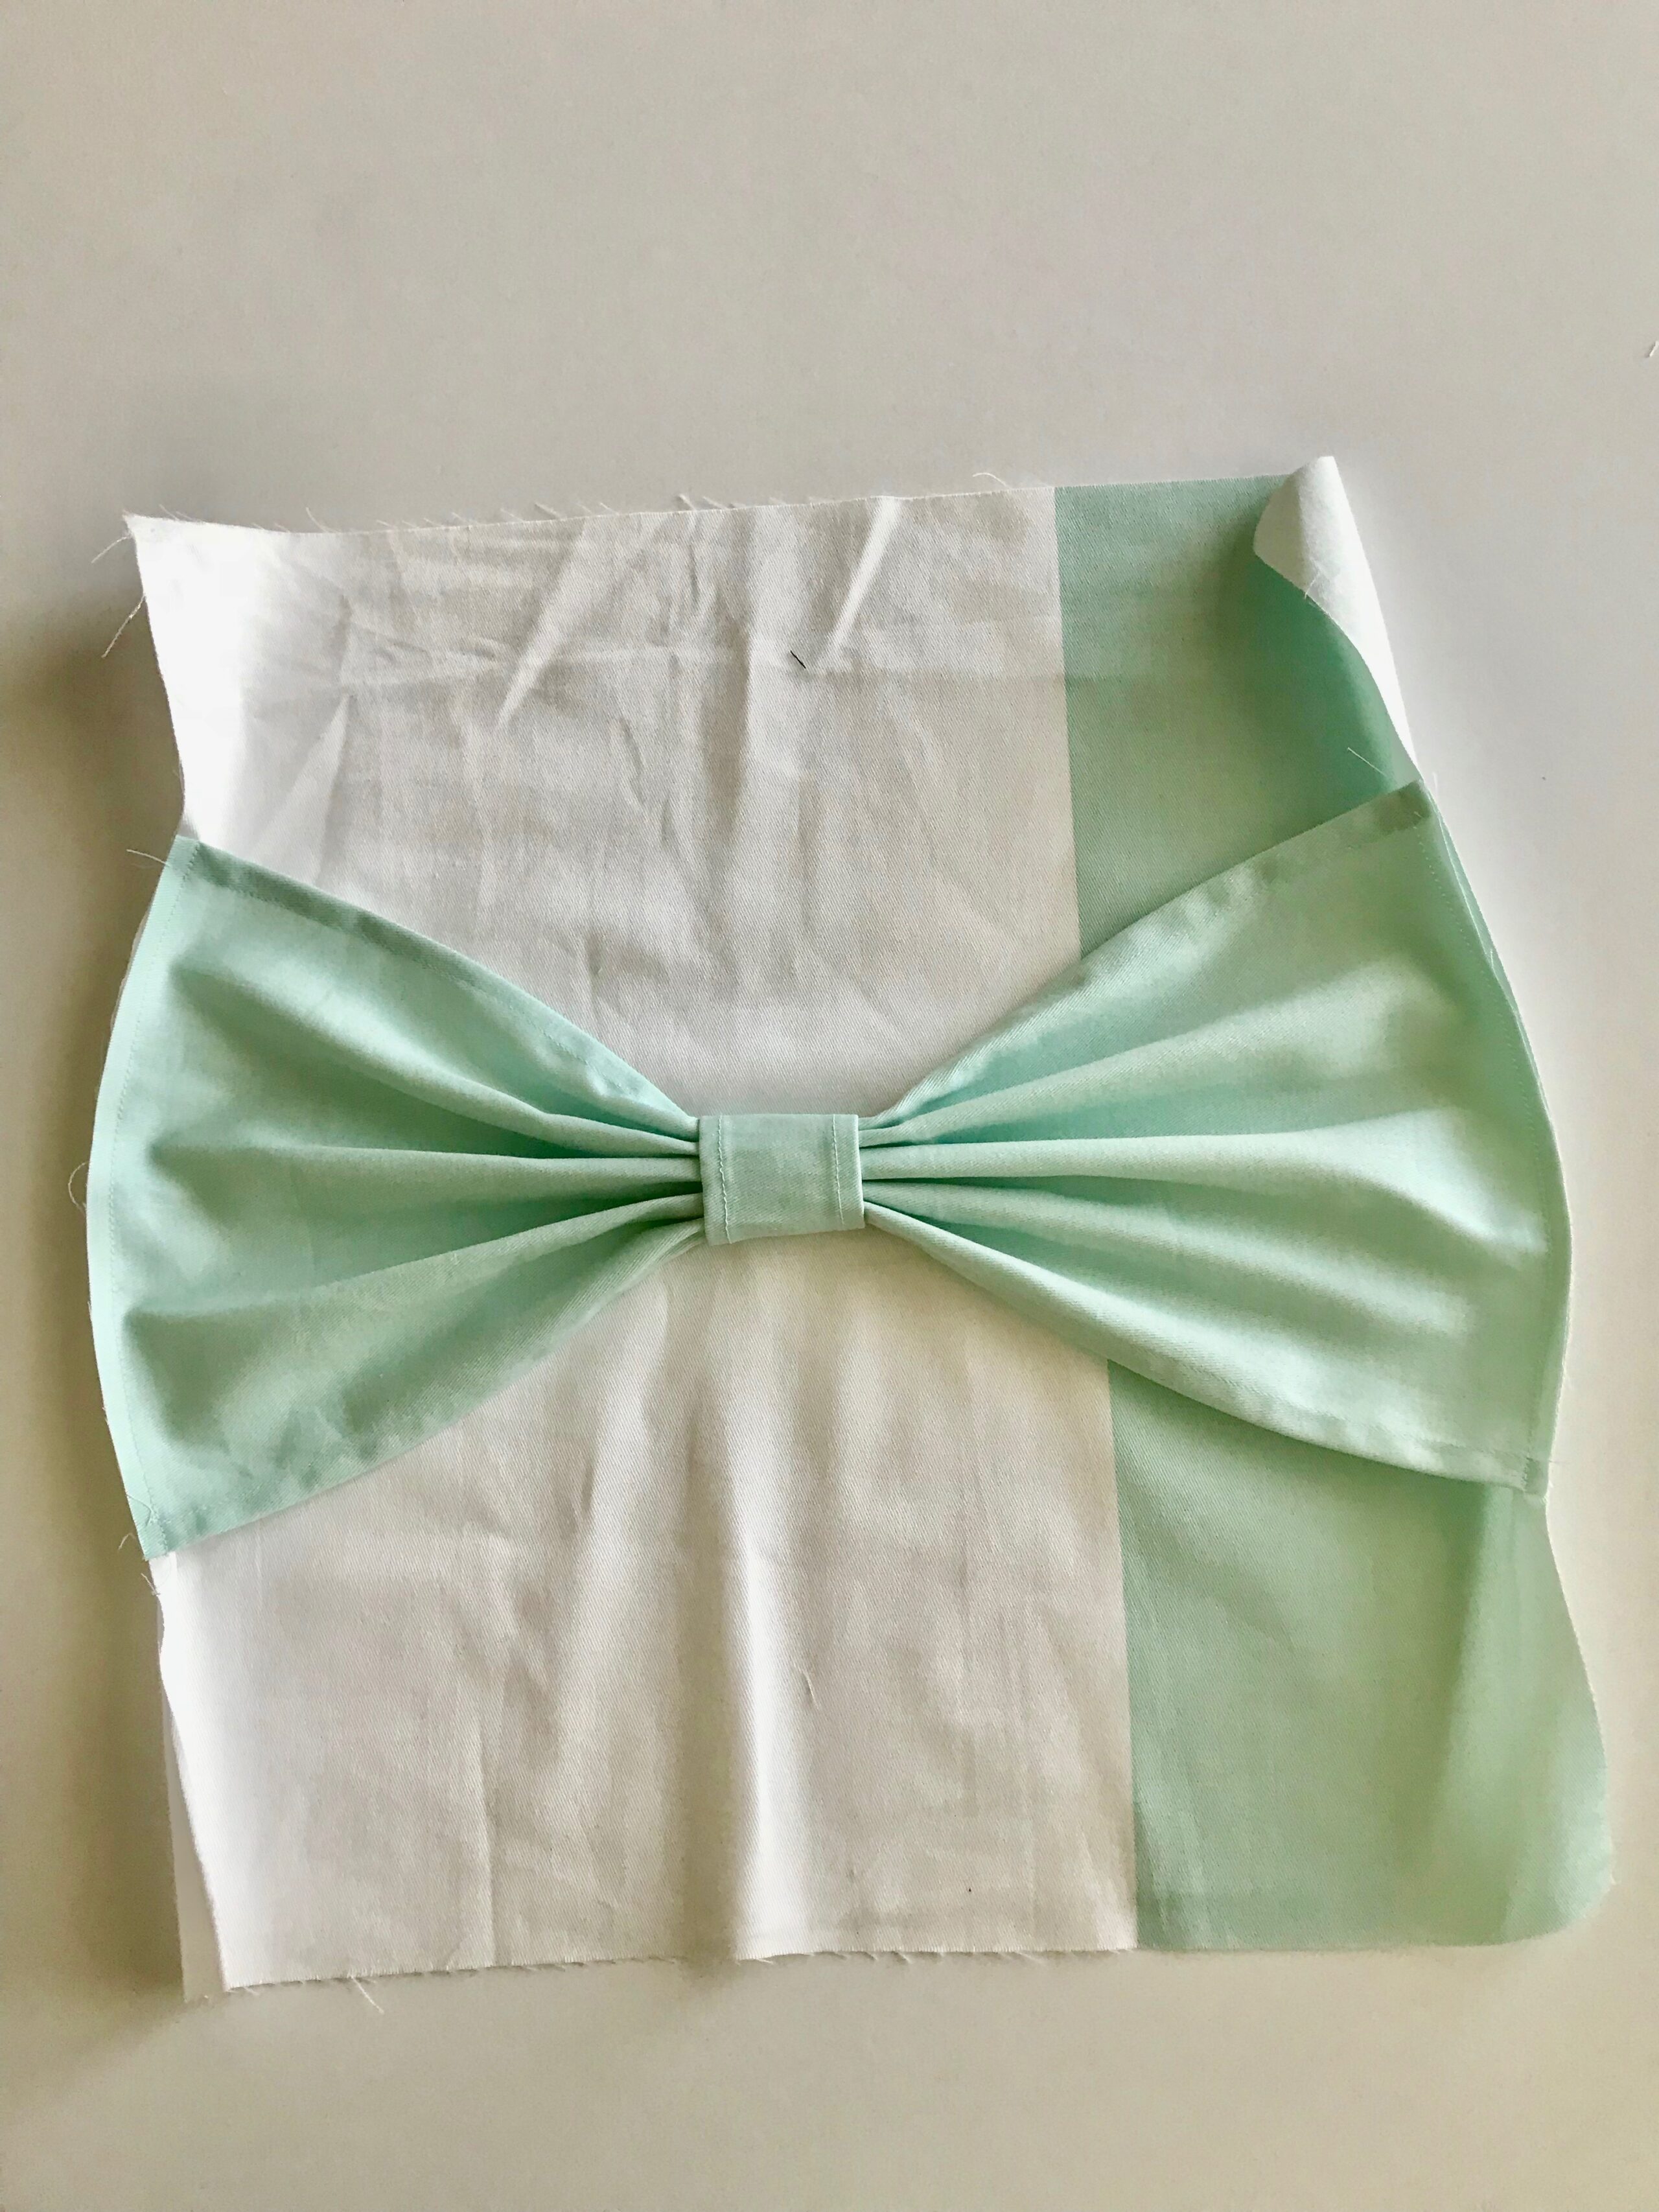
Center the big bow piece on top of the pillow front with right sides facing up. Baste the short sides of the big bow piece to the sides of the pillow front. Pinch the middle of the big bow like an accordion.
Wrap the big bow center piece around the big bow with the finished edge on top of the unfinished edge. Whip stitch the edges together.
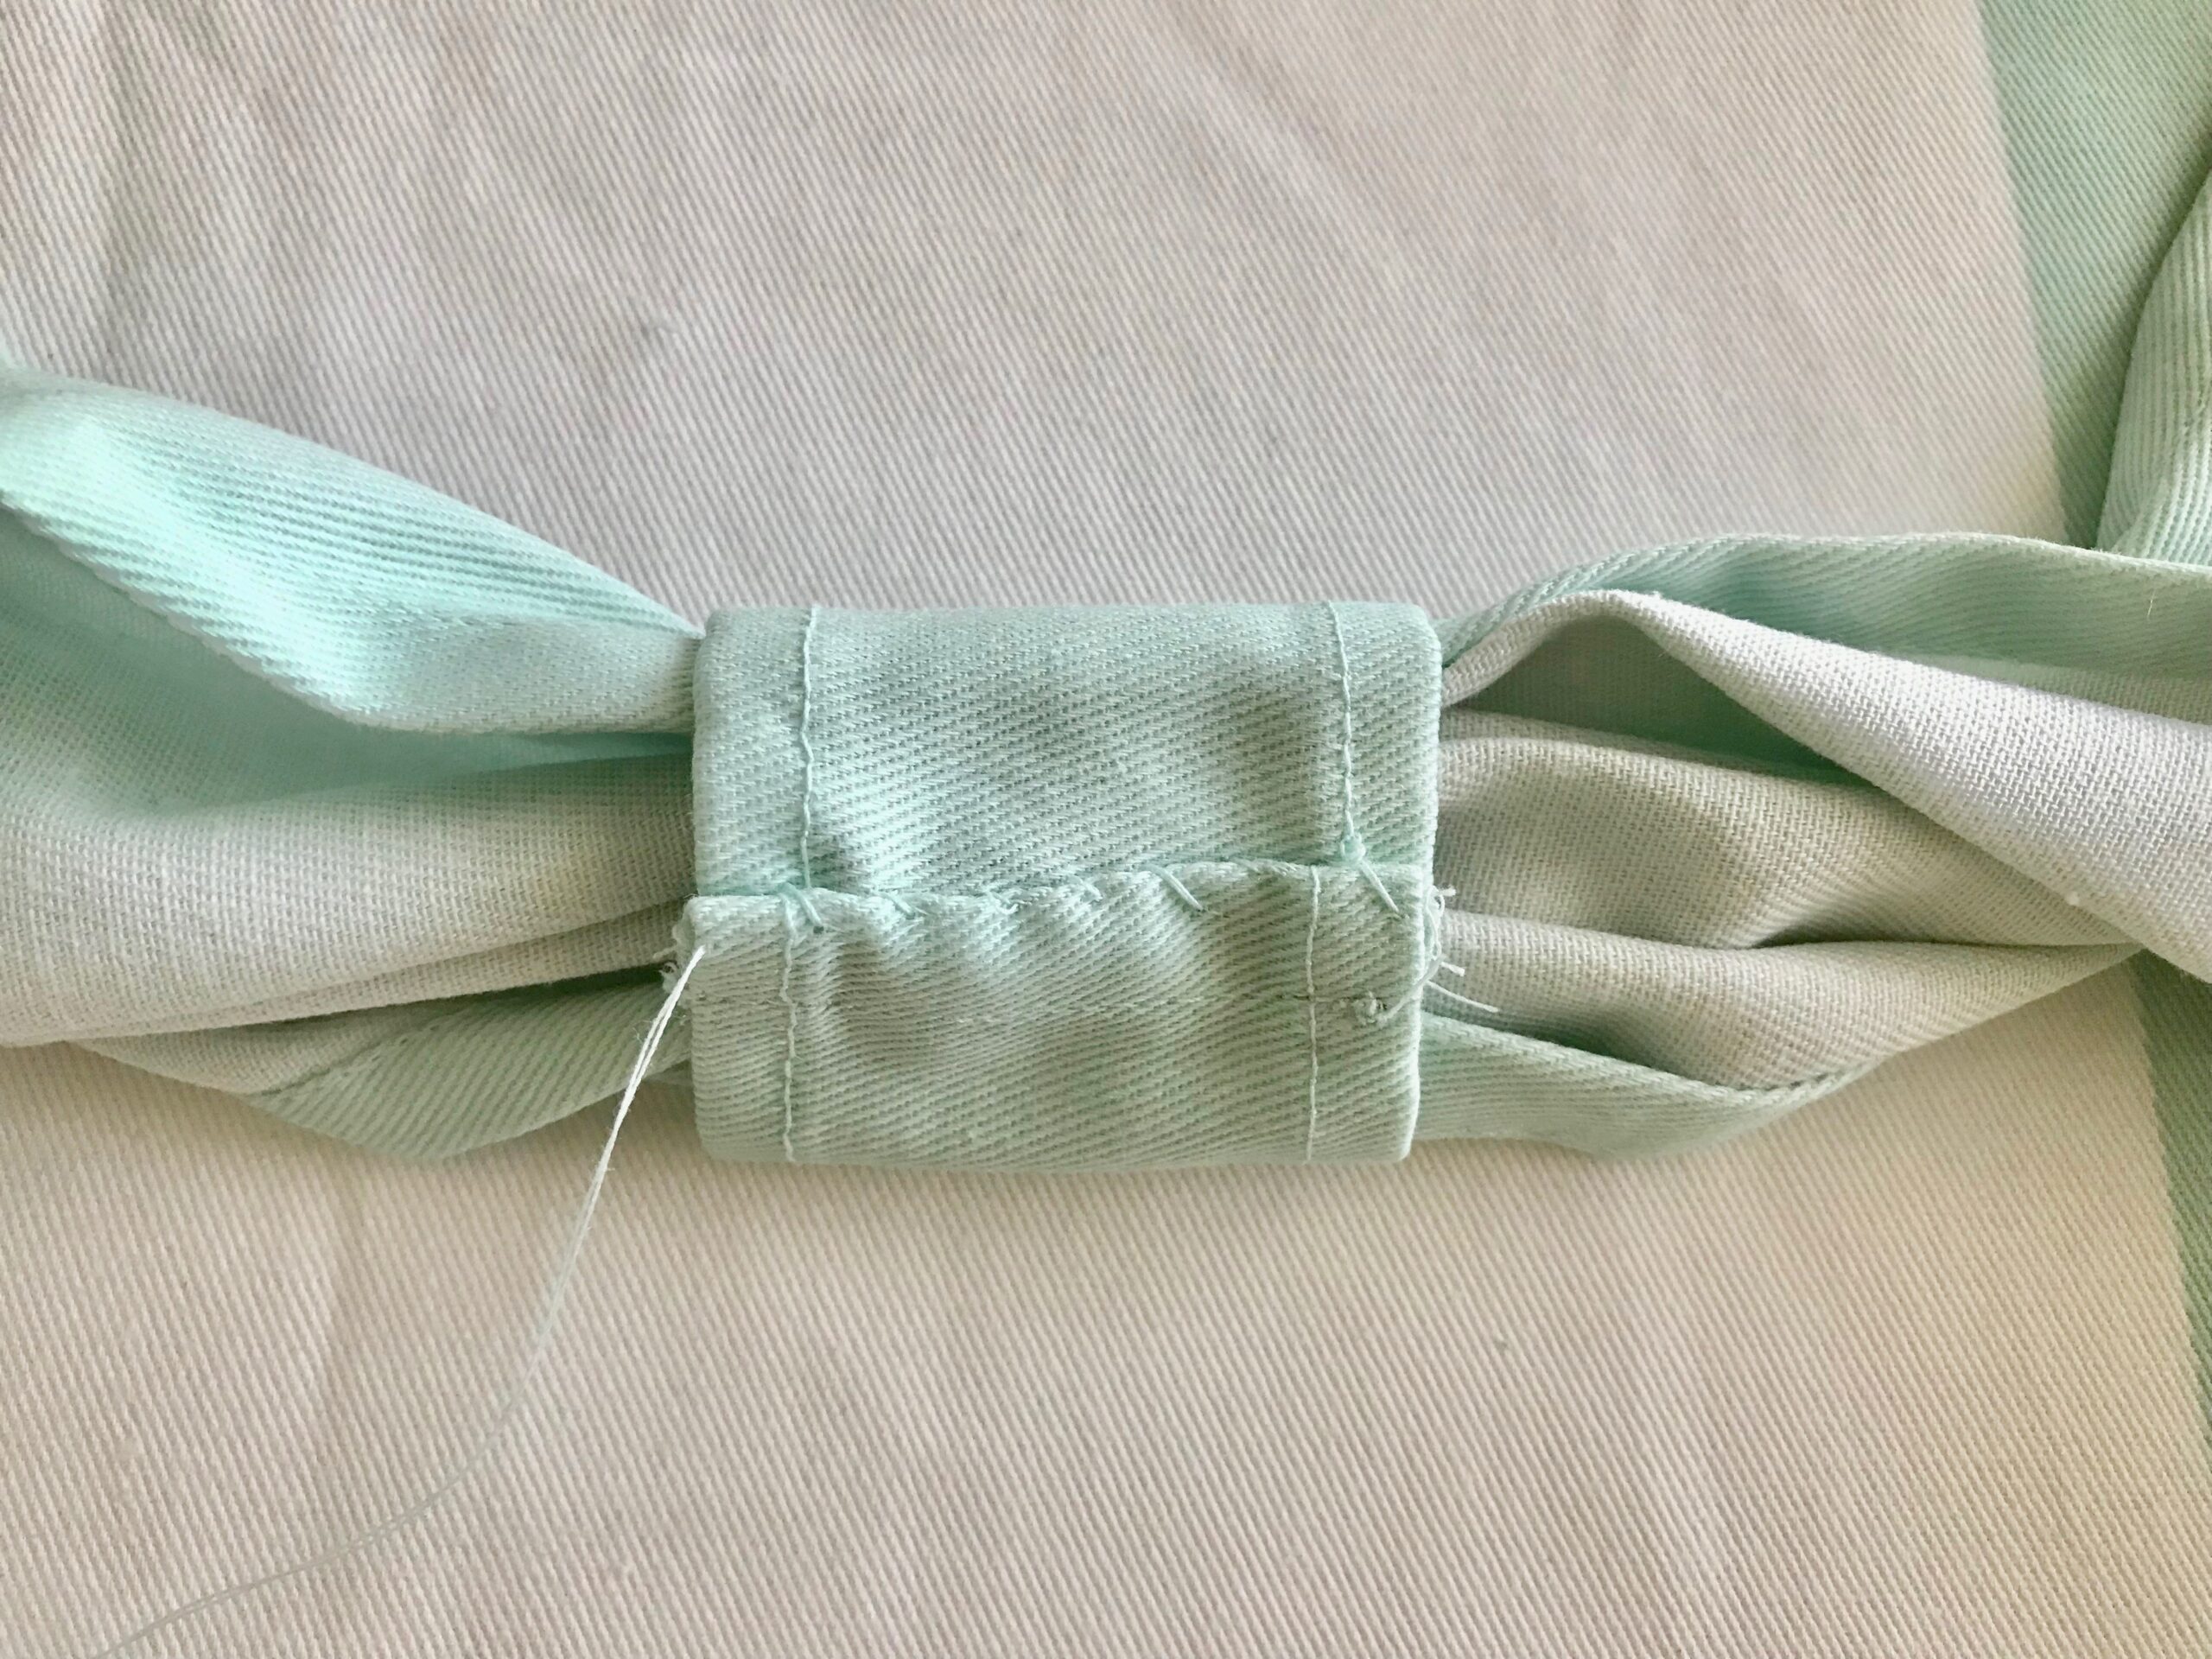
Tack the big bow center to the pillow front if you don’t want it to slide around.
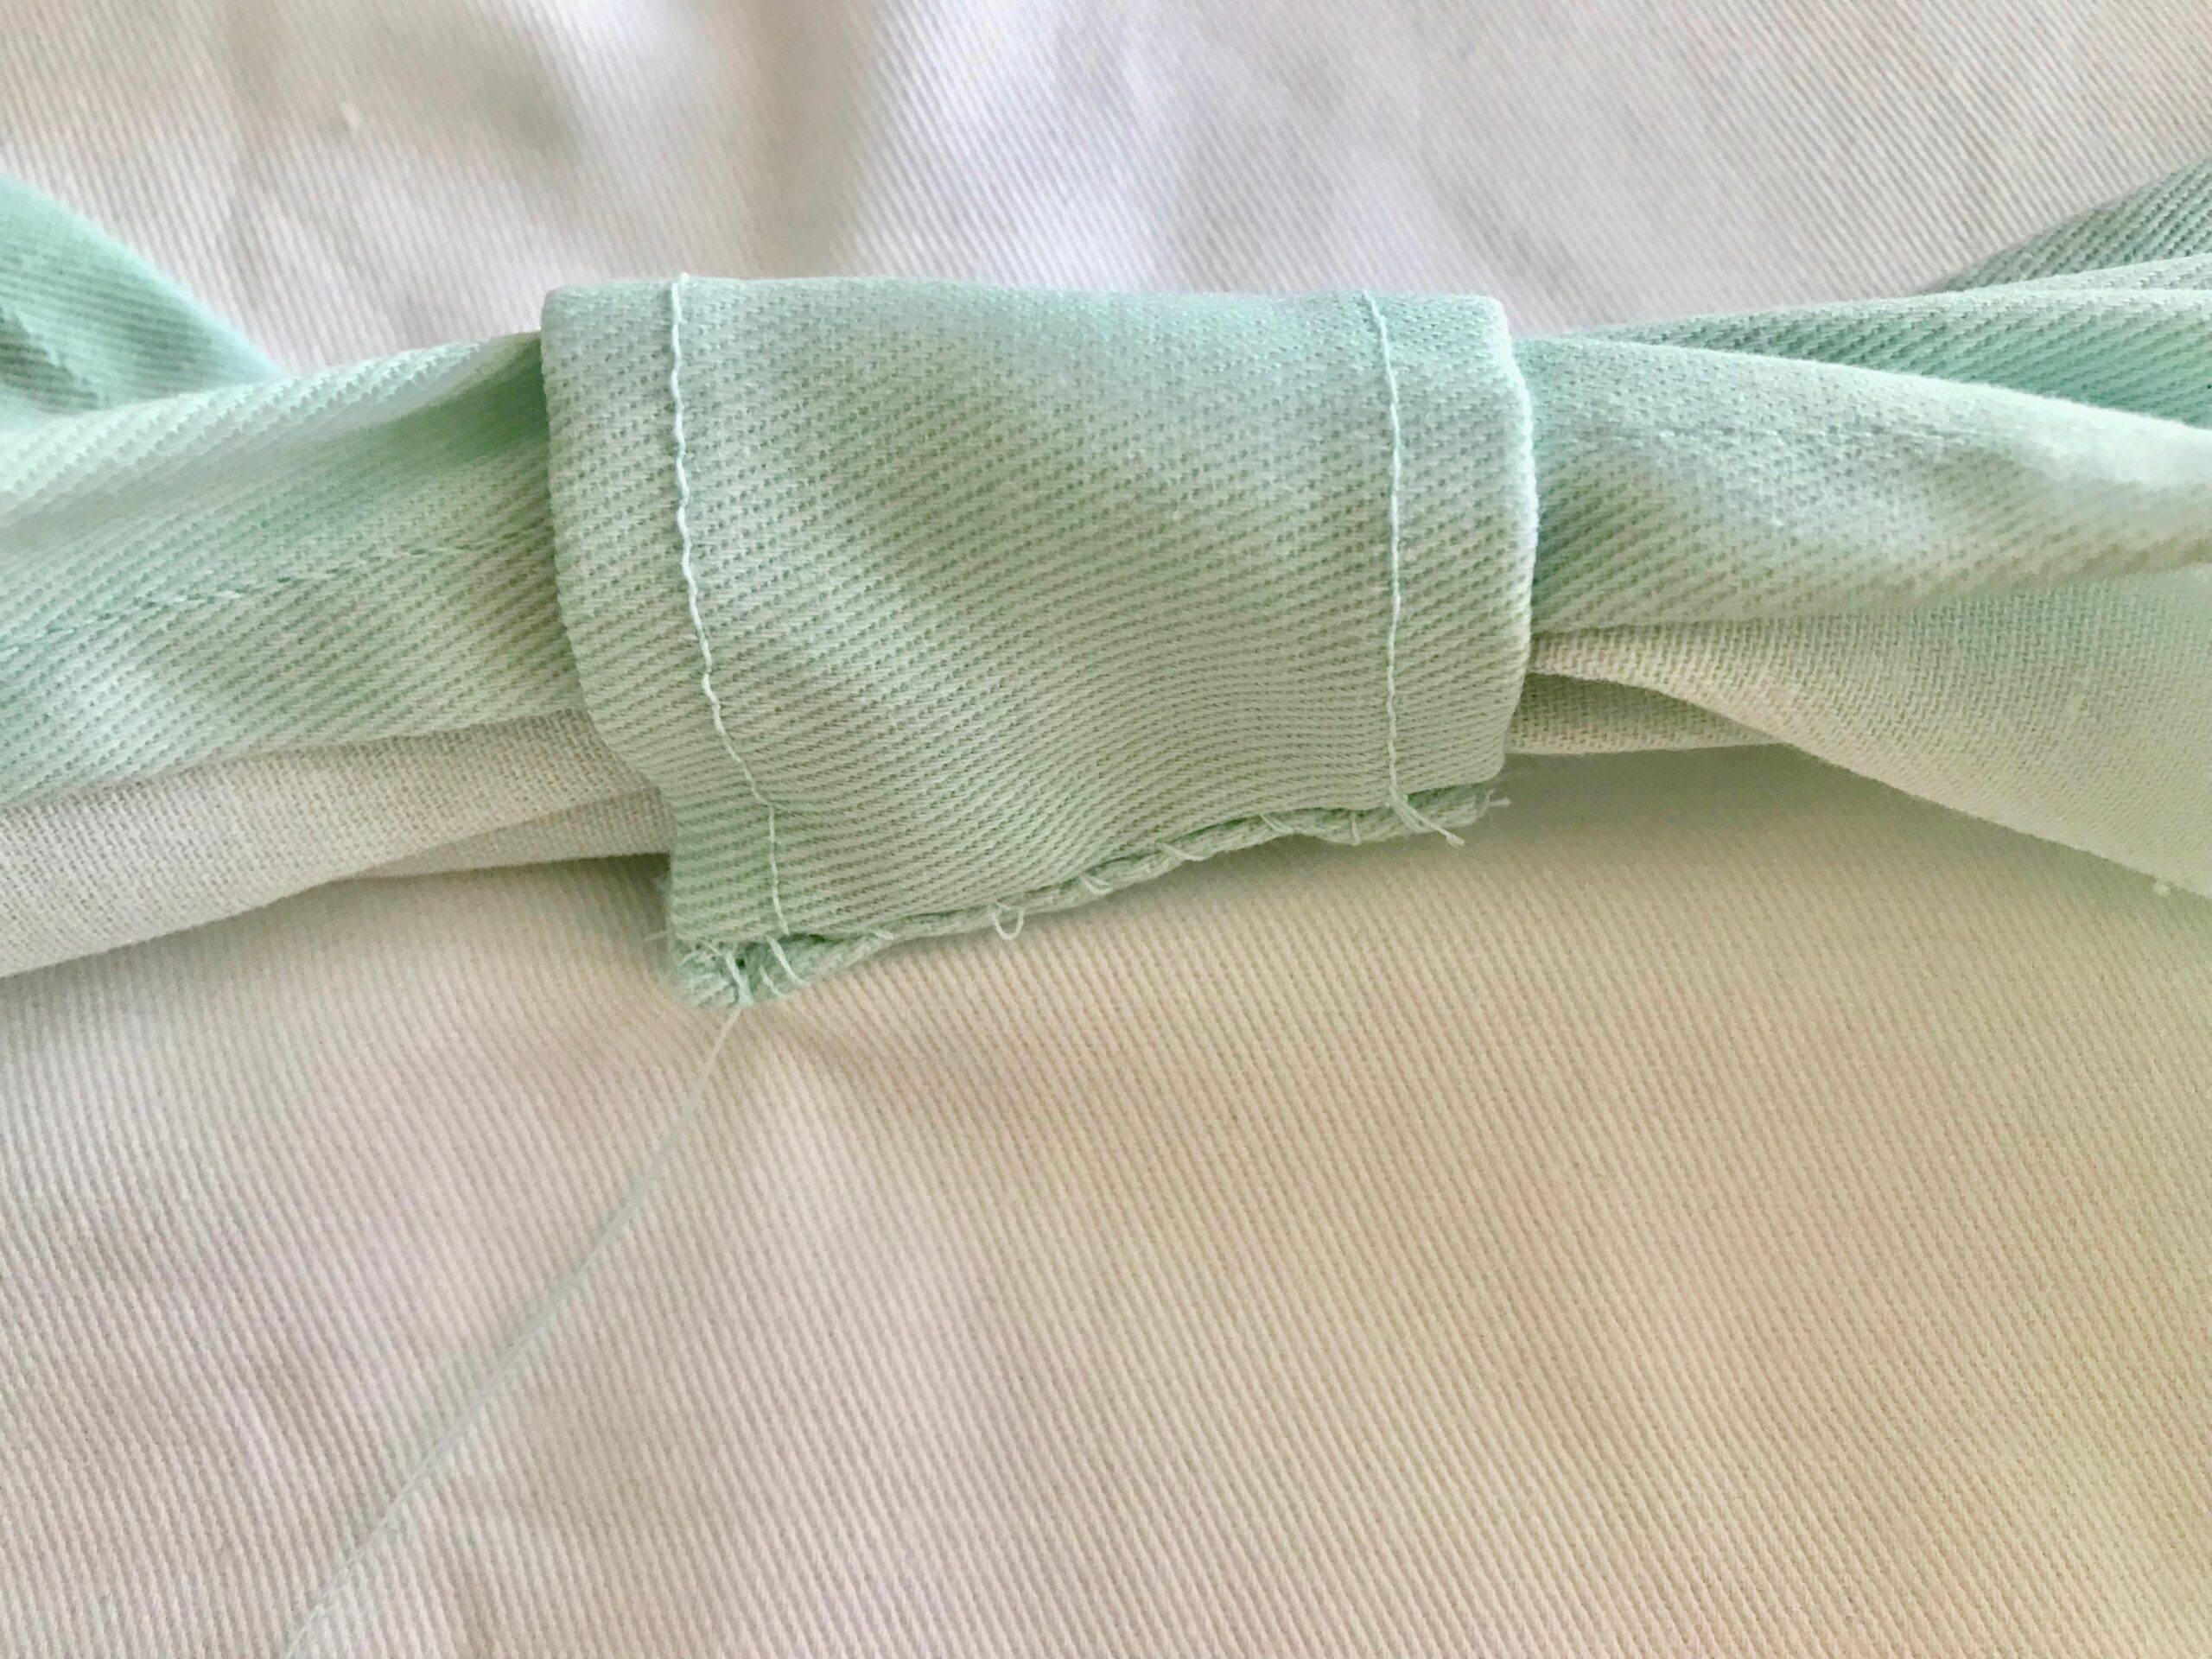
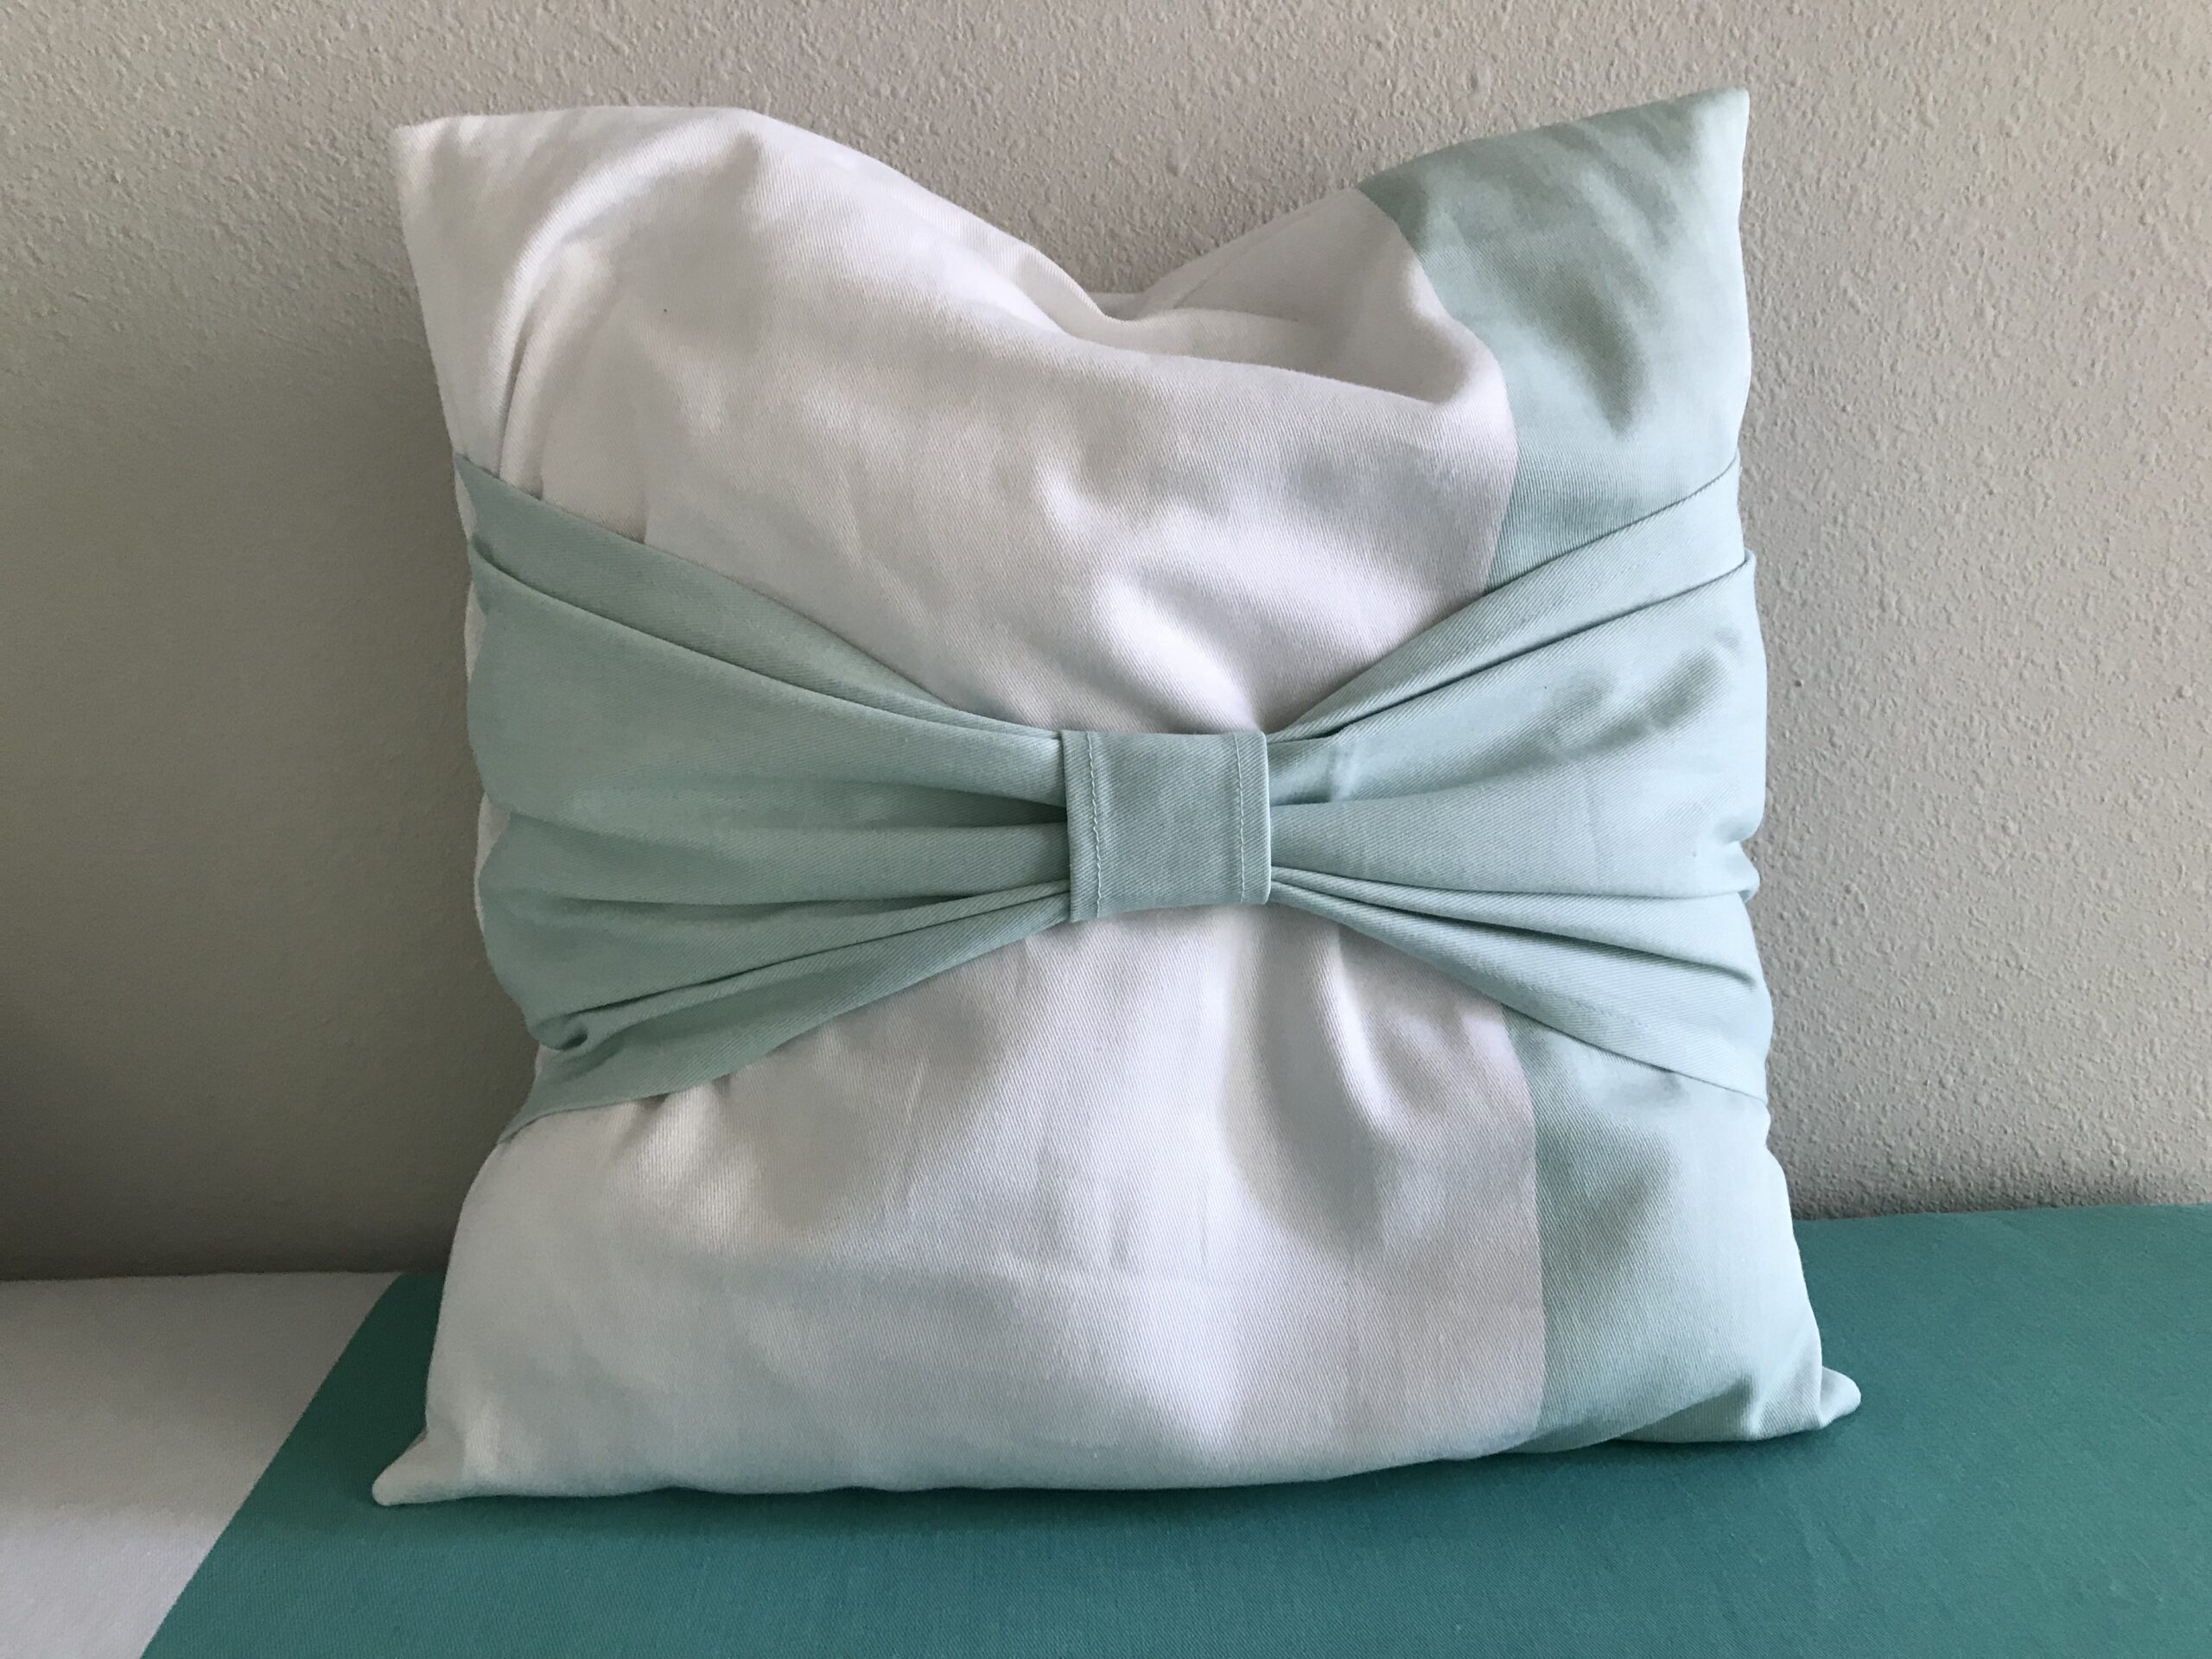
This is what it now looks like.
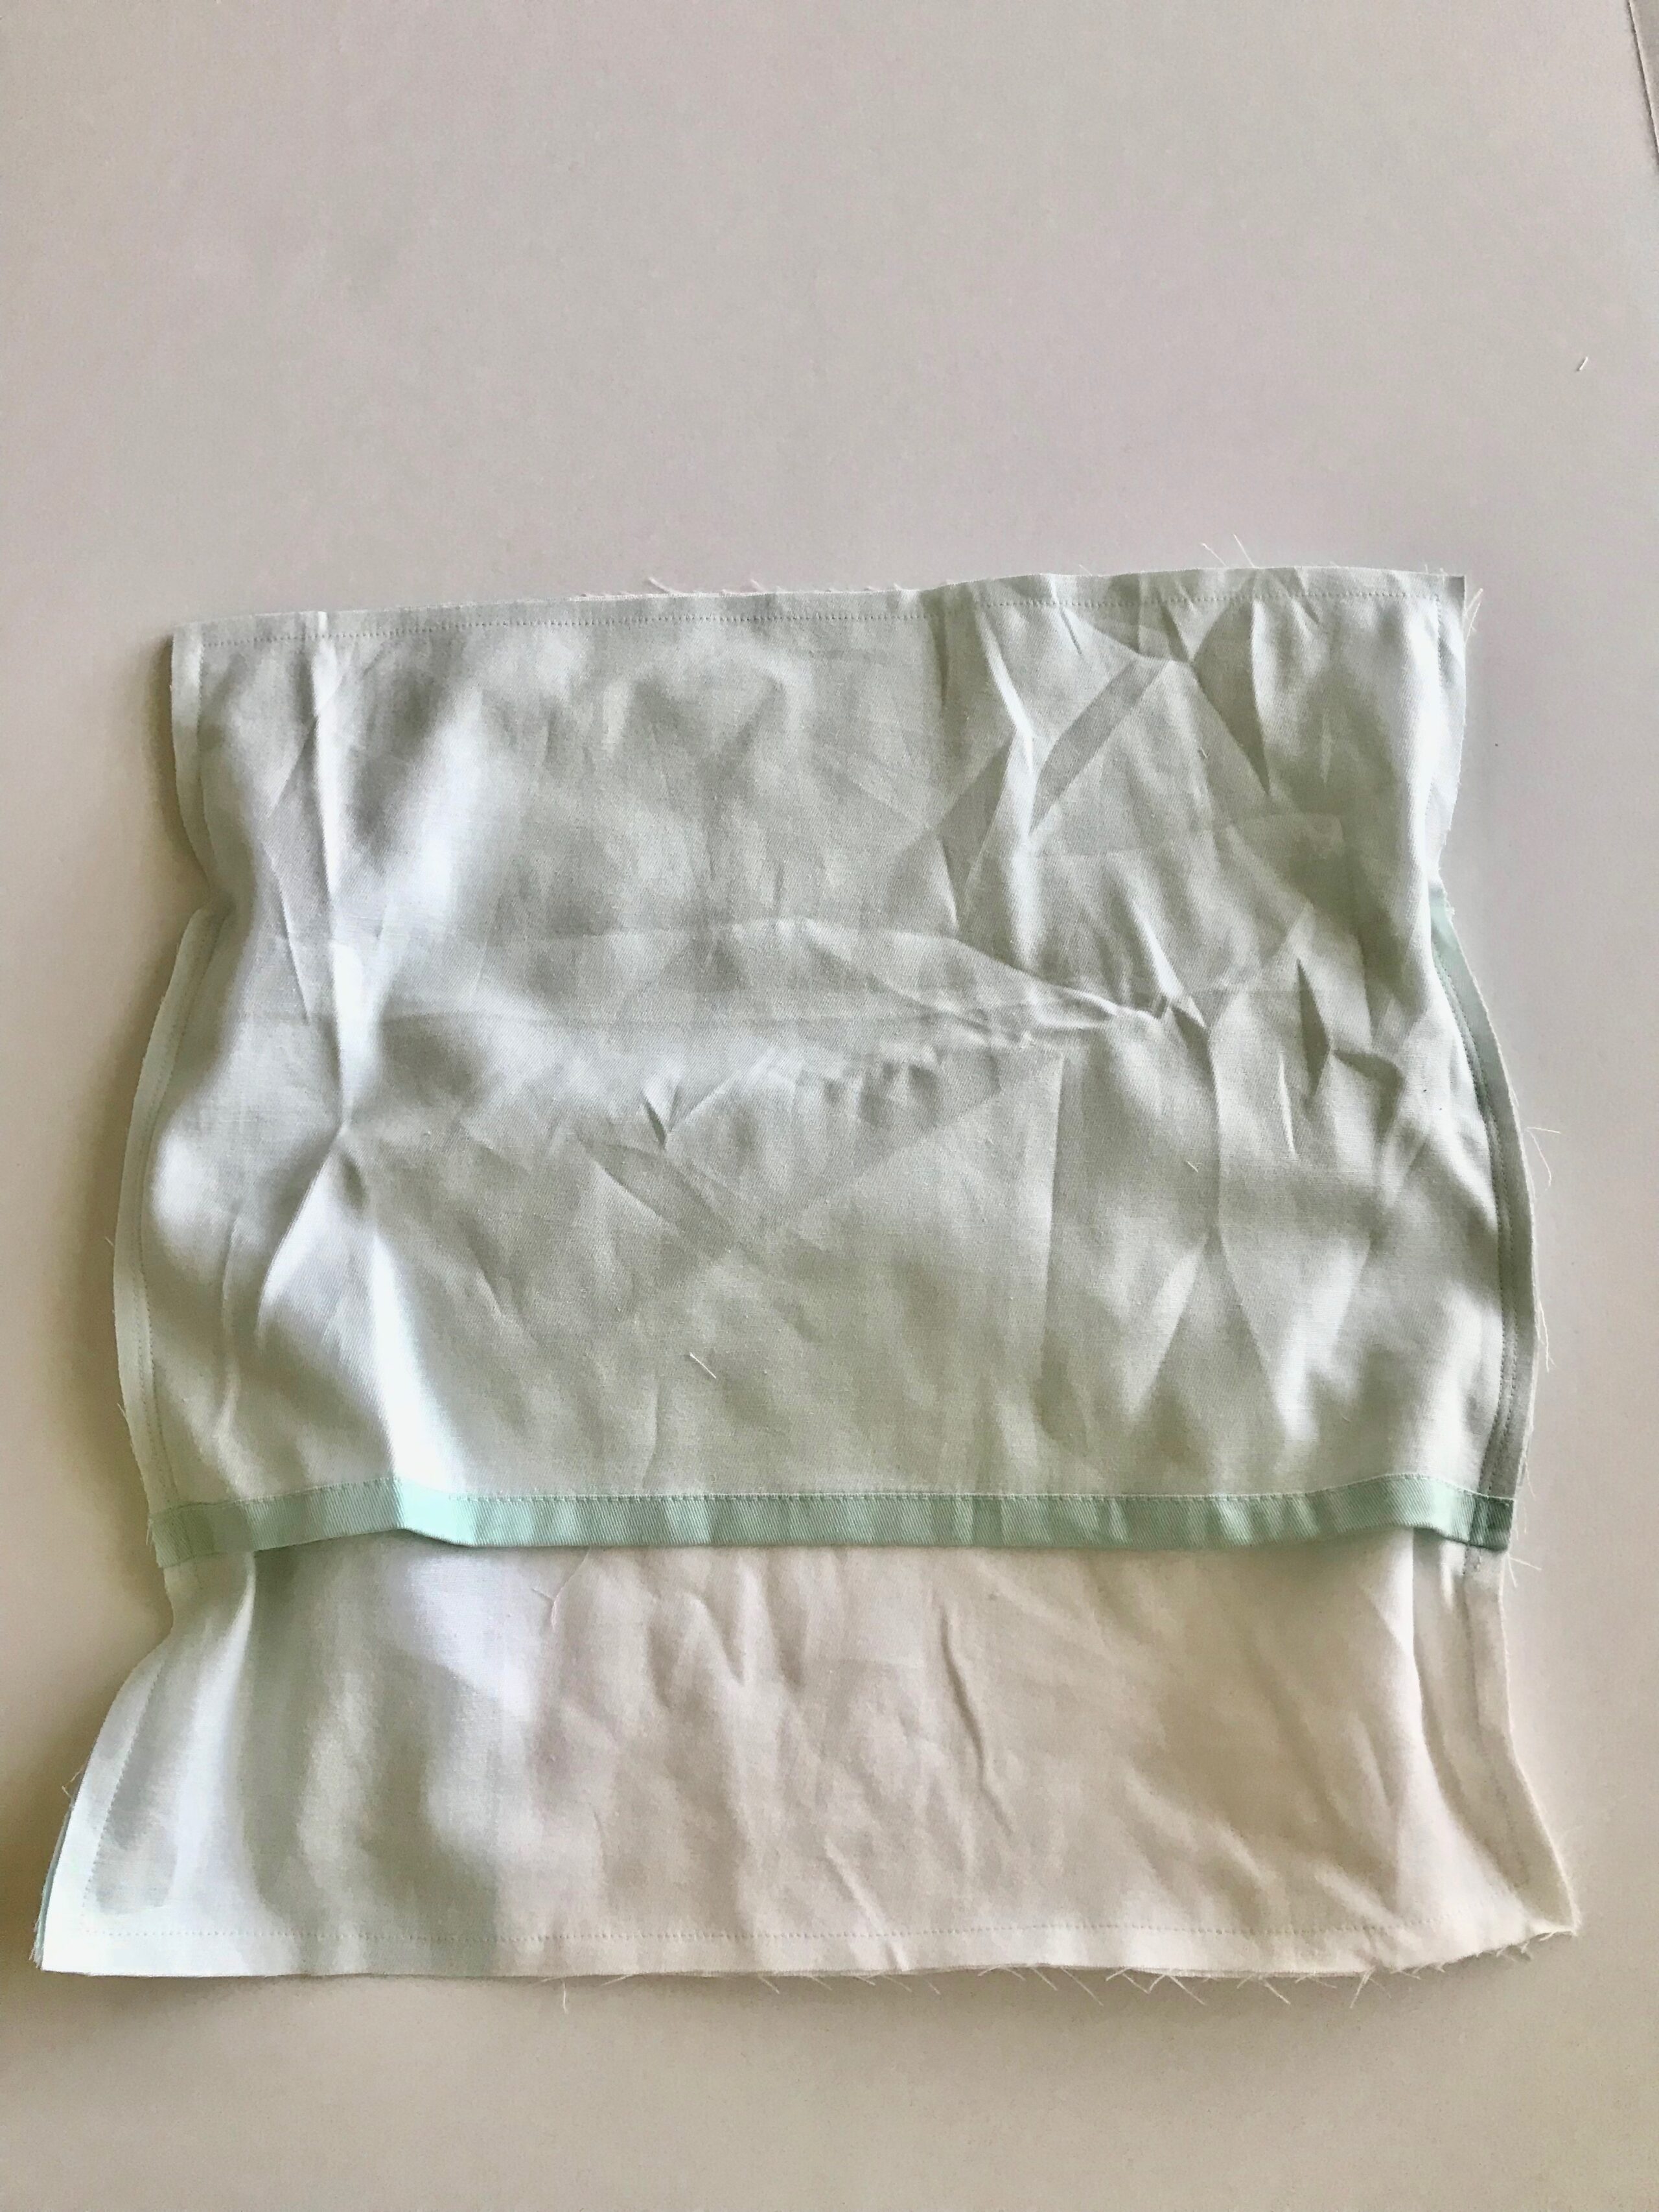
Lay the pillow back pieces on top of the pillow front piece right sides together. Arrange the pillow back pieces so the finished edges are overlapping in the middle of the pillow and the unfinished edges are right on top of pillow front piece edges. Sew all around the square.
Cut diagonally across the corners to remove excess fabric. Turn the DIY bow pillow case right side out through the overlapped pillow back pieces and gently poke out the corners. Insert the pillow form inside the pillow cover.
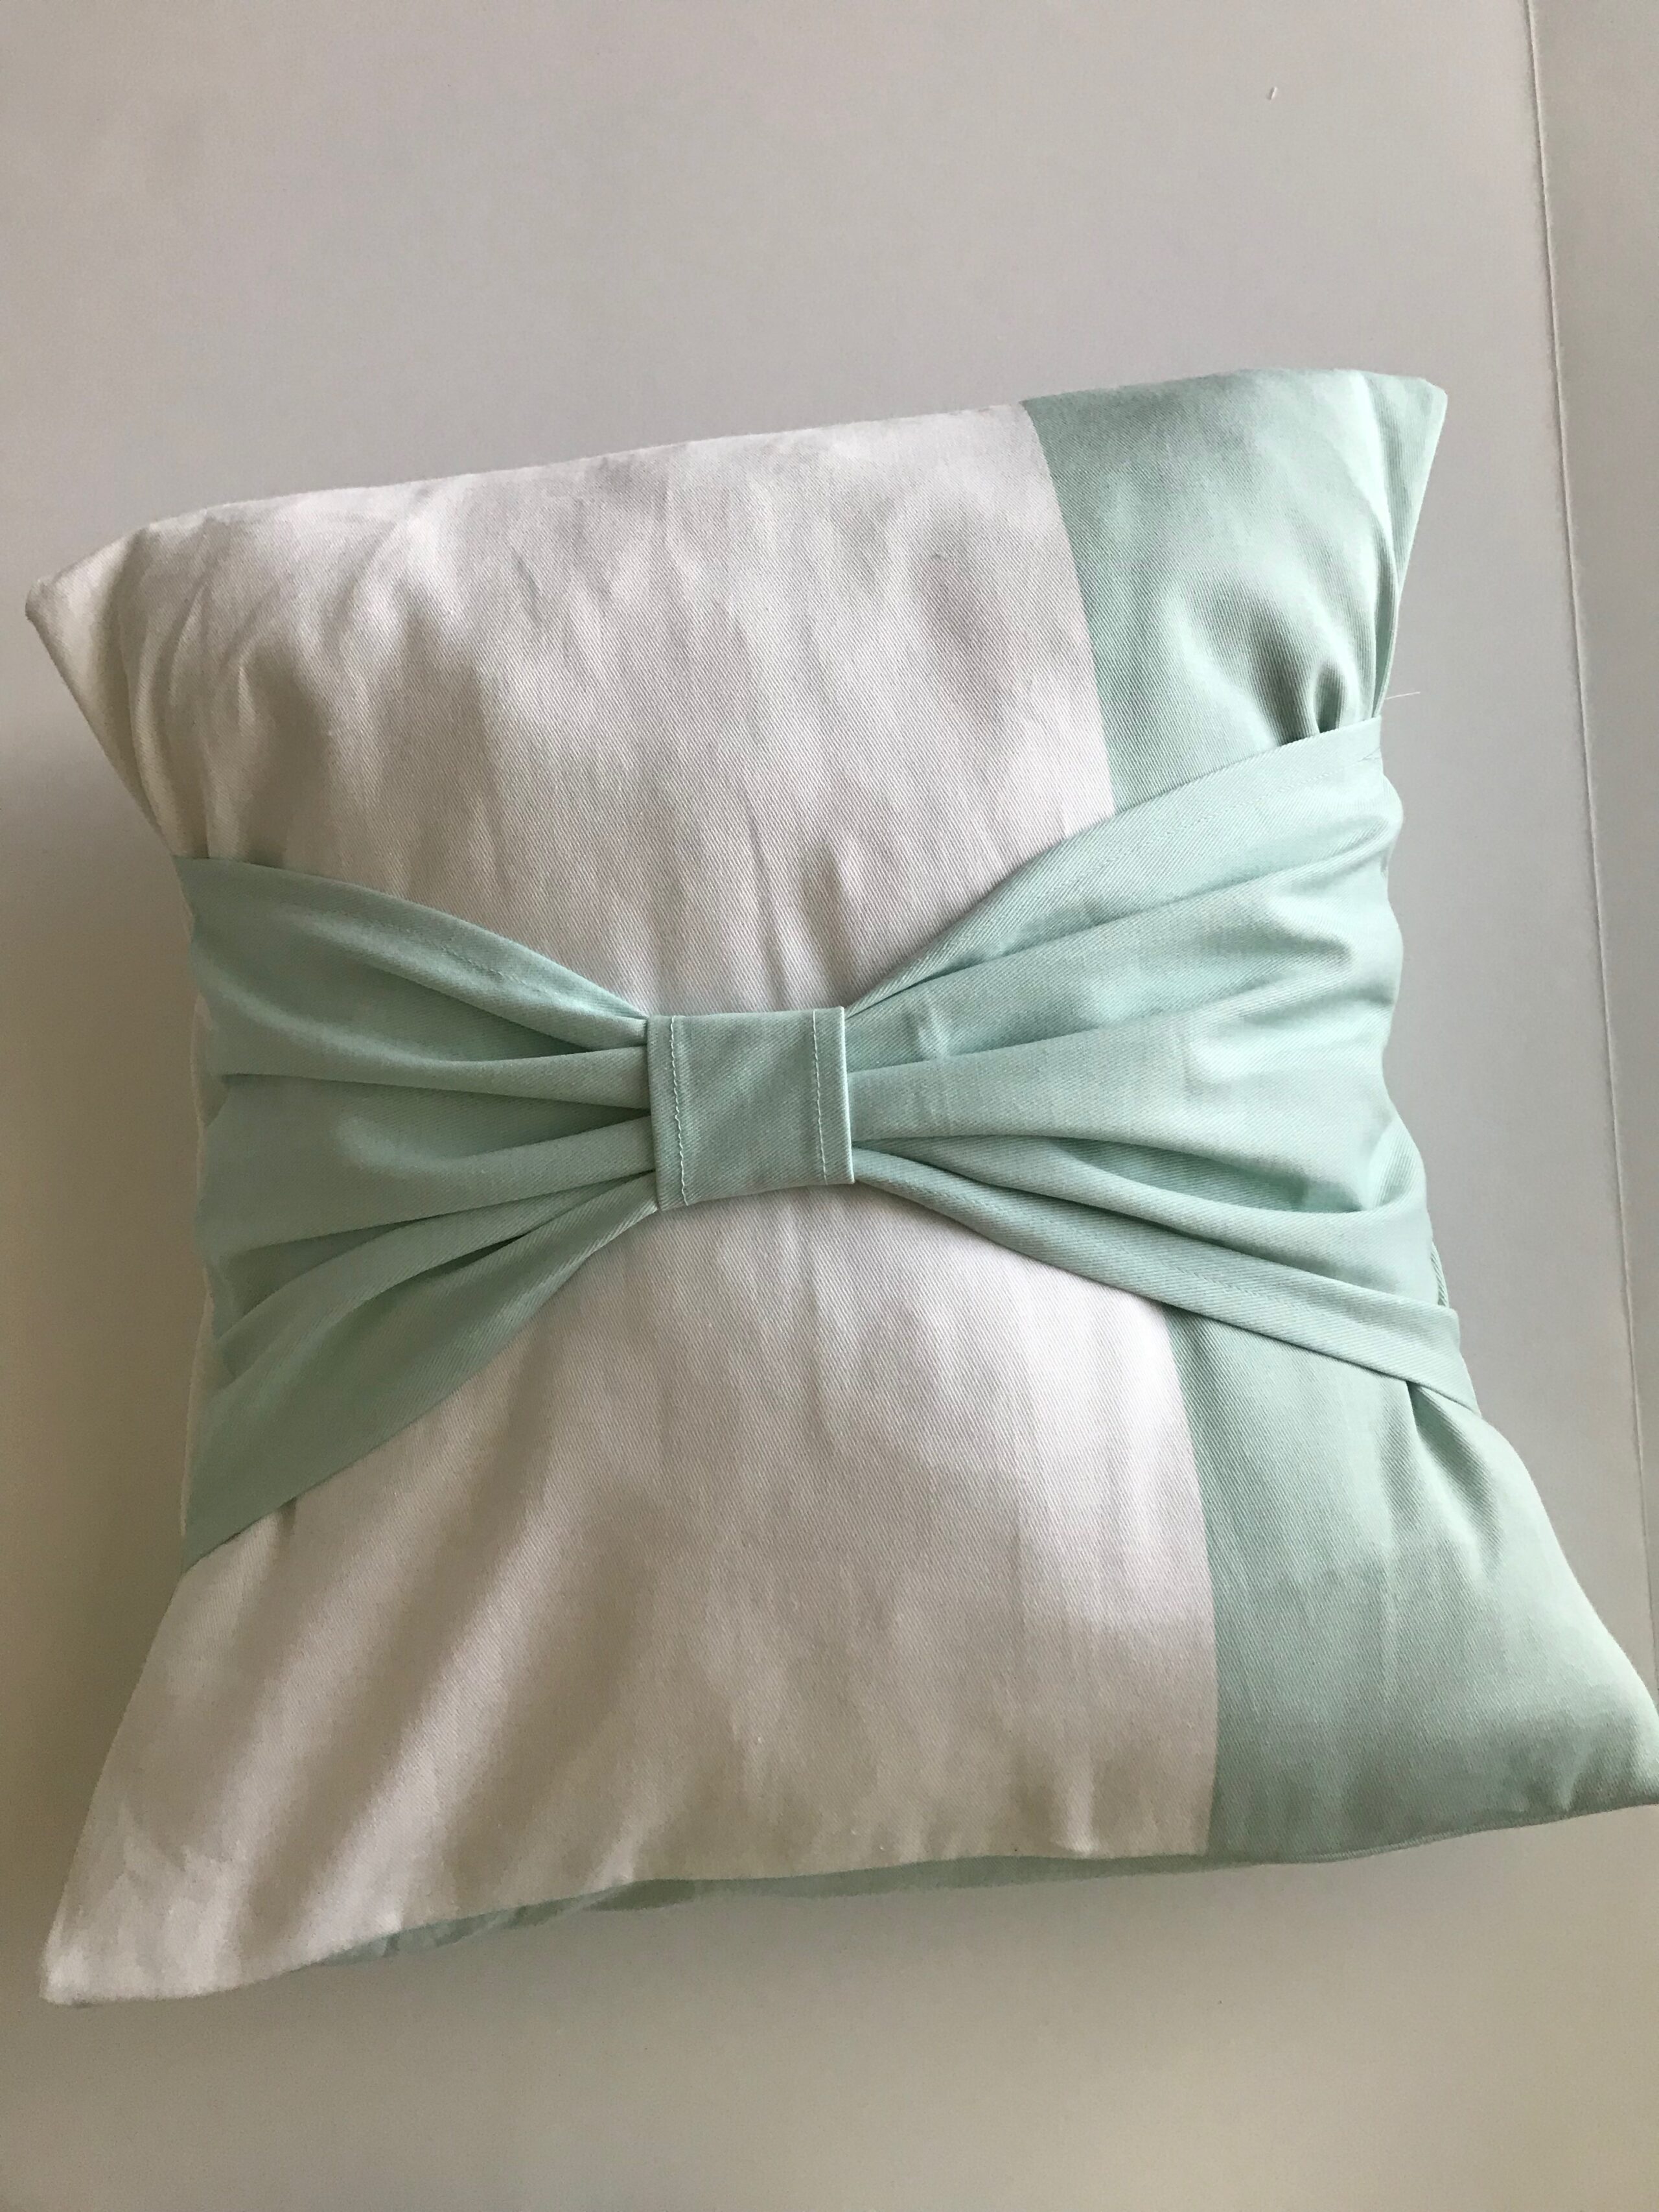
My pillow cover is pretty snug on my pillow form. I like it that way because I don’t want my pillow form sliding around in the cover. But notice how the corners stick out more than the sides of the pillow? Here’s what to do if you want the pillow to look more square-like without the corners poking out.
Turn the pillow inside out. Mark the small dot 3/4 inch in from the corner seam. Repeat with all corners. Mark the center of each side with a pin. Starting at a dot, stitch towards the pin the in the side, gradually tapering to the original seam an inch or so before you reach the pin. On the other side of the pin, taper back towards the next dot at the corner. Go around the entire pillow like this.
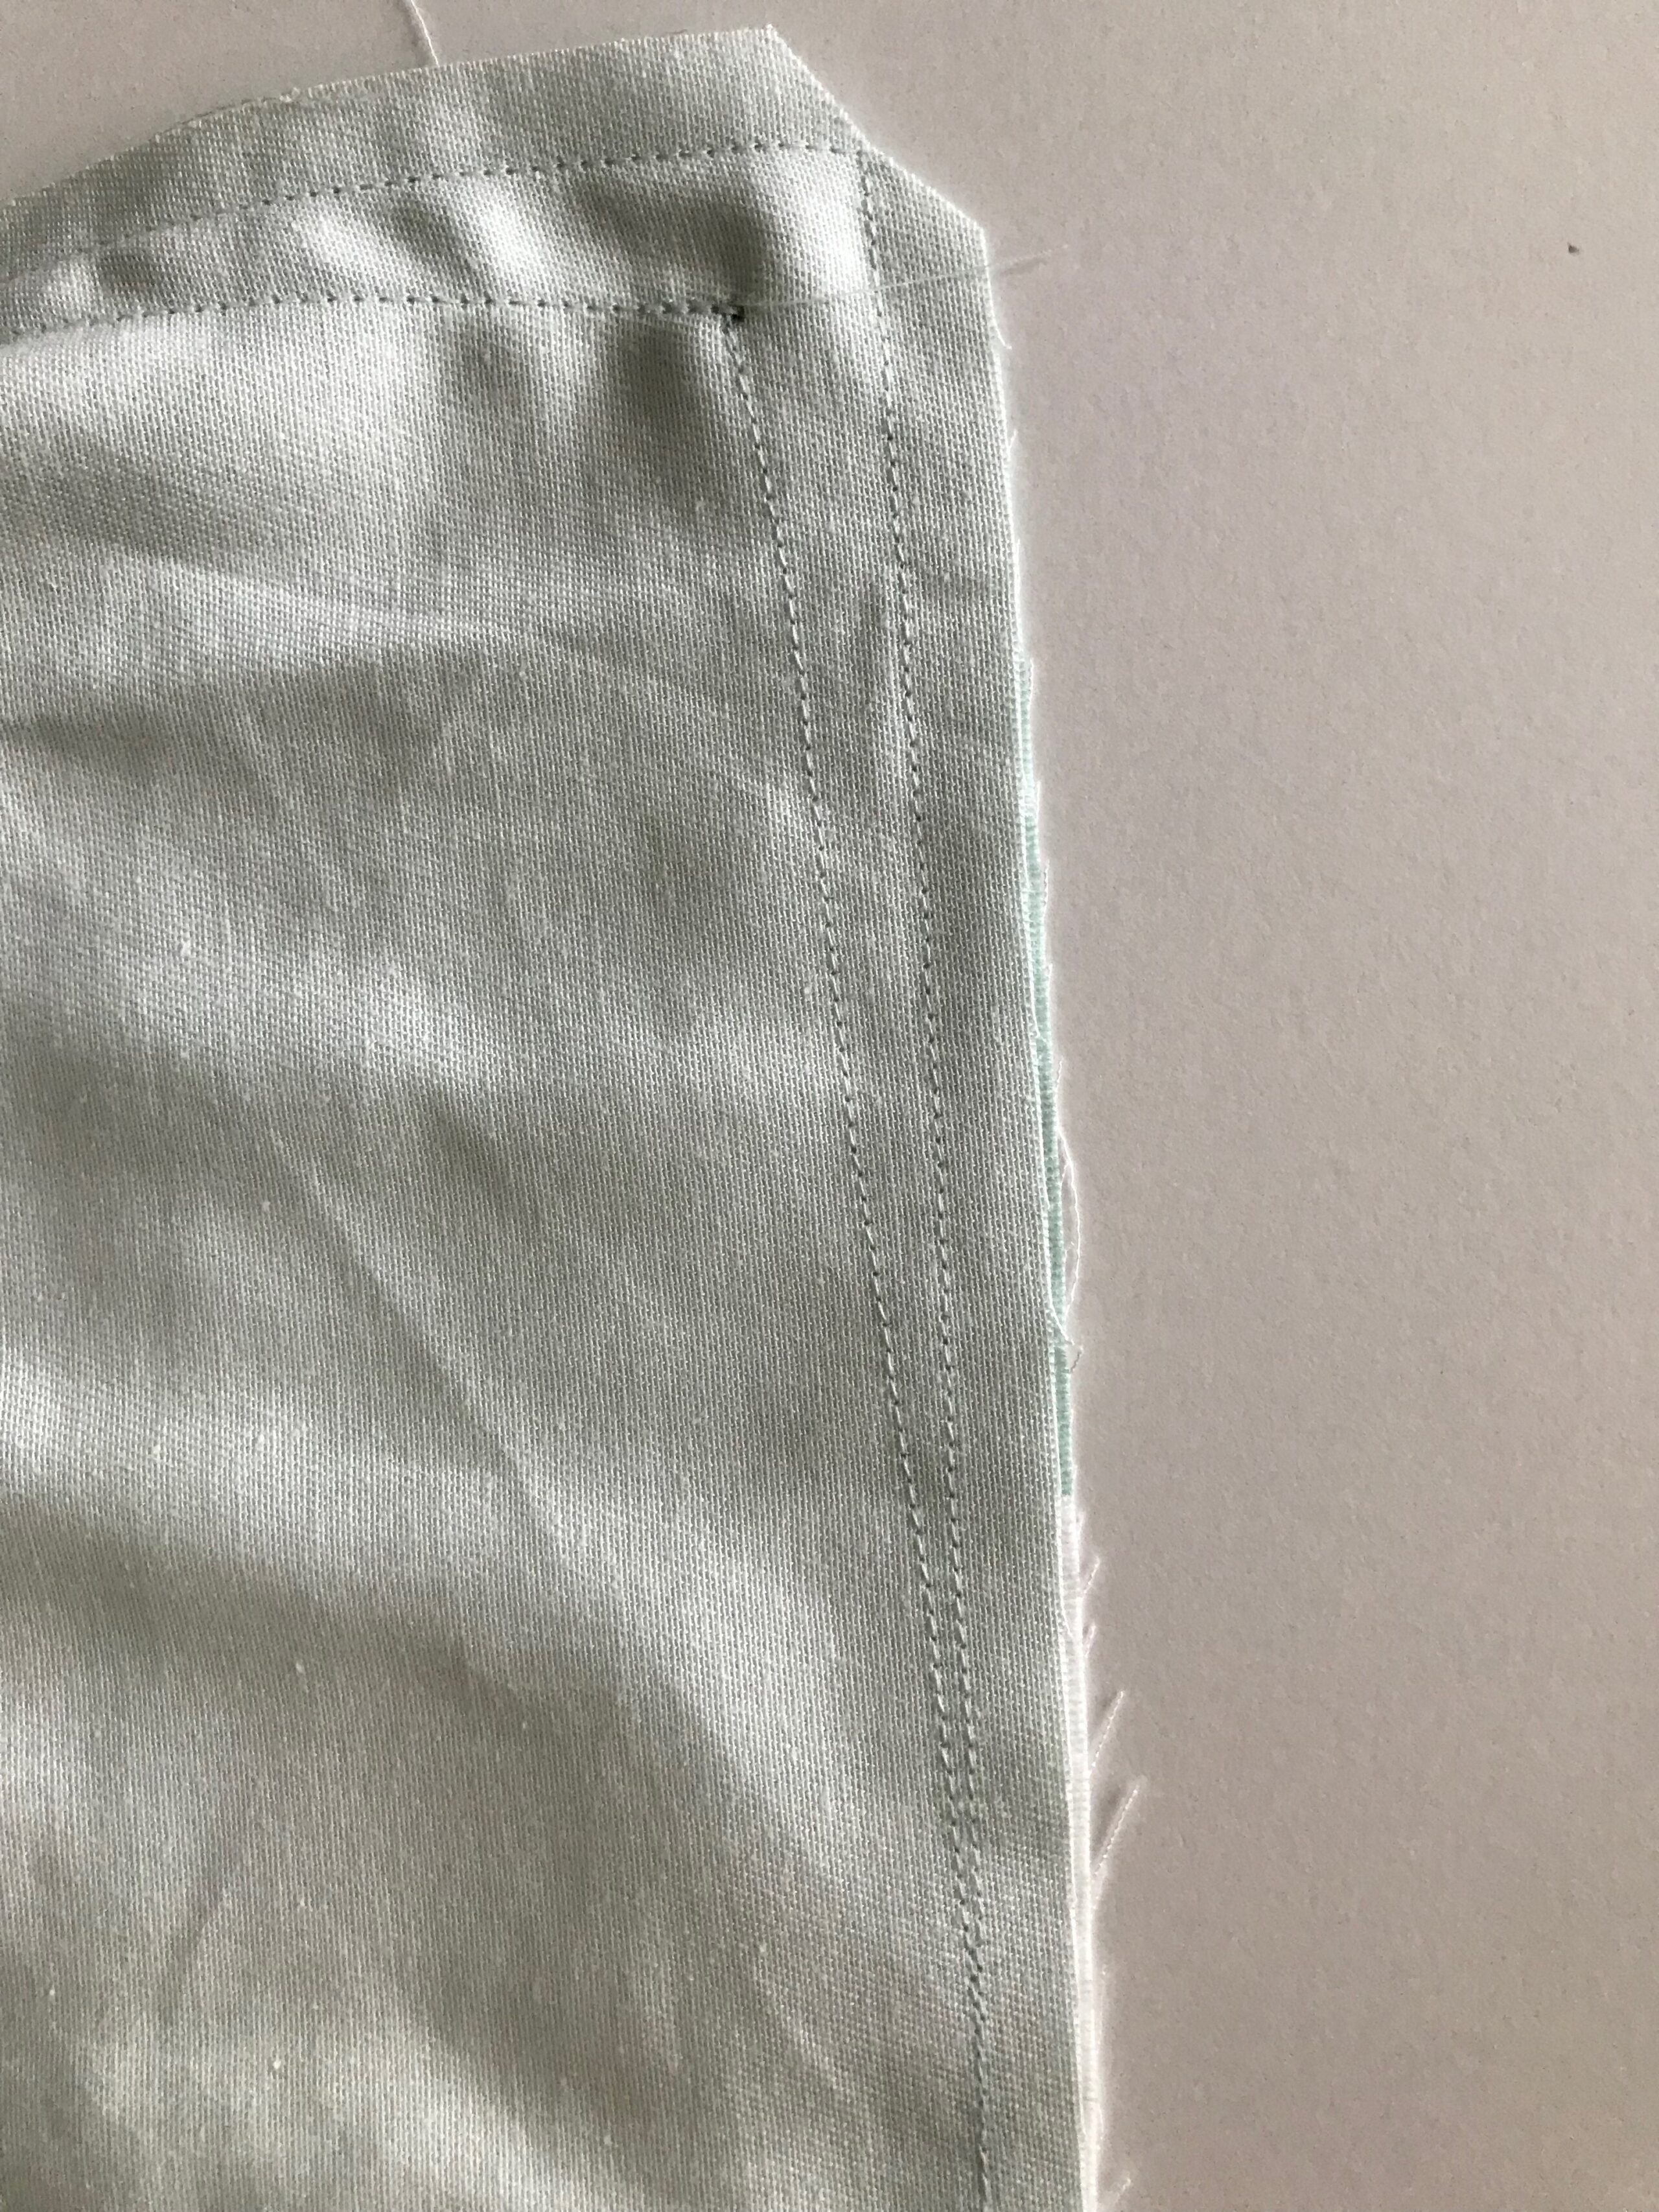
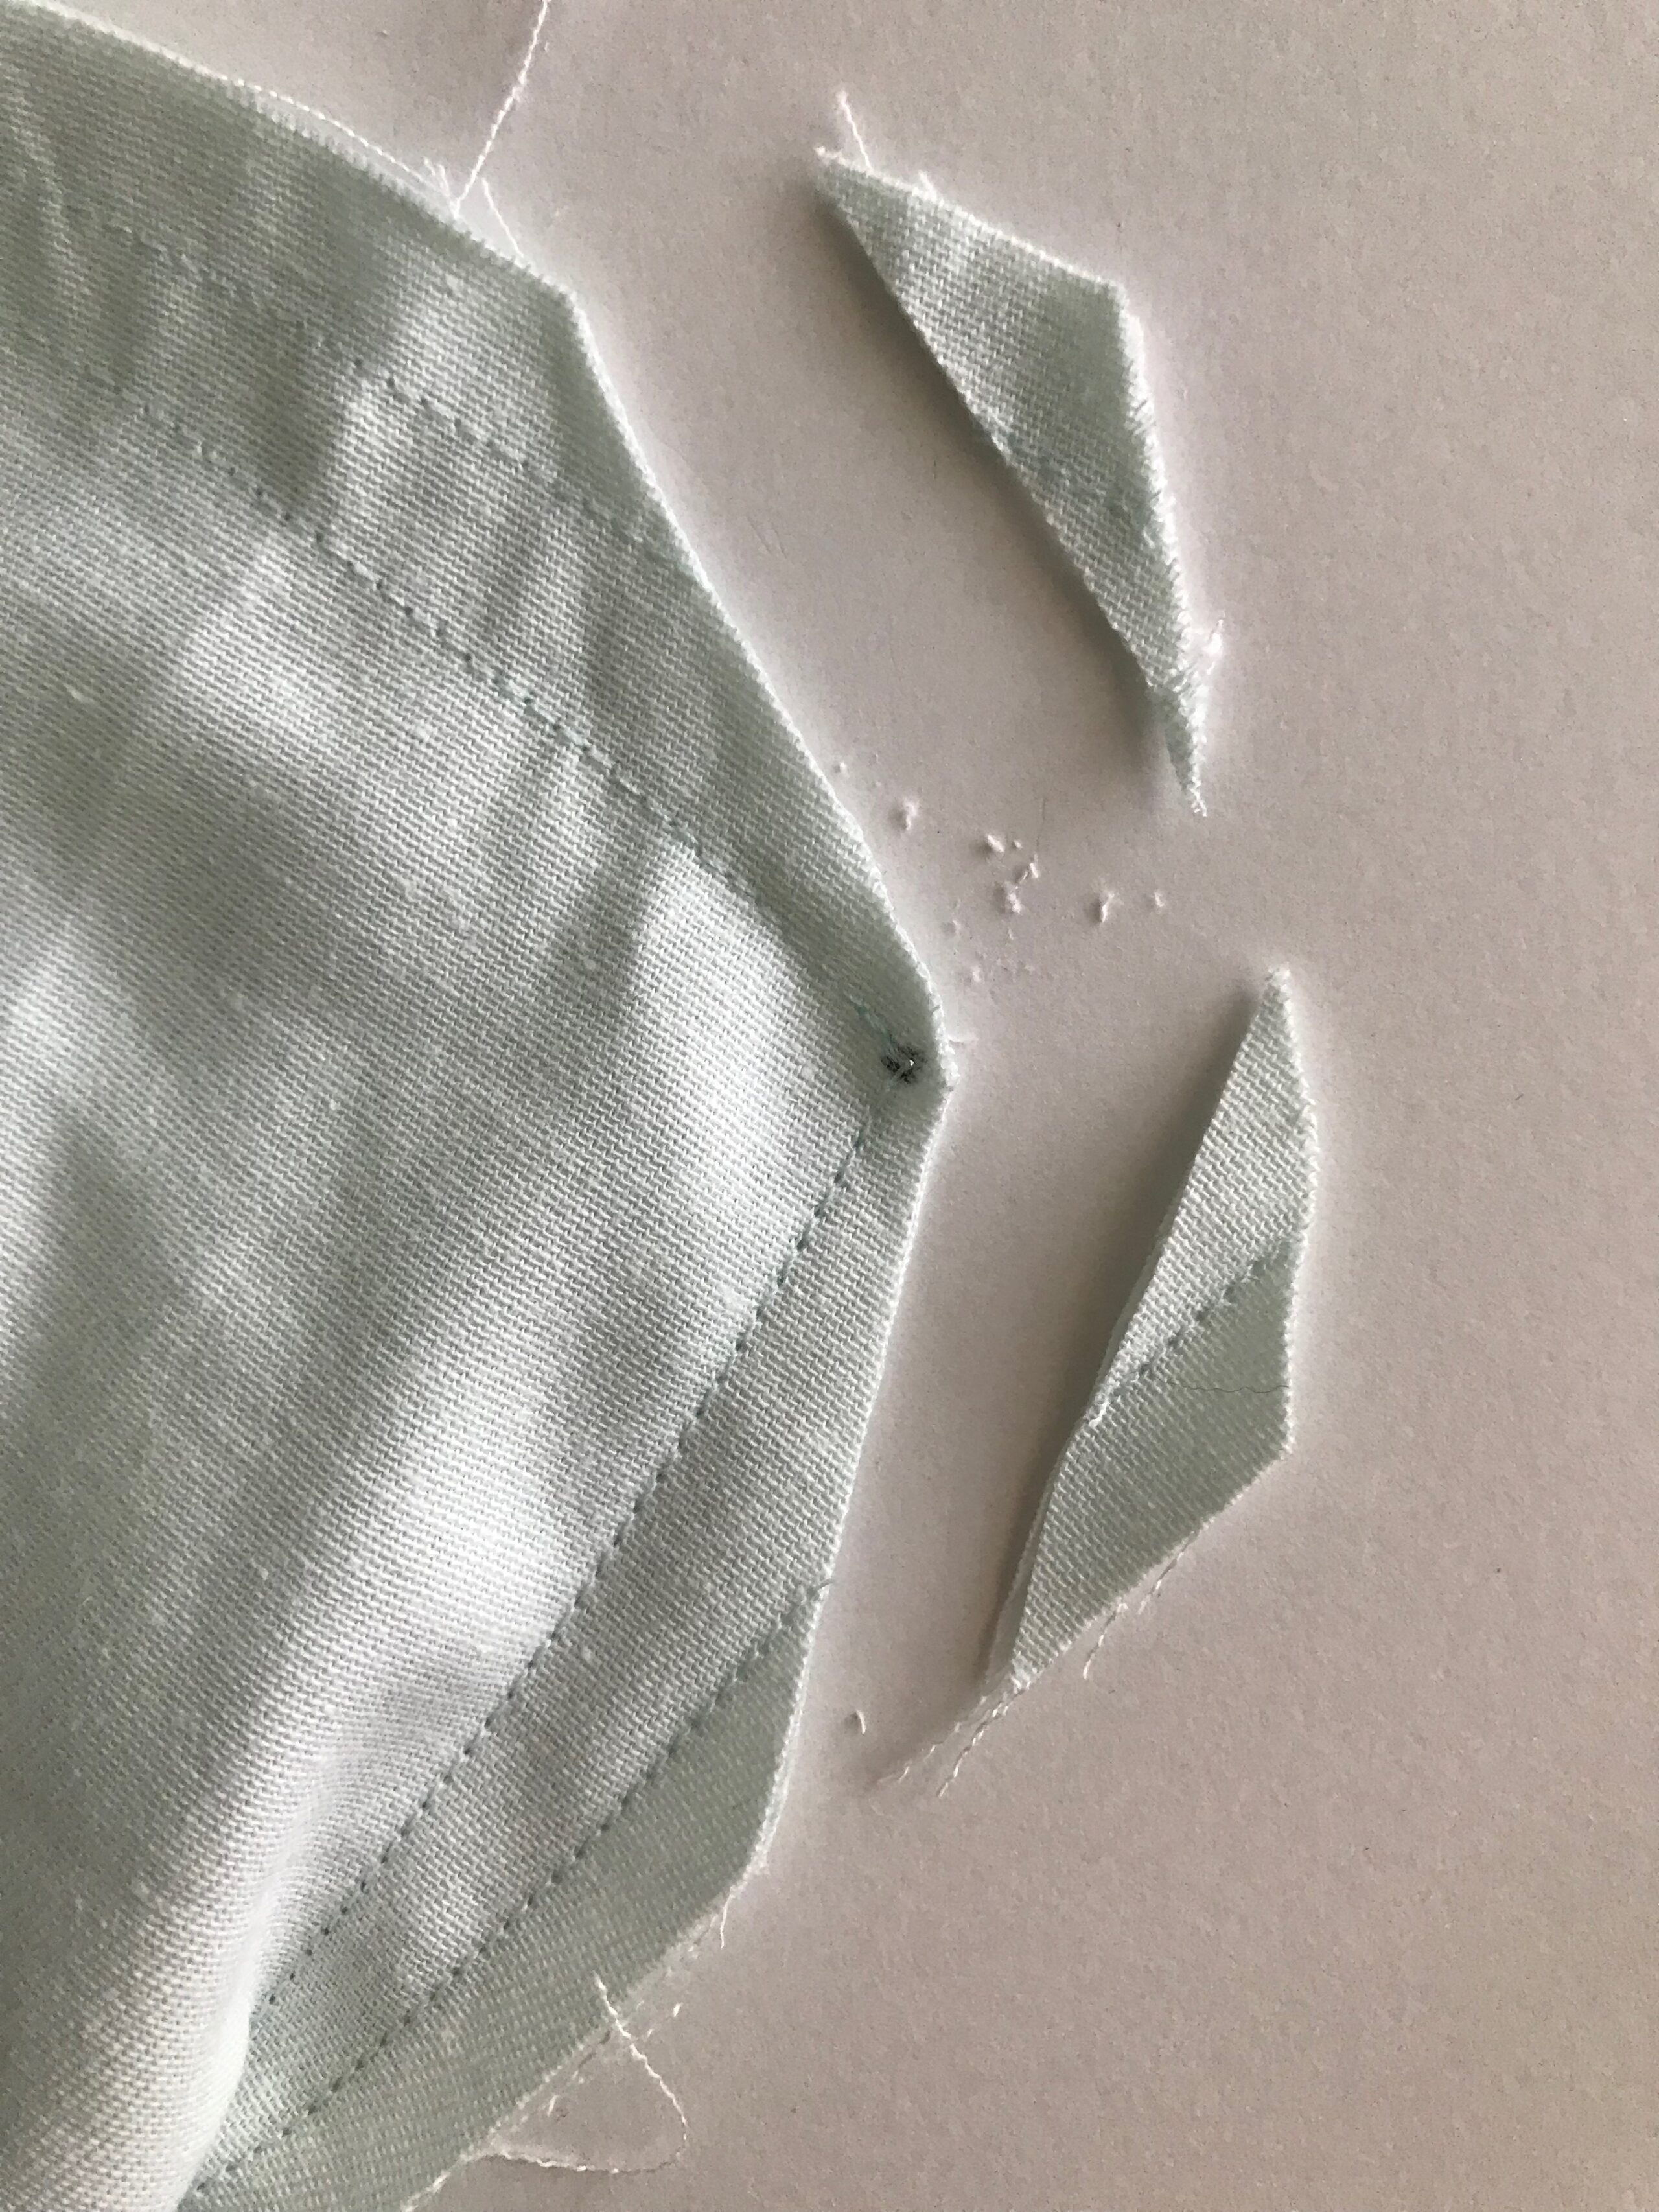
Again, cut diagonally across the corners to remove excess fabric. Then cut at an angle from the corner toward the side to remove even more excess fabric and bulk.
Turn the big DIY bow pillow cover right side out and insert the pillow inside the cover. Do your decorating thing!
