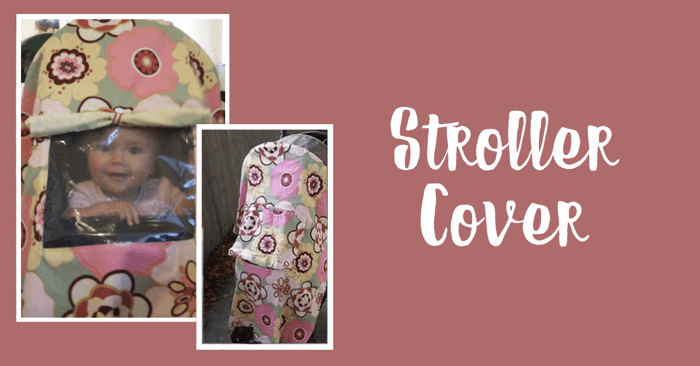
DIY Stroller Cover
DIY Stroller Cover | For Regular and Jogging Strollers
Stroller Cover Materials:
- 1 1/4 yd main fabric (please measure your stroller! You don’t want to come up short)
- 1 1/4 yd lining fabric
- Piece of plastic (I used some leftover product packaging. The bags sheets come in work great!)
- 4 buttons/stroller
- Ribbon
- Small hair tie
Extra Materials for Jogging Stroller Cover:
- Velcro
- Hot glue gun
- Elastic- about 6″
DIY Stroller Cover Sewing Instructions
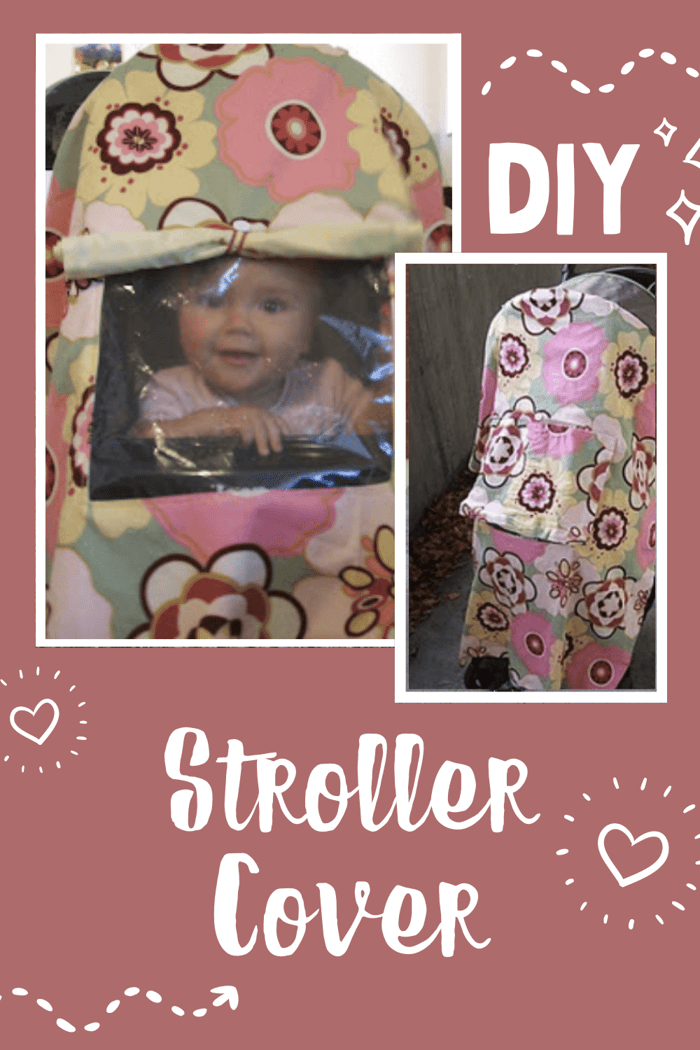
Step 1: Strollers are all shaped a bit different, so there’s no pattern for this project, but it’s pretty easy. Drape your fabric over your stroller (if you want this to work on a jogging stroller and your regular stroller make all the measurements for the jogger) and pin until you get the shape you want.
I tucked under quite a bit of fabric at the top to make a curved edge and then it tapers down to the bottom. The overall shape looks kind of like a coffin. I only used 1 yd of fabric and I wish I had gotten a bit more. The bottom of my cover is straight, but I would recommend making a rounded edge along the bottom to get better coverage on the jogging stroller footrest.
Step 2: Fold your pinned fabric in half and use it as a pattern piece to cut your lining. Now unpin the main piece of fabric and use the lining piece as the pattern to cut your main fabric. You will need some fabric leftover to make the window cover, so don’t cut right out of the middle of your fabric!
Step 3: Fold your fabric in half and cut out a window. It needs to be about 1″ smaller on all sides than your plastic piece.
Step 4: Fold back the raw edges from the window and stitch down. Do this on your main piece and the liner.
Step 5: With fabric RST together stitch all the way around the outer edge. Turn it right side out through the window. It should now look like this:
Step 7: I made a window flap for mine to make naps in the stroller a little bit easier for little miss. Cut a piece from your main fabric and your liner that is about 1-2″ bigger than the window. Place RST together and stitch almost all the way around. Turn right side out through the opening you left. Tuck the edges in and top stitch shut. Get your flap in place over the window and then top stitch it onto the cover.
Step 8: Underneath the flap tack down a small hair elastic and then sew a button on to complete the closure (see previous picture for button placement)
